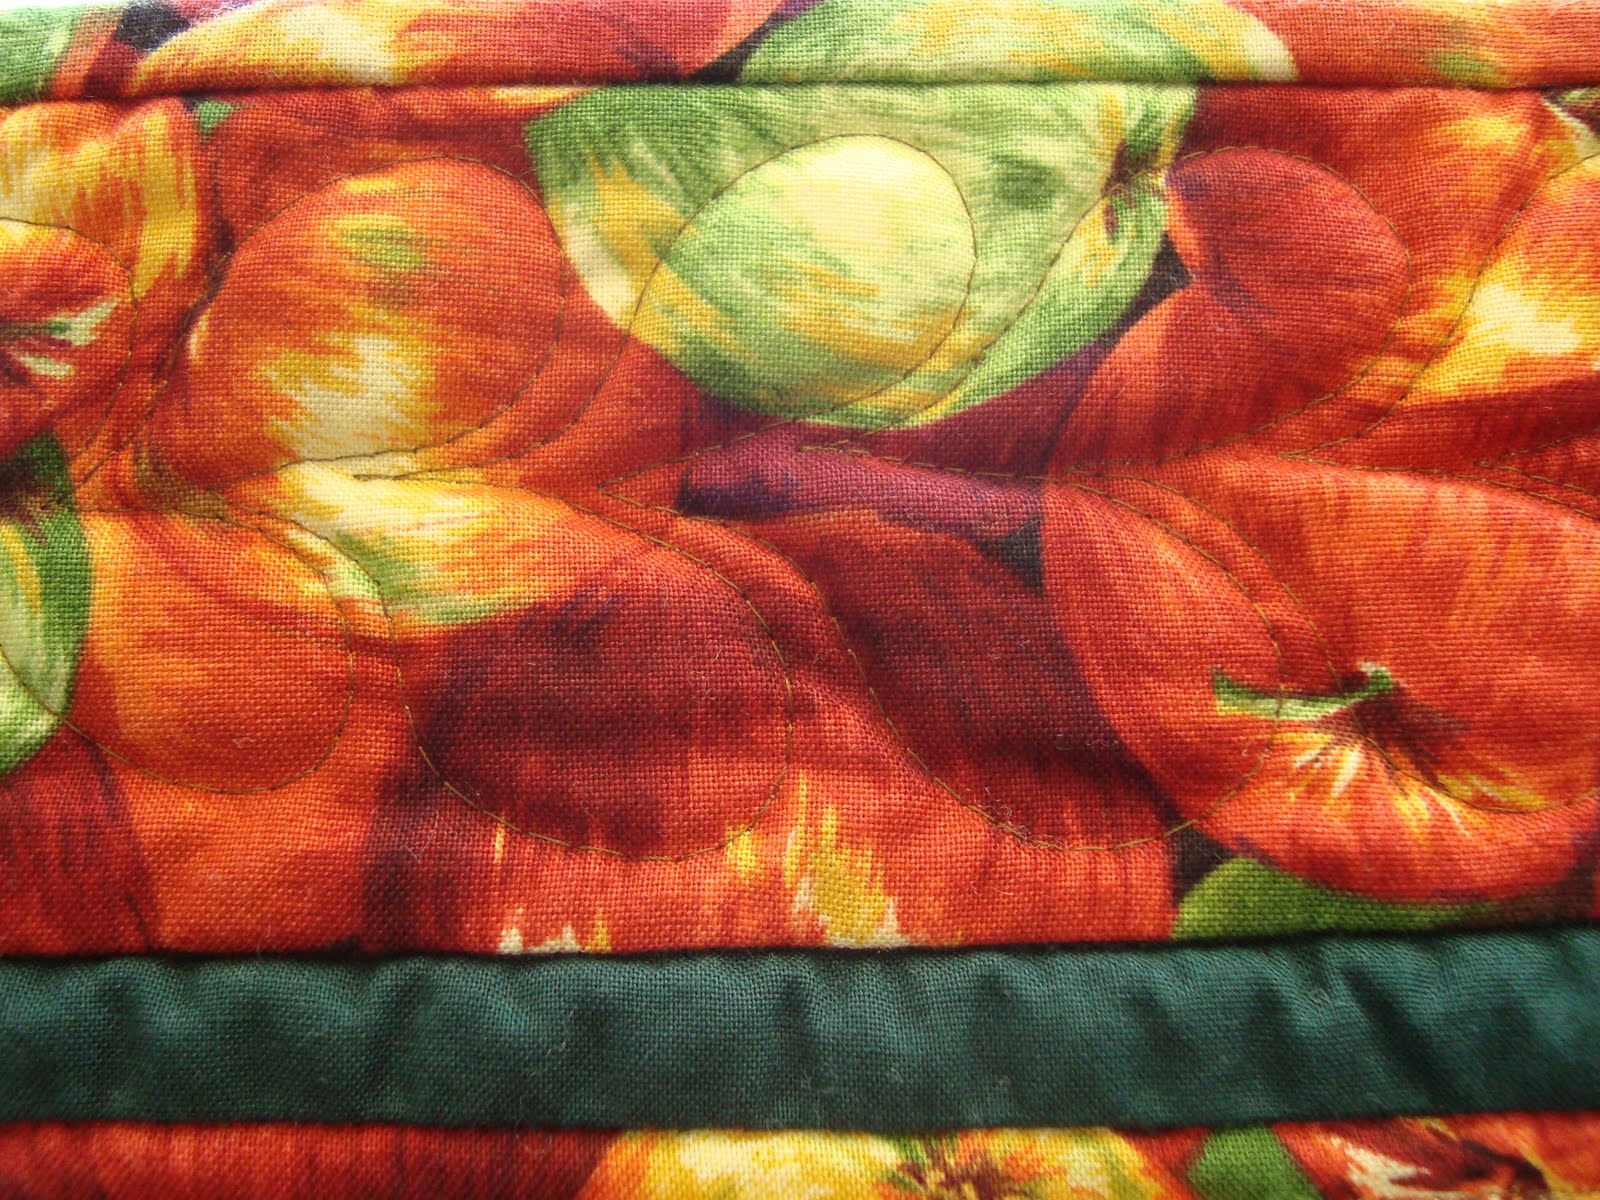
and a few people asked me how I quilted the palm leaf design shown in the upper right corner, so I thought I would add a tutorial for it.
The design is one from the amazingly talented Cindy Needham. She uses a stencil for her starting clamshell design, mine is made using a grid. She also calls it Gingko Leaves, but since I already quilt a different Gingko design, I have chosen to call mine Palm Leaves.
The design begins with a clamshell, that is made up of a quarter circle in a grid.
Four of the quarter circles are put together to form the clamshell,
all the clamshells fit together like this -
The design starts with a grid. I marked a 1/2" grid for this one, using a iron-off marking pen and a ruler. The lines should be at 45° to the grain of the fabric.
Here is a video demonstrating how I stitch the Palm Leaves -
I divided each half of the clamshell with 4 stitched lines, but the number depends on the size of the grid and personal preference.
When stitching the next row, the design is reversed -
Clamshells and Palm Leaves -
I used regular sewing thread for the stitching on this piece, in a contrasting colour so it would show, usually I use a 100Wt thread in a matching colour so that the design looks better.
I also added beads to the Palm Leaves on the Whole Cloth frame (you don't notice all the backtracking with 100Wt thread).
Recently I have realized that my favourite feathers to quilt are Bump-Bump feathers, so I thought I should add a tutorial here.
I find that bump-bump feathers are easier to quilt than traditional feathers, and that they are more organic in appearance, which I seem to really like now. Traditional feathers tend to be more symmetrical and even.
This is just how I quilt the feathers. Feathers are like signatures and everyones will be different. This is also how I like to quilt - everyone is different and will figure out what works for them.
I have talked about free motion quilting feathers on a domestic sewing machine before (here is the link for my first feather tutorial with video), and I went more into depth about FMQ. For this tutorial and video I assume that you already have seen the other post.
This is my wonderful sewing machine - Sapphire 870 Quilt by Husqvarna (in its lovely new cabinet - the best investment for FMQ).
I use a spring action quilting foot (and set my machine to the Spring Action setting in the menu), there is a single hole throat plate on my machine (that has really helped with tension problems that I had with quilting), and the feed dogs are up (I find that it is easier to control the movement of the fabric this way). I don't have a slider or any other fancy gadgets other than quilting gloves (clean gardening gloves or rubber gloves work in a pinch).
Here is a video (this one works now) of me quilting Bump-Bump feathers (I have already pulled up the bobbin thread and taken a few anchoring stitches) -
You will notice that I quilt slowly.
the completed bump-bump feather
I used a 50Wt Aurifil thread, in a contrasting colour, so that it would show well on the video, usually I use thread that matches the fabric, and I prefer a finer thread (100WT) so that the back tracking is less visible.
Concentrate on getting nice smooth shapes, and worry about stitch length as your quilting improves. Short stitches are better than stitches that are too long (long stitches make corners in curves). It is important to listen to the sound of your machine, without really thinking you will know how fast to move your hands (all that sewing pays off here).
I thought I should add some written explanations for quilting bump-bump feathers too -
I start from the bottom (and it is easiest for me to work towards myself, but we are supposed to be able to free motion quilt in every direction). Make a nice shape at the tip of the feather, and backtrack down the stem.
Stitch a complete tear drop lobe at the base of the stem. This can be quite small. Make sure that the tear drop comes off at a nice low angle (less than 45° to the stem).
Come out at a nice low angle again, between the stem and the first lobe,
stitch around to touch the previous lobe,
stitch back over the top of the lobe you just made,
and then bounce back out to form the next lobe, coming back around to the stem.
This is how the Bump-Bump feather gets its name.
Keep working up the side.
When you get close to the tip, decide if one more lobe will fit or if the space can be divided in half to fit two more bump-bump lobes.
Travel back down the stem and complete the other side.
If you want to make a split feather, before traveling all the way back down, add another stem from the centre (it is at a low angle too).
To work the lobes you need to start with a tear drop shape between the two stems.
Create the bump-bump lobes the same way as above, making sure when you work the lobes on the first side that you leave enough space for the lobes on the other side.
Since the feather border went completely around this quilt, I stitched the centre stem first, and when I was back to the beginning I started the lobes (no back tracking).
The feathers in my Bali Baby Jane border are between corner blocks, and so back tracking was involved. On this feather I didn't quilt lobes along the whole stem, one side is missing a few lobes near the seam (click on the photo to enlarge).
Here is a variation for the stem -
Instead of back tracking directly down the stem, leave open areas.
After completing the bump-bump lobes on the first side, travel down the stem creating pearls in the open spaces (the pearls are like figure-8's, but you complete one full circle before traveling to the next and completing it in the opposite direction - I hope that makes sense to you).
Here is a feather with pearls down the centre (this is from my October Free Motion Quilting Challenge sample quilt). I also added some extra embellishments to this feather.
Feathers also work really well for borders. For this one I made a center spine (with a slight curve), and did the lobes on one side and then the other.
This feather border design I used when I had a wide border that I wanted to fill with feathers. For this one I worked down one side of the spine and then up the other side. I backtracked along the spine and between two lobes to start the spine of the next feather.
Feathered Wreaths are a bit more tricky, but only because of the lobes in the center of the circle. Normally lobes are wide at the top and narrow towards the spine, for the center of a curve the lobes are narrow at the top and wide at the spine. They always seem to look odd when I am stitching them, but they seem to look fine in the end.
The outer lobes of a circle need to have very wide ends and be very narrow at the spine to get the lobes to go around the circle, and not to have the lobes coming off the spine at a 90° angle.
I usually mark the center circle of a feathered wreath to make sure it is more even.
diamonds at large lap quilt
This one has an oval center, with a spine that I echoed before adding the lobes. The lobes also filled in the diamond shape of the block. I echoed the center because the feathers created an odd puffy center that I didn't like the look of.
nine-patch mini quilt
This feathered wreath is so small (in a 4½" block) that I didn't have room for center lobes. The center circle is echoed.
applique fruit basket mini quilt
Pea pod surrounded by feathers for the corner design. This feather has a slight space between the lobes and the whole feather is echoed to create a different look. The spine is just a single spine but an echoed spine is nice too.
applique fruit basket mini quilt
A feather with a small feather coming out of the lobes. The slight space between the lobes also.
free motion quilt sample
This feather was echoed and then I went back with another colour thread over the spine and into the lobes to create veins in the lobes.
The next two quilts have little "feather style" variations -
All the quilts are quilt with Invisafil, except for the applique fruit basket mini quilt and the free motion quilt sample which were quilted with Aurifil #50.
One of the best ways to improve at free motion quilting is to take a "7-day challenge". Make up 7 little quilt sandwiches (at least 12" square), and every day for a week, free motion quilt for about 10 mins (try to fill in the square). You will be amazed at how much you improve by the end of the week. Like Diane Gaudynski always says "Keep quilting! Your work gets better everyday."
The free motion quilt sample above is one of my practice pieces from last year when I was learning this style of quilting (my friend Wendy (Inky Threads) and I challenged each other to quilt every day for a month) - I was so pleased with how it turned out that I added binding and turned it into a table mat.