
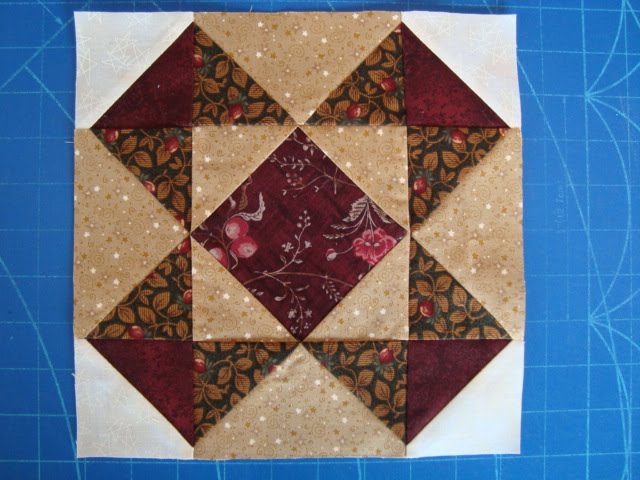
 It is Mosaic #19 from EQ7 (9" block). It reminds me of some of the Farmer's Wife Quilt blocks.
For this one you will need -
 Light Background -
 2 - 3+1/8" squares for the half square triangles (HST) in the corners of the block
Dark Background -
1 - 5+3/4" square for the fast flying geese (FFG) (this measurement is slightly different from EQ7)
2 - 3+1/8" squares, cut in half on the diagonal, these will go around the center square
Print A (mine is the green and gold/red print)-
4 - 3+1/8" squares for the FFG
Print B (mine is dark red)
2 - 3+1/8" squares for the half square triangles (HST) in the corners of the block
Print C (mine is the red print) -
1 - 3+11/16 square for the center
 Sew the center unit by surrounding the center print C square with the dark background triangles.
 Trim this unit to 5" square.
 Make the half square triangles with the light background squares and the print B squares. (HST - draw a diagonal line, layer the two fabric squares, stitch ¼" on either side of the line, cut on the line....). Press the seams to the background fabric (ignore the picture - I had to go back and re-press the seam allowances - it will make sense when all the units are sewn). Trim the four HST to 2+3/4" squares.
 With the large dark background square and the four print A squares make four fast flying geese.
 Here are some online FFG instructions.
 Trim the four FFG to 2+3/4" x 5" rectangles.
 All the units are ready to be sewn together in the regular nine-patch method.
 The seams are a bit bulky where the points of the FFG and the center unit meet - I used lots of steam. Trim the block to 9½".
 I made the second one the same way.
Have a great day and thanks for stopping by!!♥