
This week I finished a little scissor holder -

Made by covering an old wooden thread spool, perfect for a little pair of scissors.
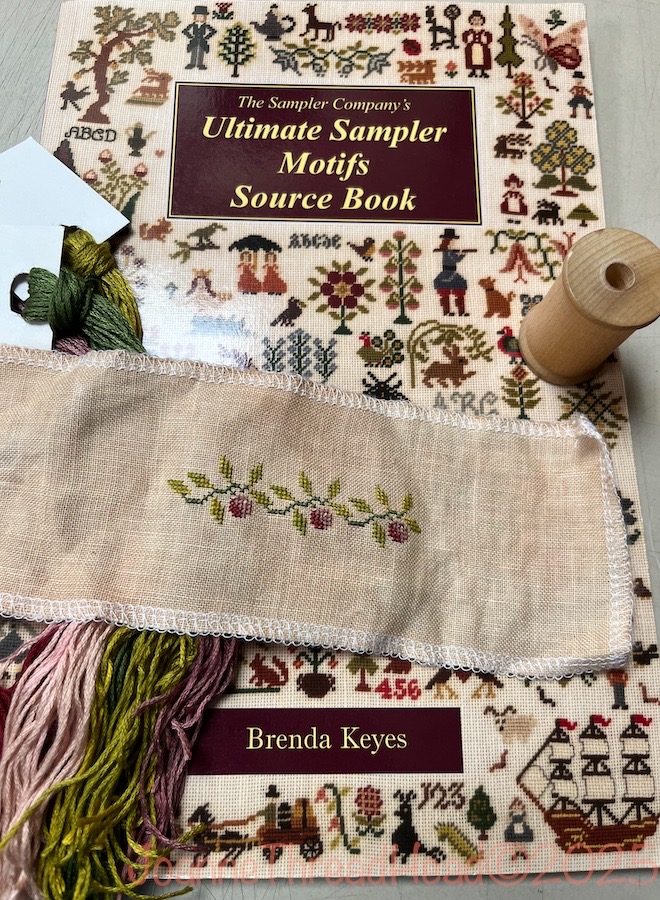
The cross stitch design comes from this book. I stitched it on a scrap of 40 count linen, using one strand of embroidery floss (I had dyed both the fabric and thread), stitched over two threads.
Photos from Around -

The garden is growing so well. I covered all the beds with partially composted chicken coop straw to keep the moisture in, and it has really helped.

Another one of the flowers my son brought home. These Zinnias are such a great colour.

Molly asking GingerSnap! to play with her.

Miss Maggie was sitting, waiting for us to come back from a walk today. She is sitting by one of my son's metal sculptures - a spider made from an old propane tank, and other bits of metal.

The chicks are just over a month old now - fully feathered, and loud!
All the best!♥︎


