Showing posts with label Tumbler Quilt. Show all posts

Friday, October 16, 2015

Another Tumbler Quilt

I  finished the tumbler quilt I made over the summer.


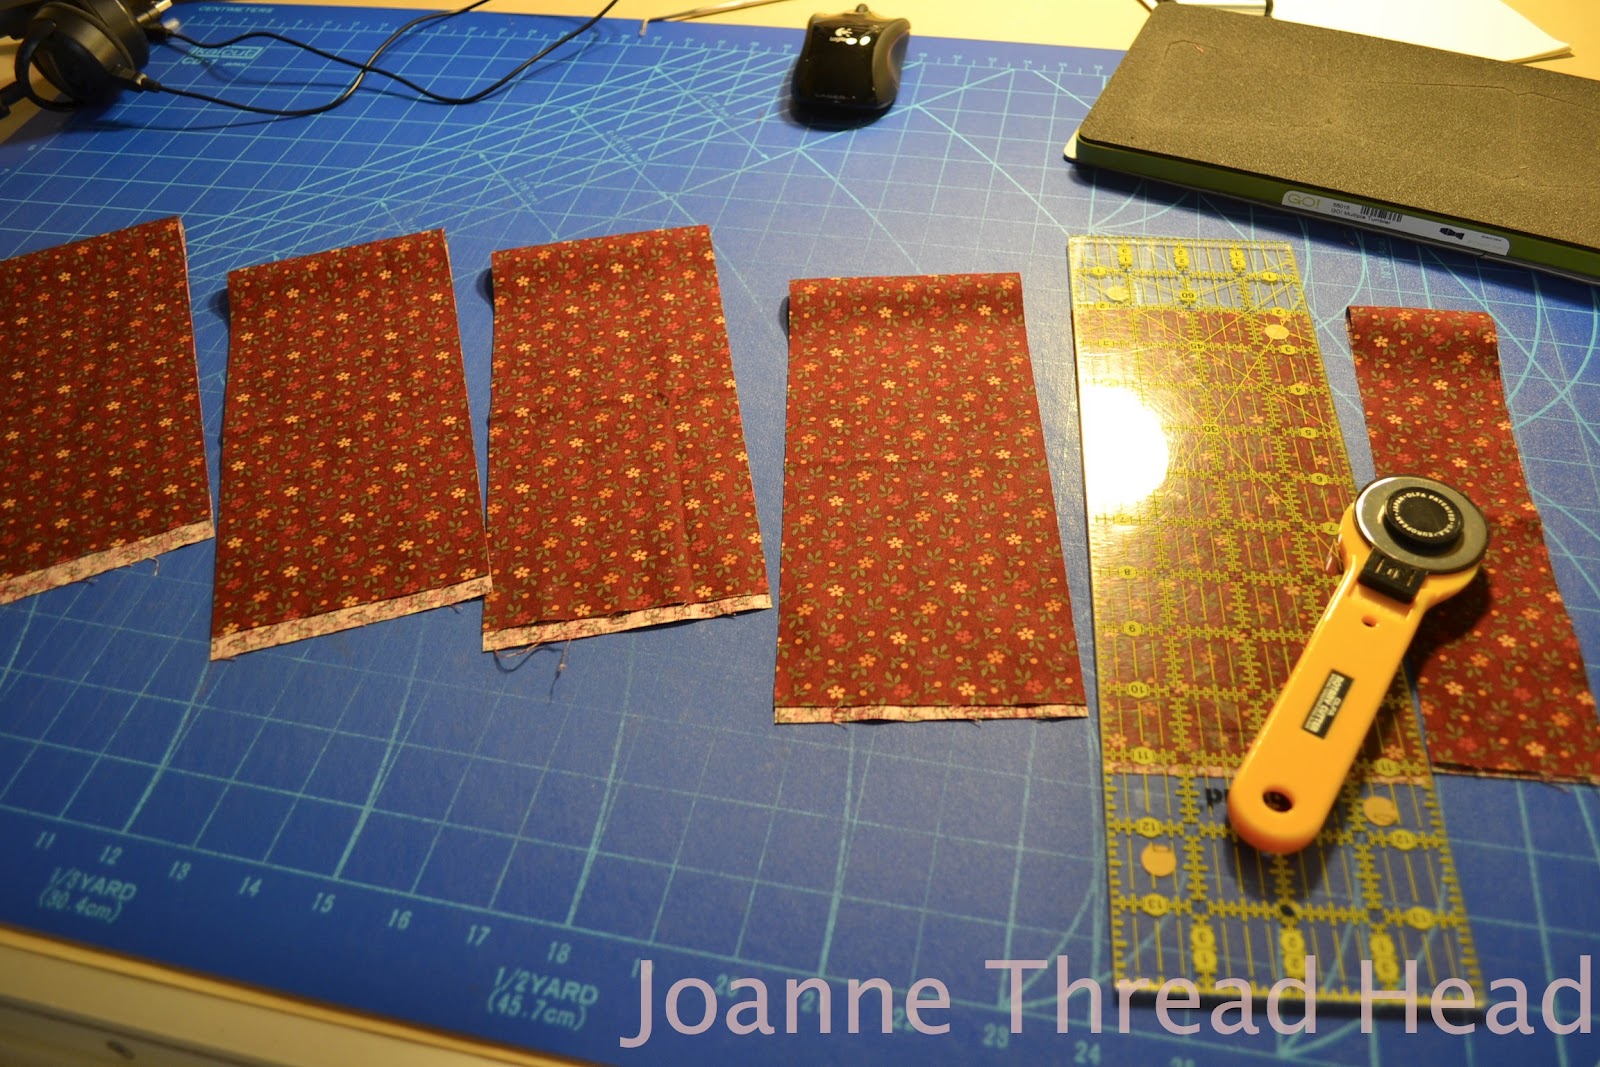
The 3.5" tumblers were cut with the GO! when I was stash busting in the spring. It is 68"x95" (twin quilt size). There are 650 tumblers, set at 25/row and 26 rows. For this one I used the same fabric for the tumblers on the ends of the rows and added the same fabric as a border at the top and bottom, to have the tumblers 'floating'.


I quilted Hooked Feathers in the outer (5") border. I started by marking the curving spine with white marking pen that irons out (this is the one that doesn't look like it works until you let it sit for a few seconds, then the line appears). I am amazed that some people still recommend the Frixion pen with all that is known about it.
I stitched the spine first and then the hooked feathers on the side closest to the little inside border.


Then I added the binding without cutting away the excess backing and batting.


This way I had room for my hand, and could easily stitch the second side of the feather right up to the binding. Otherwise I run the risk of covering up the quilting when I bind the quilt. I know I could mark where the binding would go, but marking isn't my thing - the only marking I did on this quilt was the feather spine (I wanted it to curve back and forth evenly around the border), and the 45ยบ at the corner.


For the corner I marked a 45 degree angle and worked the feather around.


For the other free motion quilting designs I chose to meander over the tumblers (just because I love stitching meanders), an angled 'bumping background' for the border created by the tumblers, and a small swirl in the 1" border.
All the free motion quilting was done on my domestic sewing machine using Bottom Line thread in the top and bobbin (all done in the same taupe #617 colour - a great thread that matched everything). I had a #80 regular Organ needle in the sewing machine. The batting is silk, Hobbs Tuscany. The backing is double wide flannel.


Silk batting is lightweight and warm, and so easy to quilt on a domestic sewing machine. After washing it shrinks slightly and has that nice crinkle look.


This lace hat is another finish this week. The pattern is from the Craftsy class New Directions in Lace (more details can by found on my Ravelry page if you are interested). It is one of the classes I have watched since buying the month pass. 
I am going through as many classes as I can, watching parts that I find useful, some I watch at 1.5 or 2 times the speed - it is still perfectly clear and easy to follow, I also have been downloading the class material from many classes that I might not have time to watch. 

I find the baking/cooking classes really nice and I am amazed at what I have learned (classes that I wouldn't have thought of buying).


This bread is from 'Artisan Bread in Minutes'. The recipe makes a large batch of dough and it is kept it in the fridge (for up to two weeks, but mine has never lasted that long - we are on our third batch in less than two weeks!), then you just take out as much dough as you need. The class shows all kinds of ways to use the dough.


We have been making pizza - quick and easy - the dough rests on the counter while the pizza stone heats in the oven.


These cinnamon knot buns I made with the brioche dough I made from the class ' Classic and Creative Brioche Pastries'.

Some WIPs -


I am knitting L'Enveloppe by Sally Melville, with some yarn I blended and spun.


The cowl I am knitting with yarn from New Zealand is coming along nicely  - this is my take along project because the lace is so easy to knit.


I am free motion quilting the double wedding ring quilt I pieced earlier in the year. It is wool batting and much puffier than the silk.


This work in progress is one that I am amazed by. I have been trying to grow avocado pits for years, and this one is growing!

In the summer I won a set of knitting needles during the Tour de Fleece. They were Knitters Pride needles, well KP had a photo contest recently and this was my entry (the theme was what our KP needles matched) -

I was surprised to win a set of double pointed "Marblz" needles.


They are so pretty!


Since I rarely use DPN's, and didn't want them to just sit in a drawer, I put them on display in my sewing room - with a crochet heart from my niece.

Have a great day and thanks for stopping by!♥︎

Sunday, August 23, 2015

Ready for Free Motion Quilting!

First thing I want to mention is that I am hoping to teach another Free Motion Quilting class at our local school. If you are in the Winnipeg area and are interested in learning to free motion quilt your own quilts here is the LINK. Thanks!

I am ready for more free motion quilting! This weekend I finished piecing two projects.


This first one is a table runner that is about 22"x49". The blocks (15" and 6") are ones I pieced about 4 years ago and had set aside - I thought it was about time I did something with them.


This next project is 3" tumblers I cut with the GO! earlier in the year, when I was stash busting. I thought I would make a lap quilt - about 55"x74", but now that it is finished I am tempted to add some more borders and turn it into a twin bed quilt.


It is not like I don't have enough fabric.


I am also knitting with some more hand spun from the Tour de Fleece. This is a lovely scarf pattern called Lintilla.

Thanks for stopping by and have a great day!♥︎

Wednesday, April 8, 2015

Stash Busting


For the past week I have been stash busting - whittling my 4 containers of fat quarters and smaller pieces down to 3 containers.

Since it is the same amount of work to cut out one quilt as three, that's what I did.


Pieces for a Flowering Snowball quilt cut with the GO! (the link for the die). I used some yardage for this one too. Here is a link for images of this quilt pattern.


12" blocks. The plan is for 42 blocks, with a 6x7 layout, the blocks alone will be 72"x84". I might add borders - big enough for a bed quilt.


Pieces for a Tumbler quilt (again cut with the GO! - 3" Tumbler die). I love this die and have used it many times, it is a really great way to use up the odd pieces leftover from cutting out other blocks.
There are just over 650 tumblers, and this quilt should be about 56"x78" (26 rows with 25 tumblers per row).


Pieces for a Courthouse Steps quilt. One of my favourite quilts is a Log Cabin quilt I made two years ago. I had a few leftover pieces, and I wanted to try something different. This style of quilt is a fabulous stash buster - 1+1/2" strips . I really enjoyed piecing the Log Cabin, so I am looking forward to this one.


9" blocks. The plan is for 54 blocks, with a 6x9 layout, resulting in a 54"x81" quilt.


With all the small leftover pieces I cut about a million (probably exaggerating, but there are a lot in that container!) Thimbles - these will be 1+1/4" when sewn. I like them as leaders/enders, and they will make pillow covers/table mats... without much thought.

Now comes the hard of deciding which one I will make first.

Have a great day and thanks for stopping by!

Sunday, March 31, 2013

End of March Roundup

Last week I quilted this tumbler lap quilt -


It started as a fat quarter pack and was cut using the GO!. I quilted an all over meander (it seems to be a much maligned quilting pattern, but sometimes it is the perfect design). I had pieced the quilt top last summer, and it is nice to have it finished.

This is my Art Quilt of the Month for March -


I used some of my first home spun wool, and couched it down to a piece of rust dyed fabric. I quilted feathers on it since I have been working on a FMQ feathers tutorial this month. The little quilt is 6"x8".

I have been doing spinning -

Silk and Merino all the way from Australia.
Thanks Joan!

These skeins are drying after being washed -


The bottles (for weight) help set the twist while they dry.

Have a great day and thanks for stopping by!

Saturday, August 4, 2012

Striped Tumbler Quilt

I recently finished a striped tumbler quilt for a family friend, and wanted to share my pattern.


The lap quilt is 53" x 67". The fabric is by Kansas Troubles.
It is made with tumblers cut with the GO! 3+1/2" Tumbler die.

I used -

11 fat quarters, and
2 meters (79", but 2 yards would work) of fabric for the stripes and binding


I cut the fat quarters into five 4" strips parallel to the selvage (this minimizes stretching when cutting with the GO!).


I like to lay the strips together and press them, it kind of makes them "stick" together.


I cut the five layers together, the full three tumblers the first pass,


and two with the rest of the strip.


It is actually more than 3, and 2 tumblers since there are 5 layers, but you get the idea. I cut 25 tumblers out of 1 fat quarter (I had both metric and imperial fat quarters, and cut 25 tumblers from both kinds of FQ's) with very little waste.

275 tumblers from the 11 FQ's
I pieced 30 tumblers per row, and joined 3 rows together. I made 3 of these tumbler rows. They are about 9" wide.


I pressed the seams in opposite directions, and spiralled the seams to reduce the bulk at the intersections.


I trimmed the ends of the tumbler rows,

the finished layout of tumblers and stripes
and joined the rows with alternating stripes of fabric, cut 7+1/2" wide, cut parallel with the selvage (so there are no joins in the stripes). I had four 7+1/2" pieces of fabric.  I also cut out the 2+1/2" strips for the binding, parallel with the selvage (I cut 4 strips for the binding, but you might need 5 depending on the amount of fabric you have).


I wanted to make a quilt with lots of room for machine quilting. I quilted large feathers down the stripes and meandered over the tumblers. I think it would have looked better with straight lines over the tumblers to contrast with the feathers - maybe next time. I marked the centre of the feathers with the Hera marker, and quilted it first.

I used wool batting and flannel backing for this quilt.

Have a great day and thanks for stopping by!

Sunday, April 22, 2012

More Dear Jane


Today I made 5 more Dear Jane blocks, now there are 12.
There is a very helpful website - That Quilt - that has instructions for all the blocks (since the book has none).


This one was tricky and took me a few hours (for a 5" block!! Now I think my quilt is getting smaller by the day - maybe it will just be a table runner!), but at least I made it.


I paper pieced it - the above piece of paper is 3", it is the centre of the block.


The method I use, you don't sew on the paper, but fold all the lines before stitching,


and then stitch beside the fold. There is a good tutorial here.
I don't use freezer paper since I am just making little blocks. I use a bit of glue stick glue to set the first piece and work from there. Also since I am using cheap paper, just drawing the lines is enough to score the line for folding.

I said that the above block was tricky, but maybe I was having an off day -


this one stumped me too! The centre was supposed to be cream (it is now). I paper pieced it too.

There are so many beautiful variations of the quilt (google images), that I think I will start picking and choosing which blocks I will make, because I know I won't have enough cream to make them all.

I have made my Dear Jane blocks for this week (I am trying to make a few a week) and have cleaned my sewing room, ready for a different project (maybe another small quilt of the month).


I have been using scrappy tumblers as "leader and enders", and made quite a few rows this weekend - I think I almost have enough to sew into a quilt top (this will be a charity quilt).


I turned the little piece of punch needle embroidery I made the other day into a top for an old tin.


This is the tin after I spray painted it with some paint I had.

Have a great day and thanks for stopping by!


Update - Here is another lovely Dear Jane blog - "Janiac's Unite" - thanks Heather.
Related Posts Plugin for WordPress, Blogger...