Showing posts with label Books. Show all posts

Saturday, April 14, 2012

I Might Be Addicted


I bought these two books yesterday at the quilt show - "Dear Jane" and "The Civil War Sewing Circle", both lovely books.


I thought I would try some Dear Jane blocks with Batik fabric, just for fun. They certainly are fun to make, and I am now thinking I am going to buy some background fabric to get started on a large Dear Jane!! Addicted??!!...
The blocks are 4.5" square (finished size), and I used foundation paper piecing, machine appliqué and regular piecing to make them.


When I made the freezer paper templates for the machine appliqué, I only traced one design and then stapled the other layers of freezer paper together, to make cutting out the templates faster.


I added some 3" borders, and I will machine quilt it tomorrow

Have a great day and thanks for stopping by!

Wednesday, April 11, 2012

Romanian Point Lace Overview

Since I am attempting to blog everyday in April, I am trying to find different things to talk about. Today it is Romanian Point Lace (I still can't believe that this is the most popular thing on my "quilty blog").


RPL starts with a crotchet braid (there are various ways of making this). I like to use #10 Cebelia cotton by DMC for the braid and the filling stitches.


The braid is basted to a pattern,


and various decorative stitches are added. All the work is done on the back and when the project is completed, it is removed from the pattern (so you don't really know what it is going to look like until the end).


I taught myself RPL using these two older Anna magazines.


A couple of weeks ago, when I was at Nordic Needle, I bought myself these two books by Sylvia Murariu (I thought I should have some proper books on the subject). They are very nice and I would recommend them to any one wanting to learn more.


Another really nice book is this one - "The Complete Encyclopedia of Needlework" by Thérèse de Dillmont. The book was first published in 1884 by DMC, and is a great reference for all kinds of needlework.


There is a great section on Needlemade Laces, which is useful for RPL.


The book also covers knitting,


tatting,


crotchet,


along with all kinds of embroidery - some I have never seen elsewhere.


This was the first piece of Romanian Point Lace that I made.


This table centre was the third and last piece I made. Both of these are Anna patterns.
My second piece is a Christmas Ornament I designed as an introductory course on Romanian Point Lace for my blog (the link and picture is on my side bar).

The top photos are of a piece I am currently working on. It is a pattern I designed.

One of the lovely things about RPL is that it is so easy to design, plus you can easily change the size of the pattern with a photocopier and by using different thicknesses of thread. You can also make different styles of braid and use various filling stitches to suit your taste. The lace is also very sturdy and doesn't really need too much blocking.

Have a great day and thanks for stopping by!

Thursday, March 29, 2012

Igolochkoy

It is Spring Break for my youngest son and we spent a couple of days in the States at the beginning of the week. Fargo, ND, is an easy three hour drive south of here. My favourite store is there - Nordic Needle.


I, of course, indulged in my obsession with thread! All the beautiful colours and textures are so appealing - my blog is appropriately named by my oldest son.


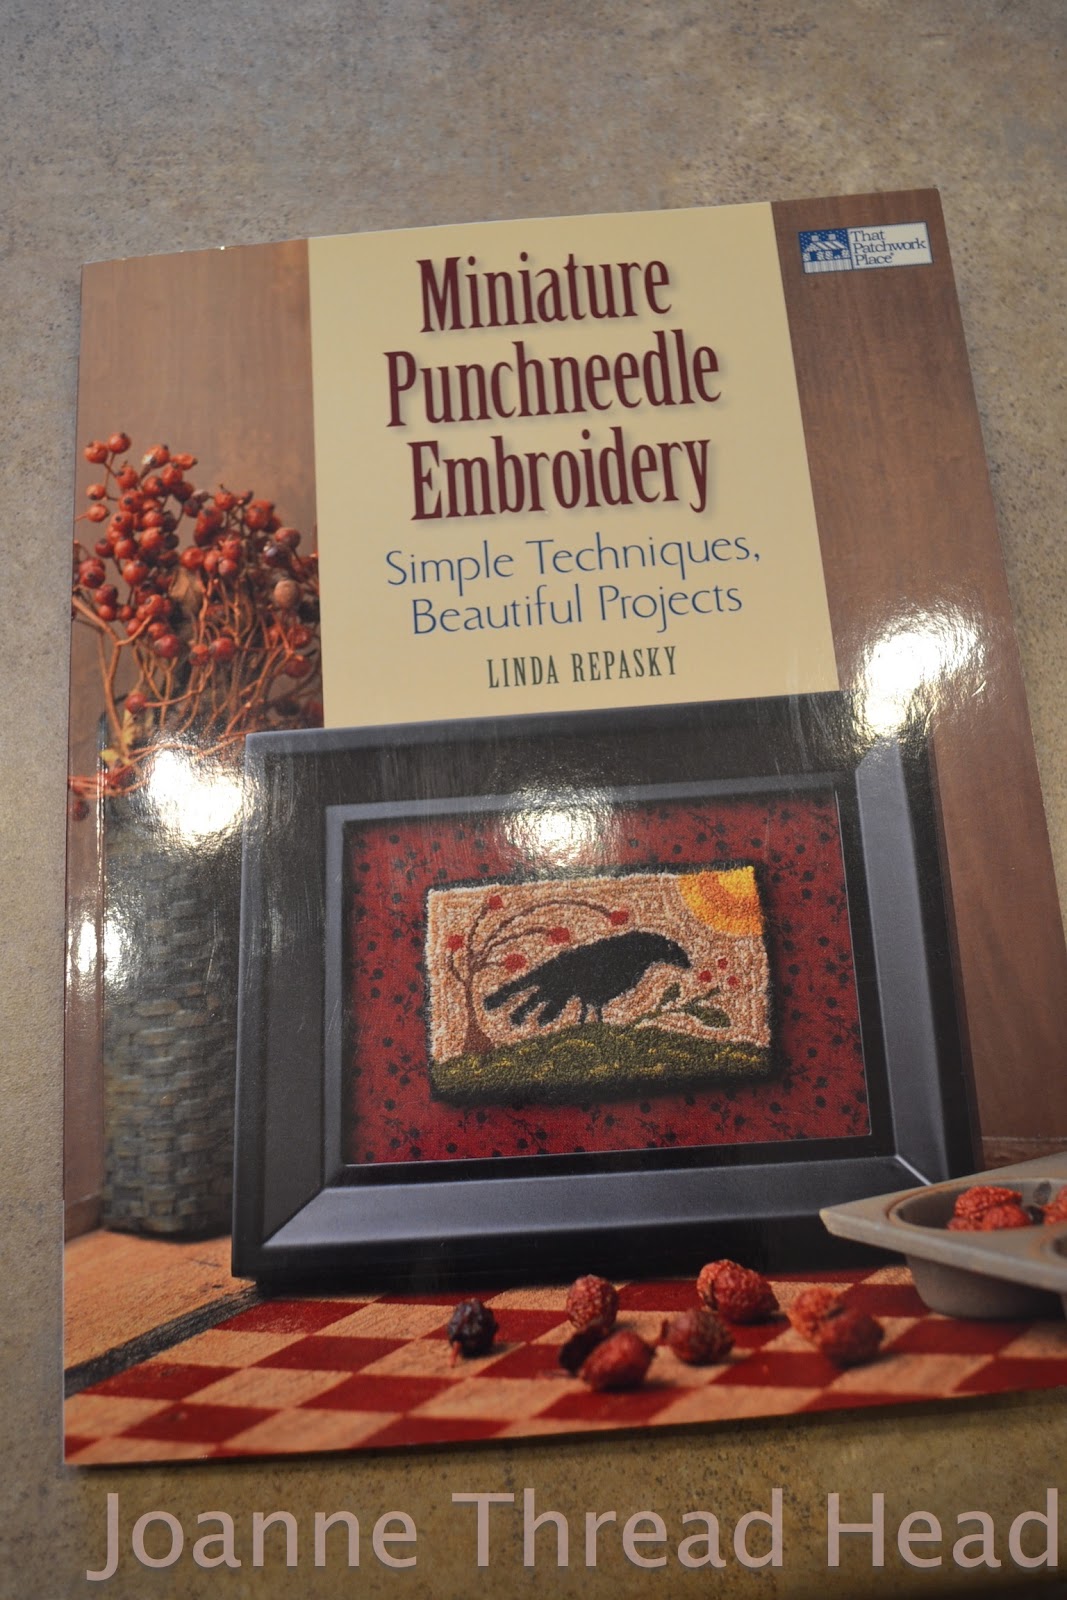
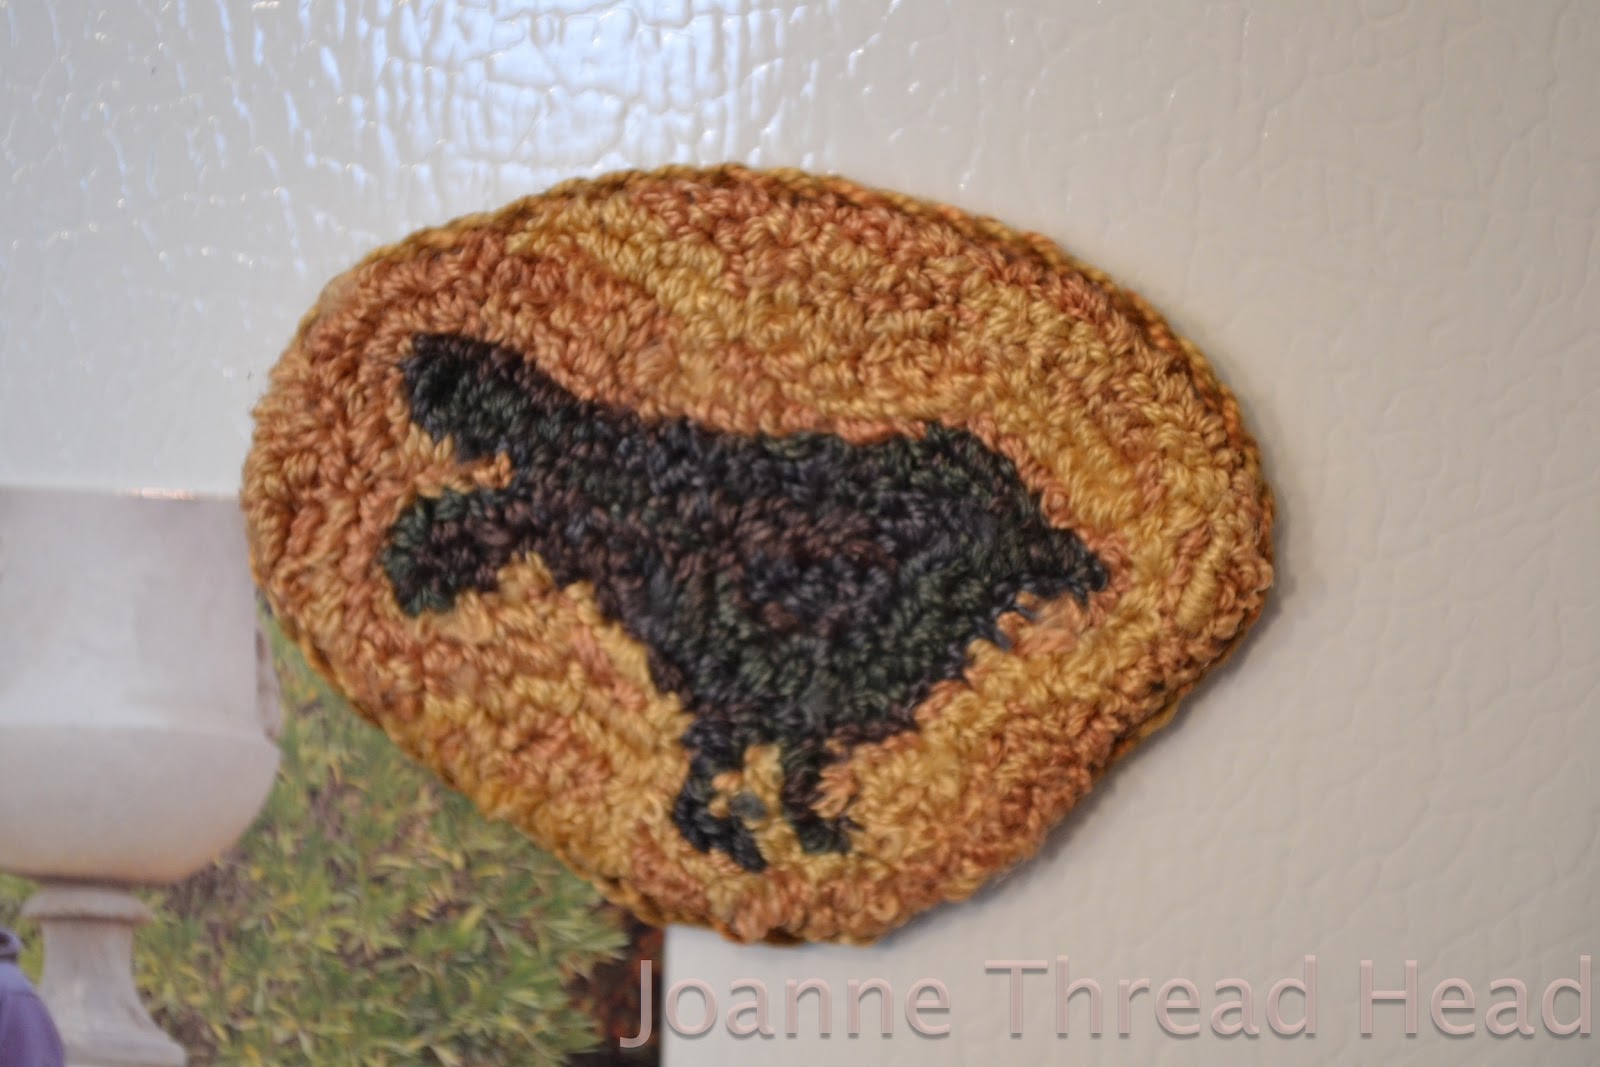
I finally tried Igolochkoy (ee-gó-luch-koy) - Russian Punchneedle Embroidery with some of my new threads when I got home (I have had the tools and book for a while).


The work is done from the back with the little punchneedle tool, I used 3 strands of embroidery floss (these ones are overdyed) for this piece. The fabric is held drum tight in the hoop. The penny is just for scale.


The pattern for this is from the book "Miniature Punchneedle Embroidery" by Linda Repasky.


Instead of making it into a pin like the one in the book, I glued it to an old magnet (lightly sanded first), and trimmed around it.


I then glued a twisted cord around the piece.


I seem to have been making lots of twisted cord recently. I make twisted cord using a bent nail in the drill instead of a drill bit. I place the other end of the thread around a pencil that I put in a drawer in my craft table. Super simple and no fancy tools required!


The above picture is actually my first attempt at punchneedle - I quickly learned why you are not supposed to use 100% cotton fabric, when I reached the middle all the the fabric gave way - there is a large hole in the centre. I then tried it with polyester/cotton fabric, it was much easier and no hole! Weavers Cloth (a polyester/cotton fabric) is recommended, but I couldn't find any.


These pillows are made using a very similar technique, only with a larger punchneedle tool and wool, on velvet. The tops of the loops are cut off, and each section is trimmed for a 3-D effect. I made these about 30 years ago (yikes - I must have been a baby!). The flower one was started by my grandmother, the other pattern was hers also.


When I was at Nordic Needle I decided to buy these two Romanian Point Lace books - I thought it was about time I had actual books on the subject.
Since I posted my RPL tutorial  (2 years ago this summer), it has remained the most viewed thing on my blog - far outnumbering everything else on a daily basis. I am amazed since I consider this a "quilting blog".


Speaking of quilting - the pattern for the fifth Temecula Quilt Co block of the week - Blessings - came out  today. Tomorrow we will get the finishing instructions.

I didn't buy any fabric while I was in the States - I did go to some quilt stores, just didn't find anything - I guess I really don't need any more fabric, and there is a large quilt show coming up in Winnipeg next month which I am really looking forward to.

Have a great day and thanks for stopping by!

Saturday, March 24, 2012

IPad Bag


Today I made a bag for my new IPad (my birthday present).


I have been working on the crazy quilted flap for the past few days.


Stitching, buttons, beads, charms, ribbon etc. I started crazy quilting when I was young, and it is still one of my favourites!
I recently started using thicker threads (Edmar "Lola" is my favourite, but also Kreinik #8 braid and Trebizond silk) and now I think I need to get bigger beads (a trip to the bead store maybe...), these ones are size 15 and I think they look too small compared to the thread. I started using thicker threads when I started crazy quilting with Bali fabrics - I just think they go better together.

More Details -


I used a magnetic clasp for the closure. These are so simple to add, and make closing a bag very easy.


They come with a metal backing that you use to mark the position of the slits that need to be cut in the fabric (I just use a stitch ripper to make the little slits), and then the prongs from the magnetic fronts are folded over the metal backing. I usually make sure that I have some extra interfacing or fabric where I place the closures.
The first time I used a magnetic clasp I made little buttonholes instead of just cutting slits, but I find no difference in the stability and just cutting the slits is so much easier.

I used diaper flannel for the "batting" and a heavy/stiff fusible interfacing for the "backing" for the "bag" portion, and quilted it with a 30WT variegated thread (Sulky).

The flap has a layer of heavy interfacing and a layer of woven, light interfacing, no quilting.


 I made a long handle,


and used a 1" ribbon inside for stability (this is a ribbon from a fat quarter bundle). I just stitched the ends together after sewing the seam down the handle, and turned the whole thing right side out.


I added some decorative stitching down the handle to hold all the layers together.
I tried a new way of making the handle adjustable, using old brass rings that I found in my first house - I think they are from curtains. The buttons are decorative and they hold the extra part of the handle.


The tassel hangs from an agate ring that my SIL gave me.
The bag is hanging from a hall mirror that my Dad made for me over 20 years ago.


The bag is 9" x 11" and fits the IPad wonderfully. I made a couple of pockets inside to hold the IPad and other "purse stuff".


These are a couple of my favourite reference books for crazy quilting - Judith Baker Montano's "Elegant Stitches" and "A~Z of Bullions" from the A~Z Series.

Have a great day and thanks for stopping by!

Thursday, October 13, 2011

New Feathers


 I am trying a new type of feathers - Hooked Feathers (no backtracking).


 It is a pretty neat way to create feathers, but I am struggling with them (I keep wanting to create feathers the old way). I definitely need more practice before I quilt them on my next project.


 I would like to make a Dresden plate quilt, so I made a test block to try out the Dresden plate template.


It worked really well.
I have done some "walking-foot" quilting on it and I will try some hooked feathers in the background.


The full moon this morning.


A young robin came for a visit this afternoon.

Have a great day and thanks for stopping by!

Friday, November 5, 2010

New Books

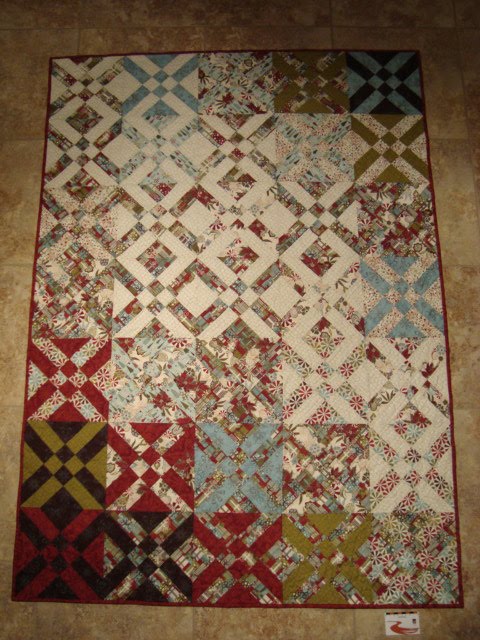
I finished the Christmas Arrowhead quilt.


It is 45" x 64". I used Warm and White cotton batting, with red flannel backing. I used 12 fat quarters (and an extra 0.5meters for the binding) of Figgy Pudding by Basicgrey. It was quilted on my home sewing machine using a #80 Microtex needle (the free motion quilting foot on my machine doesn't like a finer needle - the screw goes in too much and this is what caused the last FMQ foot to break), with light khaki Invisafil in the top and red Aurifil in the bobbin.


I decided to quilt a simple, all over design, because I didn't want the quilting to be the focus, I thought that the placement of the blocks and the pattern they created should be the focus. That is why I chose the Invisafil thread (it is a very fine #100 thread - hard to see in the picture).

The back - holly leaves and swirls.

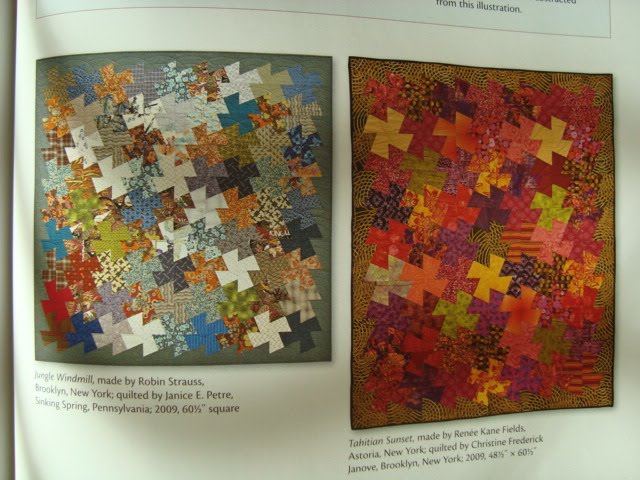
The blocks of this quilt were designed by Anita Grossman Solomon, and I thought that the blocks were so ingenious that I decided to order the book they come from.

"Rotary Cutting Revolution" is a wonderful idea book - there are no quilt patterns - it is a book with 8 incredibly described quilt blocks! They are all wonderful and so well explained. You can preview the book here, click on the "google preview" symbol.

This "No Waste Windmill" block is one I want to try next, or maybe this "Old Italian" block....


I also ordered (to get the free shipping!!) this "my bread" book by Jim Lahey (not from "Trailer Park Boys"!). It was recommended by my parents and sister, and the book sure doesn't disappoint!

This is a "no-knead" technique to making bread that is so simple! It only takes less than 10 minutes of actual working time to make the bread - the secret is letting the ingredients (flour, salt, small amount of yeast and water) to sit for 12-18 hours, and then cooking the bread in a covered enameled cast-iron pot. I have made a few loaves so far and they have been delicious.

The taste and texture are amazing - like the best artisan/European bread. And so easy!!

Update - Here is a link for a version of the bread.
Update#2 - Here is an even better link with lots of cute pictures!!

Have a great day and thanks for stopping by!! ♥
Related Posts Plugin for WordPress, Blogger...