Showing posts with label Free Motion Quilting Challenge. Show all posts

Wednesday, April 3, 2013

The Evolution of My Quilting Samples

I wrote a tutorial on developing your own style for free motion quilted feathers for the SewCalGal 2013 Free Motion Quilting Challenge, and thought I would share the evolution of my quilting samples here. Click on the names of the pieces for more details about each piece.


For this Vase and Feathers piece I quilted feathers with rounded ends, but tried a different (for me) shaped tip - 
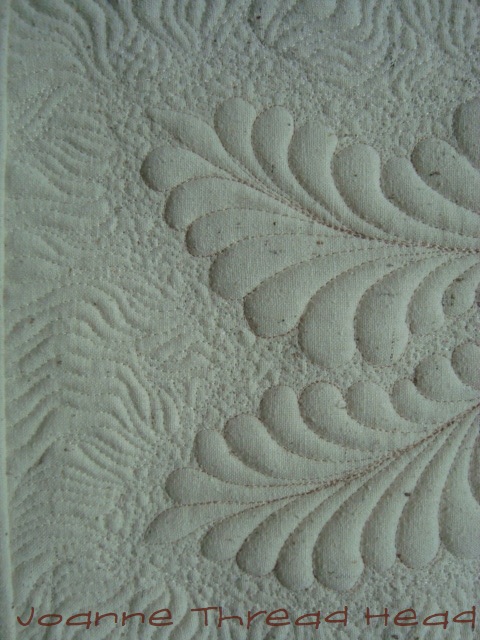

Kind of elongated diamonds. I also did the quilting in two different colours, but just different shades, so it is barely noticeable.

This Stupendous Stitching and Whole Cloth piece was next - 


I used the same elongated diamonds for the tips of the feathers, and the same round ends,


but this bottom feather came out with a big tip and a more pointed end. I really liked that one, so for the next piece I went with that.

The piece also had feathers that didn't overlap - normally I kept the lobes of the feathers separate -


But I overlapped the lobes in this section -


And liked the look of that too. The lobes are also uneven in size.


I made the ends of the feathers pointy,


And the tips of the feathers noticeably bigger. I also tried to make the lobes even, and gradually increasing and decreasing in size.


I also included more overlapping of the lobes. This turned out to be one of my favourite pieces that I have ever made!


For the above piece I tried dramatically different colours of threads for the main design and the background. It has the same pointy feather ends, large tips and overlapping lobes, because I love that look. I divided the background into three sections with a curved line, and quilted each section differently. Because these are such small samples it is good to try out different backgrounds.


I quilted the above piece to try out a quilting design with feathers radiating from a centre circle, because I am planning a large whole cloth quilt and thought that this might be a design I would like to use - the designs are all still evolving!!

I hope you will give my challenge on the SewCalGal 2013 FMQ Challenge a try, you might be pleasantly surprised with your results!

Thanks so much to SewCalGal!!
Have a great day and thanks so much for stopping by!♥

Wednesday, December 19, 2012

FMQ Challenge Bonus Tutorials


I decided to complete all four of the bonus SewCalGal Free-Motion Quilting Challenges,


since I had completed all twelve of the monthly challenges (more about my year of the FMQ Challenge quilt here).

9.5" square

This is my version of the May Bonus Tutorial. It doesn't actually qualify as part of the challenge because we were supposed to quilt hand marbled fabric created by the tutorial expert, Linda Moran - oh well.


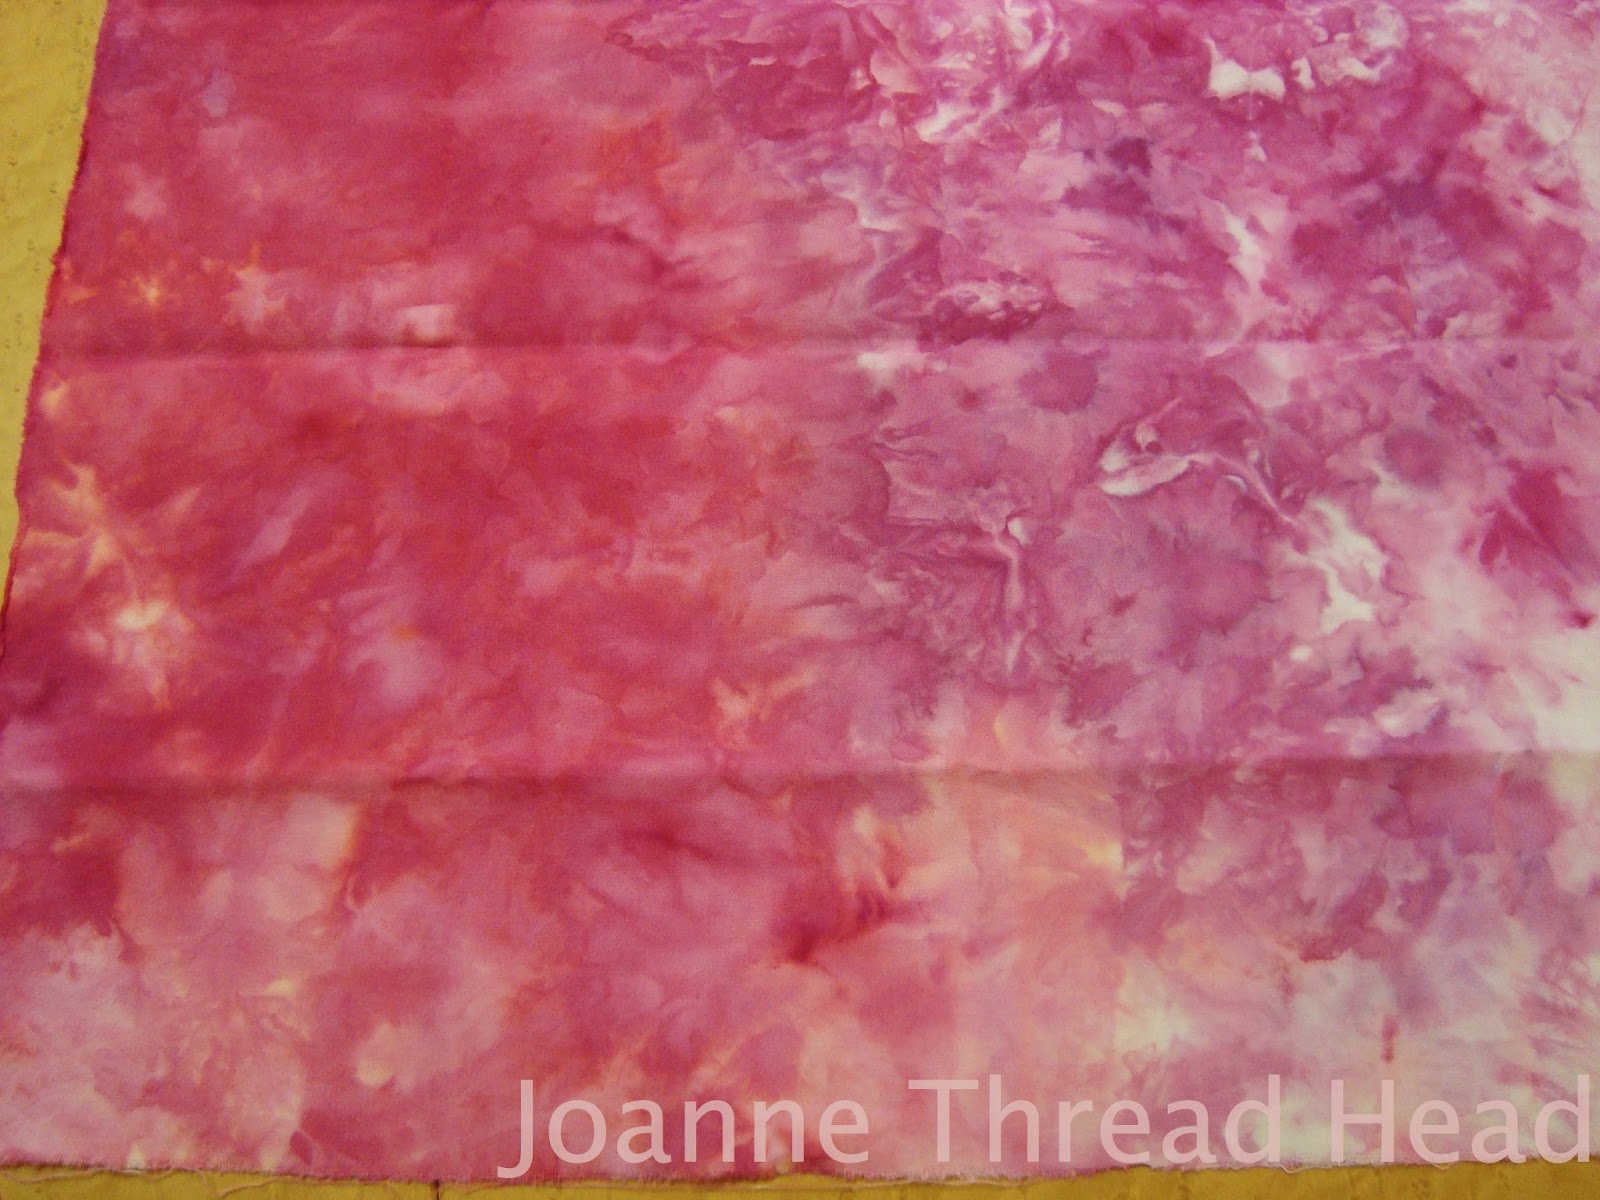
I interpreted the challenge to be enhancing some beautiful fabric, and decided to quilt some of my hand dyed fabric.


I started with 30Wt Sulky variegated thread (and a #90 Titanium needle).


I then used some 50Wt and 100Wt thread (and switched to a #80 Titanium needle).


This one was definitely different for me, and lots of fun!

9.5" x 10.5"
Next is the August Bonus Tutorial by Susan Brubaker Knapp.


All about taking a photo and turning it into a quilt design. (I have a previous post on this one here.)

8.5" x 10.5"

The October Bonus Tutorial was by Diane Loomis. It was all about machine trapunto, something I have been wanting to try for a while (I even had the YLI wash-a-way thread waiting).


My design was inspired by designs from the book 'The Secrets of Elemental Quilting' by Karen McTavish. I traced it on to plain Kona cotton with a very fine pencil.


I used one and a half layers of wool batting for the trapunto batting. After quilting around the design with the wash-a-way thread (top and bottom), I trimmed away the excess batting. I layered the whole thing with a very thin cotton batting.


Since I have been experimenting with different colours of thread, I used a dark beige thread for the feather design. All the thread for this piece is 100Wt silk thread (YLI and Kimono).


I did some "scribbling" around the feather, and something I call "sand dunes" (one of the "bouncing backgrounds") around that. There is also a section of double grid work in the corner (it is on a 1/2" grid).
It is the first time that I have done this style of quilting with thin cotton batting, and the whole piece has a really nice feel. I will be trying more of this technique in the future.

9.5" square

This is my version of the December Bonus Tutorial. The expert for this one is Teri Lucas. The challenge was about printing an image on fabric (created with Kaleidoscope Kreator 3 Software) and quilting feathers.


I don't have fabric to print on, and so decided to use a piece of my snow dyed fabric - I thought the kaleidoscope looked like a snowflake and it seem appropriate (that's why I quilted a swirling design around the kaleidoscope too).


You can really see the beautiful design on the back of the piece.

In this tutorial, Teri Lucas has one of the best tips that I have seen in this Challenge - "The only way to improve stitching out feathers is to spend time at the machine stitching." - so true!

Thanks to SewCalGal and all the experts for these tutorials. The whole challenge has been inspirational!

Thanks for stopping by and have a great day!❤

Thursday, December 13, 2012

FMQ Bonus Tutorial

I decided I would work on a few of the SewCalGal  FMQ bonus tutorials before the end of the year.
The first one I tried was the one by Susan Brubaker Knapp, from August.


It was all about taking a photo and turning it into a quilt design.


I used a wonderful tutorial from LuAnn Kessi (May Your Bobbin Always Be Full - such a great blog and tips on so many creative things) on how to transform photos into drawings with Photoshop - the tutorial is here. You can see my pattern in the corner of the above photo. I used a light table, and transferred the design to the fabric with a very fine pencil (I used a fabric eraser to remove the lines after stitching).


This is the finished piece. It was lots of fun to stitch. This was the first time I have created something like this, and it was much easier than I thought it would be - I will definitely have to try it again.
The piece is about 9" x 10". I used 100Wt Invisafil thread for all the quilting. The batting is my now favourite, layer of cotton with a half layer of wool on top.
Thanks SewCalGal and Susan BK!!


For this piece I used some fabric that I snow dyed - I thought my summer flower should be immortalized on my new winter hobby! More about my new addiction hobby another day, I have some fabric waiting to be washed out!!

Have a great day and thanks for stopping by!❤

Thursday, December 6, 2012

December Free Motion Quilting Challenge

The December Sew Cal Gal Free Motion Quilting Challenge was with Patsy Thompson, and it was all about borders.


It is always good to try something new, and this month for me is was  feathers on a "roller coaster" spine. Since I don't have the bendable ruler that Patsy Thompson talked about, I made a template with paper to mark the spine - although I didn't stitch the spine first like I normally do. On the video Patsy showed a beautiful way to quilt feathers that was also new to me.


I used a dark purple 50Wt thread for quilting the feathers,


it is easier to see them on the back.

the border was a mirror image
Then I added "hyper quilting" with a green thread.


Hard to see the feathers on the front in this photo, but the hyper quilting helped the design to be more visible in real life. I can't wait to try this style of quilting out on some plainer fabric.
Thanks to Patsy Thompson for a wonderful lesson!

It is sad to see the challenge come to an end. Thank-you so much SewCalGal!

Here is a post on my finished sampler quilt.

Have a great day and thanks for stopping by!❤

Also thanks to everyone who left comments about adding photos on blogger (I have used up all my available space and didn't want to buy more). I now use my "point and shoot" camera set to the smallest picture setting, and have no problems uploading pictures.

Sunday, December 2, 2012

A Year of the FMQ Challenge

I can't believe that it has been almost a year since I started the Sew Cal Gal Free Motion Quilting Challenge!


I filled in a square every month, plus the border - which is the December challenge. The squares are 8", and the whole piece measures about 35" x 50".

Here are all the months in order (click on the month for the link for that particular challenge on the SewCalGal site) -

January-


this was a nice, easy one to start the challenge
February -


Diane Gaudynski is my favourite - her books started my FMQ journey

March -


this one was fun because I tried out different threads (hard to see but there are some metallic threads in there)

April -


good to learn a new way to mark a quilt

May -


this was another fun one

June - 


this one lead me to take an online Cindy Needham class, that I absolutely loved!

July -


August -


this one came at the right time because I was looking for a different background for a quilt I was quilting at the time

September -


for this one I just added some "Hyper Quilting" that Patsy Thompson described on the December Challenge

October -


I had lots of fun trying all kinds of threads, and quilting designs for this one

November -


I had fun trying the swirls in different ways


I created a very tight, curvy centre for the feathered border, which was very different for me, and I love how it turned out


this is the back - I added "hyper quilting" which was hard to see on the front


I am pleased that I chose to make the sample quilt, because now I have a great reference that is all together.

I really enjoyed the challenge because it introduced me to new (to me) quilters, and it expanded my quilting design repertoire.

A huge thank-you to Sew Cal Gal and all the wonderful teachers! It was a really great experience!


Thanks for stopping by and have a great day!❤
Related Posts Plugin for WordPress, Blogger...