Showing posts with label FMQ Feathers. Show all posts

Wednesday, April 3, 2013

The Evolution of My Quilting Samples

I wrote a tutorial on developing your own style for free motion quilted feathers for the SewCalGal 2013 Free Motion Quilting Challenge, and thought I would share the evolution of my quilting samples here. Click on the names of the pieces for more details about each piece.


For this Vase and Feathers piece I quilted feathers with rounded ends, but tried a different (for me) shaped tip - 
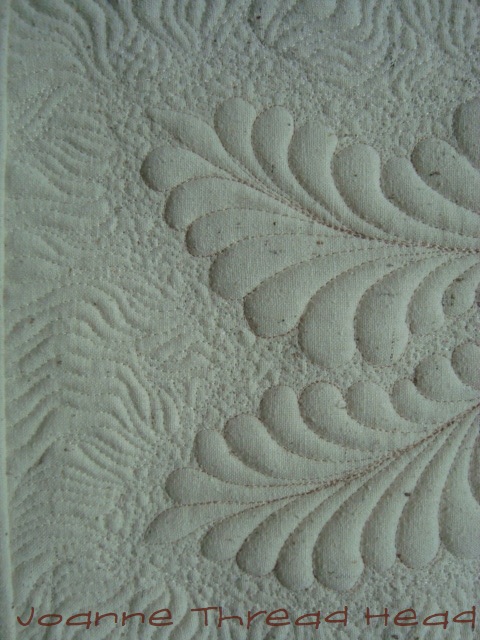

Kind of elongated diamonds. I also did the quilting in two different colours, but just different shades, so it is barely noticeable.

This Stupendous Stitching and Whole Cloth piece was next - 


I used the same elongated diamonds for the tips of the feathers, and the same round ends,


but this bottom feather came out with a big tip and a more pointed end. I really liked that one, so for the next piece I went with that.

The piece also had feathers that didn't overlap - normally I kept the lobes of the feathers separate -


But I overlapped the lobes in this section -


And liked the look of that too. The lobes are also uneven in size.


I made the ends of the feathers pointy,


And the tips of the feathers noticeably bigger. I also tried to make the lobes even, and gradually increasing and decreasing in size.


I also included more overlapping of the lobes. This turned out to be one of my favourite pieces that I have ever made!


For the above piece I tried dramatically different colours of threads for the main design and the background. It has the same pointy feather ends, large tips and overlapping lobes, because I love that look. I divided the background into three sections with a curved line, and quilted each section differently. Because these are such small samples it is good to try out different backgrounds.


I quilted the above piece to try out a quilting design with feathers radiating from a centre circle, because I am planning a large whole cloth quilt and thought that this might be a design I would like to use - the designs are all still evolving!!

I hope you will give my challenge on the SewCalGal 2013 FMQ Challenge a try, you might be pleasantly surprised with your results!

Thanks so much to SewCalGal!!
Have a great day and thanks so much for stopping by!♥

Monday, March 7, 2011

Feathers Part II

Thanks for the great response to the Feather Tutorial! Here is a bit more information, with some variations.

Feathers are nice with a bit of a curved spine, so I like to use them in the triangles in pinwheels and other similar shapes.


windmill mini quilt

pinwheel sampler quilt


Feathers also work really well for borders. For this one I made a center spine (with a slight curve), and did the lobes on one side and then the other.

Plan C Schnibbles

This one is a simple feather border (open heart feather), with no central spine.

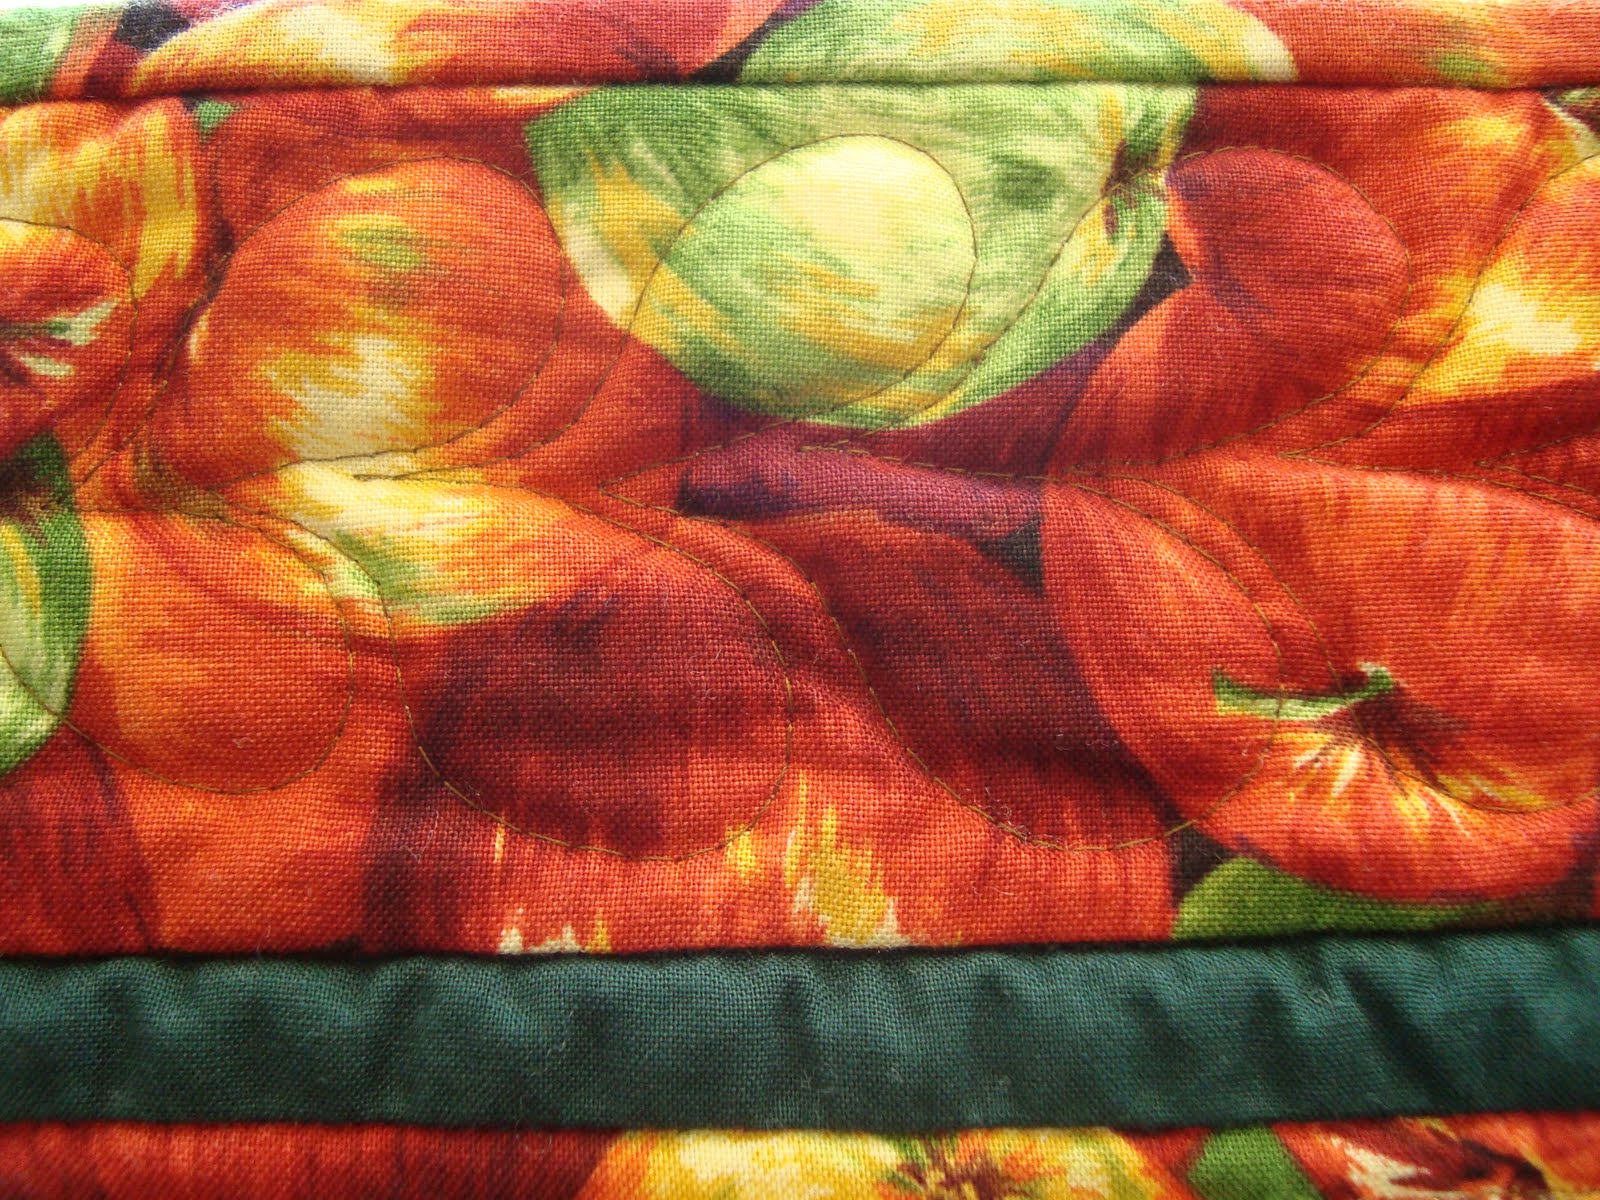
fruit table runner

This feather border design I used when I had a wide border that I wanted to fill with feathers. For this one I worked down one side of the spine and then up the other side. I backtracked along the spine and between two lobes to start the spine of the next feather.

D's pinwheel quilt


Feathered Wreaths are a bit more tricky, but only because of the lobes in the center of the circle. Normally lobes are wide at the top and narrow towards the spine, for the center of a curve the lobes are narrow at the top and wide at the spine. They always seem to look odd when I am stitching them, but they seem to look fine in the end.
The outer lobes of a circle need to have very wide ends and be very narrow at the spine to get the lobes to go around the circle, and not to have the lobes coming off the spine at a 90° angle.
I usually mark the center circle of a feathered wreath to make sure it is more even.

drunkard's path mug rug

diamonds at large lap quilt
This one has an oval center, with a spine that I echoed before adding the lobes. The lobes also filled in the diamond shape of the block. I echoed the center because the feathers created an odd puffy center that I didn't like the look of.

nine-patch mini quilt
This feathered wreath is so small (in a 4½" block) that I didn't have room for center lobes. The center circle is echoed.

Here are some other feather variations -

big border mini quilt
a heart created by two curved feathers

applique fruit basket mini quilt
Pea pod surrounded by feathers for the corner design. This feather has a slight space between the lobes and the whole feather is echoed to create a different look. The spine is just a single spine but an echoed spine is nice too.


applique fruit basket mini quilt
A feather with a small feather coming out of the lobes. The slight space between the lobes also.

free motion quilt sample
This feather was echoed and then I went back with another colour thread over the spine and into the lobes to create veins in the lobes.

The next two quilts have little "feather style" variations -

drunkard's path wall hanging

flying geese mini quilt

All the quilts are quilt with Invisafil, except for the applique fruit basket mini quilt and the free motion quilt sample which were quilted with Aurifil #50.

I also have an older tutorial for beginning free motion quilting.

One of the best ways to improve at free motion quilting is to take a "7-day challenge". Make up 7 little quilt sandwiches (at least 12" square), and every day for a week, free motion quilt for about 10 mins (try to fill in the square). You will be amazed at how much you improve by the end of the week. Like Diane Gaudynski always says "Keep quilting! Your work gets better everyday."
The free motion quilt sample above is one of my practice pieces from last year when I was learning this style of quilting (my friend Wendy (Inky Threads) and I challenged each other to quilt every day for a month) - I was so pleased with how it turned out that I added binding and turned it into a table mat.

Have a great day and thanks for stopping by!!♥

Sunday, March 6, 2011

Free Motion Feather Tutorial

I thought I would demonstrate how I do free motion feathers on my home sewing machine.

I don't mark this style of free motion quilting.

My sewing machine is a Husqvarna. Any sewing machine that starts smoothly, and has good speed control will make free motion quilting easier.

I like a spring action free motion quilting foot,

with a microtex needle (any sharp needle will work - but for practicing a universal needle will do). I use a #70 for fine thread and #80 for regular sewing thread.

I set my machine to free motion spring action, but I leave the feed dogs up (for more control).

Aurifil #50 is my favorite sewing thread (for piecing and quilting), I use it when I practice and when I free motion quilt with an all over quilt design (edge to edge - E2E) on a quilt. I use #80 needle with these threads.

Invisafil (a polyester thread) and YLI silk are threads that I use for more detailed free motion quilting (like feathers). They are both 100 weight threads, Invisafil is much cheaper. You notice the backtracking less with a fine thread.

Ready to start!

Begin by pulling up the bobbin thread

and taking a few stitches to anchor the thread.

Start by positioning your hands in a comfortable position of either side of the FM foot, with your hands slightly cupped and your finger tips resting on the fabric (wearing quilting gloves makes FMQ much easier - gardening gloves or rubber gloves work in a pinch).

Make a stem (to begin with only move a couple of inches so that you don't have to reposition your hands), with a tear drop at the end. Don't look at the needle, look where you need to go (just like driving). Go slow so that you have control.

Backtrack up the one side of the tear drop to start the next lobe (or plume). If you don't move your hands, it makes backtracking easier (your hands remember the shape they just made). Aim for a nice smooth curve with a wide top.


Travel back to the stem (this photo is from the back of the machine), notice the slight "S" curve that is created, this allows for the next lobe to nestle into the previous one.

Create lobes all the way down the stem - don't worry about the sizes of the lobes - uniformity comes with practice. Notice how the lobes come into the stem at a small angle.

Backtrack up the stem to start stitching lobes on the other side. You can create lobes moving up the stem, but to start with it is easier to work down the stem.

Stitch the lobes down the stem.

Take a few stitches in one spot to anchor the thread. Finished!!

Here is a simplified diagram of the steps.

Here is a video of me free motion quilting a feather to demonstrate the speed I like to quilt feathers at -


The foot looks jumpy only because of the video

TIPS -

- don't turn the fabric, get used to quilting feathers in every direction (important when you work on a large quilt).

- when you are sewing normally, listen to the sound your machine makes at different speeds and how fast your hands are moving the fabric - try to remember to move your hands at the same speed for the different speeds of your machine to get even stitches when you are free motion quilting

- try for even stitches, but it is better to have stitches that are too small than too big for free motion quilting - curves will appear smoother

- go as slow as you need to (set your machine to sew slower, if you can, to begin with), look where you need to go, and relax

- if you can, set your machine to stop with the needle in the down position

- when I move my hands, I tend to move one at a time

- don't worry too much about backtracking not being perfect, normally the thread matches the fabric and it helps if the thread is finer - so it is not noticeable

- use good quality thread, fabric and batting even for practicing, to eliminate possible troubles (ever time I have used any old thread that I want to get rid of, my machine tends to act up)

- Practice, Practice, Practice!! The only real "secret"!!

I hope you give feathers a try - they are lots of fun, and easier than you might think.

Update - Feathers Part II

            - Bump-Bump Feathers

Have a great day and thanks for stopping by!!♥
Related Posts Plugin for WordPress, Blogger...