Tuesday, November 20, 2012

Block 10 THQA 2012

This week's block is called Improved Four Patch (from EQ7).


For one 7" block you will need - 


Print A (mine is the red "tree" print) -

                        2 - 4+3/8" squares, cut in half on the diagonal

Print B (mine is the green striped) -

                        2 - 3" squares

Print C (mine is the orange dots) -

                        4 - 1+3/4" squares

Print D (mine is the red striped) -

                        4 - 1+3/4" squares

Remember measure and cut carefully, scant 1/4" seams, press the seams in opposite directions....


Start by making two Four-Patches with the Print C and D squares.
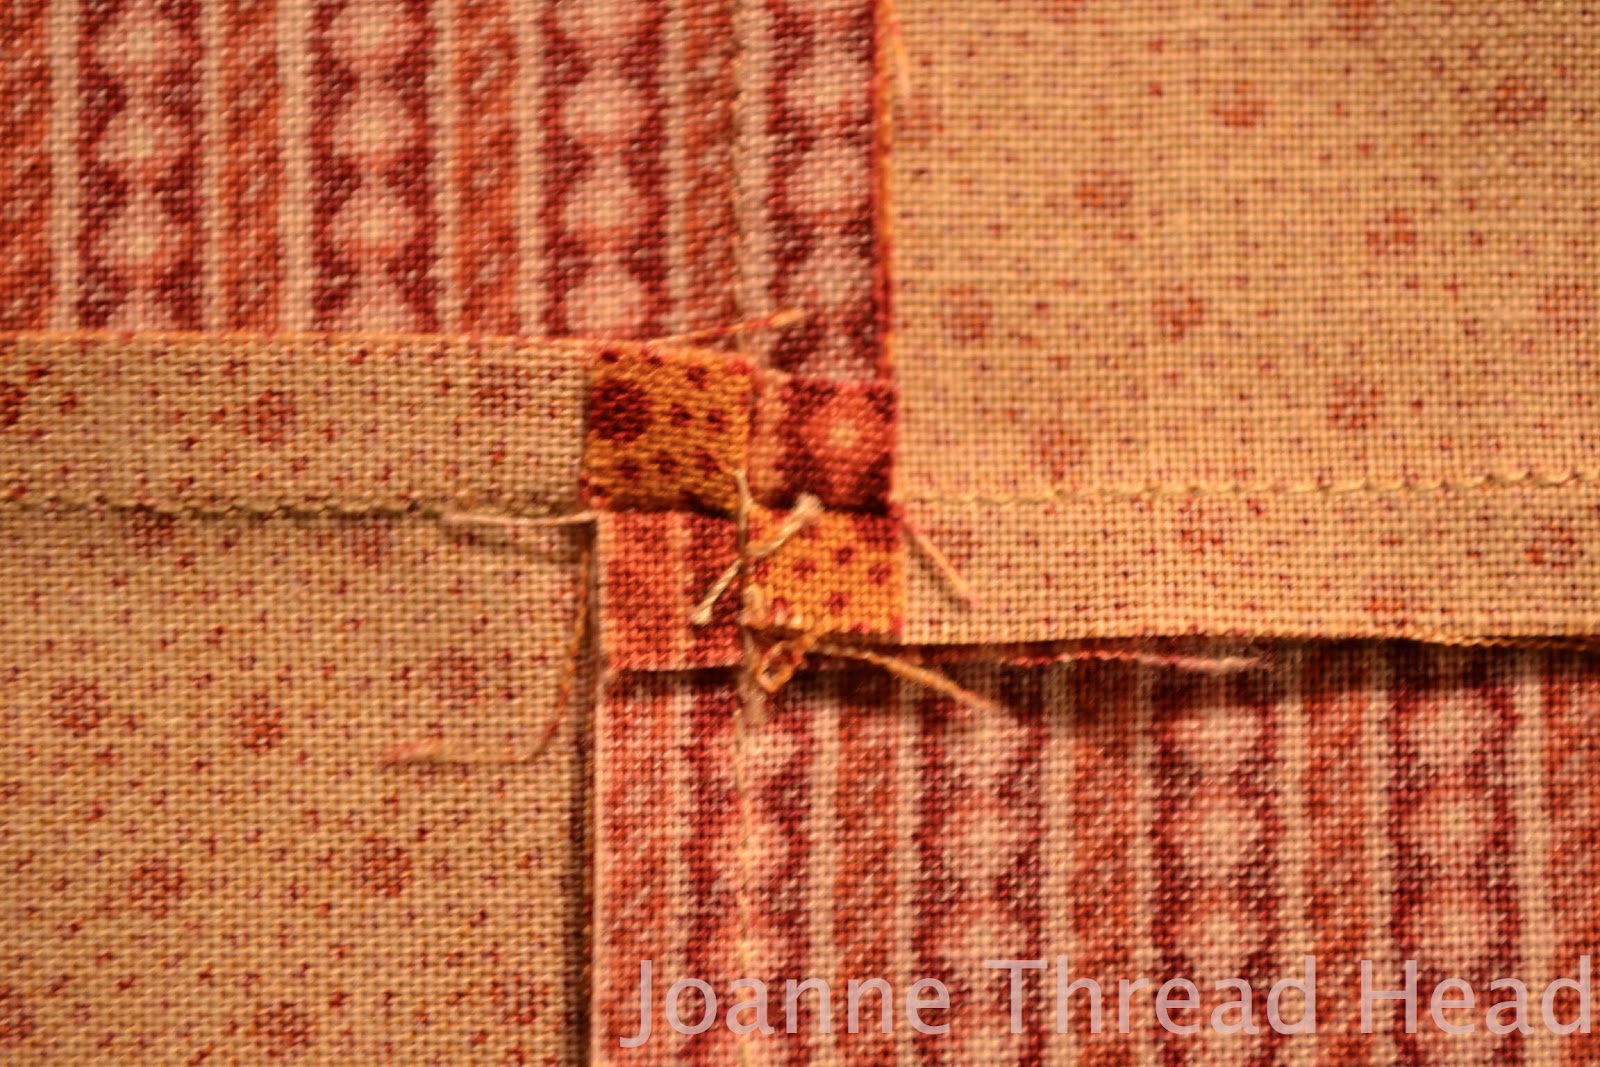

I spiralled the centre seams to reduce bulk.


These two Four-Patches should measure 3".


Using the Print B squares make a larger "Four-Patch" with the first two Four-Patches.


Once again I opened up the centre seams.


This piece should measure 5+1/2".


The Print A triangles are added next.


To make stitching triangles to squares easier I use one of these handy-dandy point trimmers (there are many on the market, and I have seen templates in magazines to make your own).


I do find it much easier to line up the triangles for sewing, and there are no little "dog ears" to trim off later.


I sewed opposite sides first and pressed the seams to the triangles, then added the last two triangles.


Trim the finished block to 7+1/2" (finished size 7").

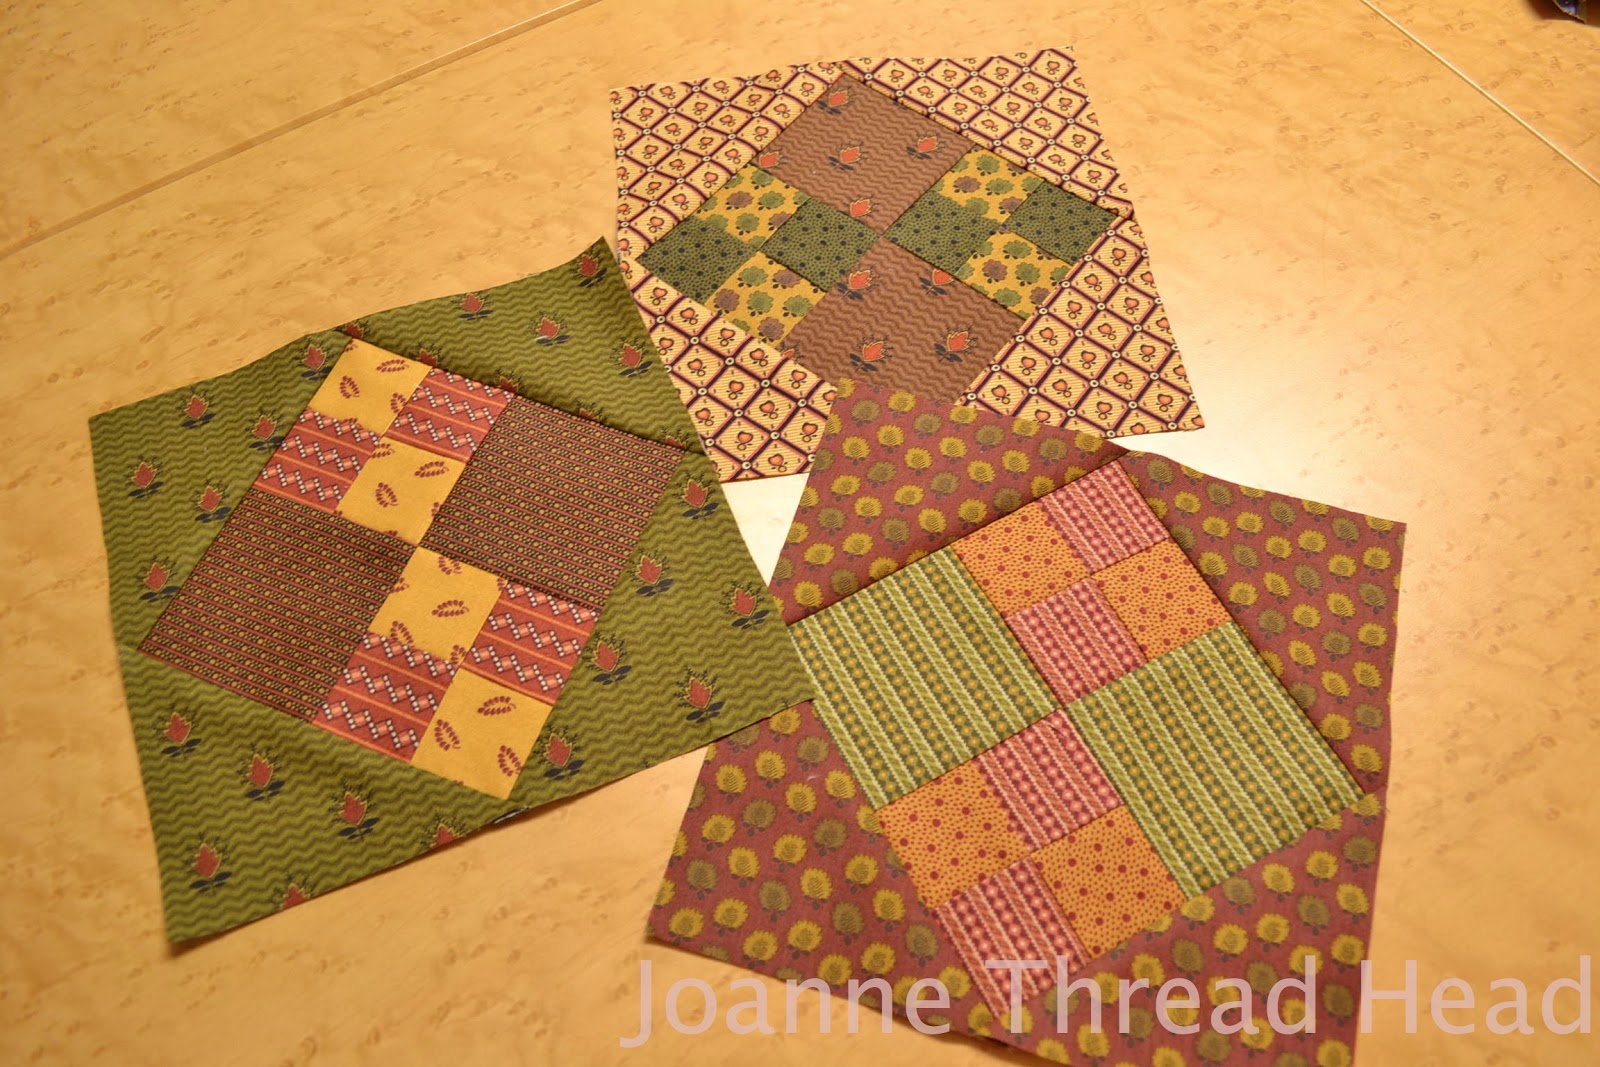
 Here are my other two blocks -


All together - 

Thanks for posting your blocks on Flickr.

Have a great day and thanks for quilting along!

Sunday, November 18, 2012

Stupendous Stitching

 I bought the Craftsy Stupendous Stitching class and loved it! This is the project I made from the class -


This one is made from a whole fat quarter of beautiful Batik fabric. I had the FQ for a while and didn't know what to do with it because of the unusual colour layout, but it worked perfectly for this project. It is 19" x 20".


It is so nice to be able to finally use all those decorative stitches on my sewing machine (although nothing was stopping me before!).


I like that there is a combination of machine and hand stitching. I also added beads.

I talked more about the class and gave the link for the class discount here.


We woke up this morning to a very frosty, foggy day. This is last weekends snow and I think it is here to stay for the winter.

Have a great day and thanks for stopping by!

Thursday, November 15, 2012

November Small Quilt

 I finished the November Small Quilt of the Month.


This is 'Little Amish Nine Patch Quilt' from the book "American Doll Quilts" by Kathleen Tracy (A Sentimental Quilter).


I tried out quilting with white thread, because I thought it would look more traditional. I used 100WT Invisafil thread. I marked the two circles and the cross hatch lines for the feathered wreathes. The border is a stencil. There is continuous curves quilted in all the little 1" squares.
It is fun to try out different ideas with little quilts, but I think I will stick with matching thread for quilting - all I see are the white stitches on this quilt, and not the quilt itself.


I used cotton batting, and it has a nice crinkled look after washing in the above photo. This is also closer to the actual colour of the quilt. The quilt is about 16" square

 Have a great day and thanks for stopping by!

Tuesday, November 13, 2012

Block 9 THQA 2012

This week's block is a Single Irish Chain (all the blocks for the quilt along are from EQ7).


For one 7" block you will need - 


Print A (mine is the green striped) -

                          1 - 2+7/8" square - for the centre
                          4 - 1+5/8" squares

Print B (mine is dark green) -


                          4 - 1+5/8" squares


Print C (mine is red) -  


                         4 - 1+5/8" x 2+7/8" rectangles

Print D (mine is the orange dots) - 

                         4 - 1+5/8" x 5+1/8" rectangles


Note - someone sent my an email saying that she had trouble making the blocks big enough with my measurements, so please be very careful with cutting and sewing the scant 1/4" seam. 
All the measurements are from EQ7 and they do tend to round to the nearest 1/8", so they could be off. I didn't have problems with this block (although some of my other blocks are smaller, but I assumed it was my fault).


All the pieces will be laid out like the above photo.

Remember all the basics - press seams in opposite directions, scant 1/4" seams etc. Here is a great link about why we use scant 1/4" seams in quilting, which I received from Raewyn (lovetostitch) - thanks Raewyn.


Start by making the centre, sewing it like a regular nine patch.


Making rows,


 and sewing the rows together.


Next add the outer round, sewing it like a regular nine patch.


Trim the block to 7+1/2".


For this block I used the same fabric for the Print C+D rectangles.


For this one I used the same fabric for all the Print A+B squares.


All three blocks together.

Thanks for posting your blocks on the Flickr site - they are so great to see!

Have a great day and thanks for quilting along! 

Saturday, November 10, 2012

Little Basket Quilt

I finished another little quilt -


This is a Jo Morton pattern. The quilt is 20" x 24" and the basket blocks are 3".
Wendy (Inky Threads) and I each made the quilt (she finished her's a while ago)- her's is here.


I used cotton batting, with 100Wt Invisafil thread for the quilting.

Tip - Recently some people have asked me how to progress from meandering to other designs when free motion quilting. Continuous Curve, as shown in the above photo, are a great progression. I have found that they are a fabulous quilting design to develop good control of where you are stitching - something that is very important when quilting feathers (click here for more details).

Have a great day and thanks for stopping by!

Thursday, November 8, 2012

Practice, Practice, Practice

I have been practicing free motion quilting (PPP - the only real way to getting better) - I am trying out different designs.


This time I was trying out echoing the feathers (I realized with 100Wt thread the distance between the echoes should be quite small - less than 1/8").


I was also practicing layering the feathers.


Since we tend to do a better job practicing on an actual piece, I made this art quilt - I thought it would be interesting to pair a contemporary art quilt, with a more traditional quilt frame. It is 15" x 20".


I made this "Stupendous Stitching" piece to attach to the whole cloth quilt. It is 4" x 10.5", with machine and hand embroidery, couching, quilting, and beading. I used a rattail binding to finish it.


On the whole cloth quilt I left the area behind the embroidered piece puffy,


so that it would look like it was floating. I used a layer of cotton batting, with half a layer of wool batting on top.


The quilting on the whole cloth is done with Invisafil 100 Wt thread. I used a #80 Titanium needle (the same one that has been in my machine for a while).


I only roughly marked where the feathers were to go (because I wanted them to appear to come out of the couched lines on the embroidered piece), and I used a Hera marker to mark the grid for the Cathedral Windows background.


Tip - Don't be too critical of your work as you are quilting. You might be pleasantly surprised when it is all finished - keep quilting.


When I was quilting I thought all the echoing hid the feathers, but now that it is finished the feathers stand out fine.


Flocks of geese heading south - not a good sign (we are expecting a big snow storm this weekend!).


I managed to catch two nuthatches at the bird feeder - they are so fast.


The partridge flock were doing a funny "hoppy" walk through the yard (not their normal funny, regular walk that reminds me of the Partridge Family tv show). When they came close I could see that their little feet were covered in mud - poor things.

Have a great day and thanks for stopping by!

Tuesday, November 6, 2012

Block 8 THQA 2012

This week we are making an easy Shoo Fly block.


For this 7" block you will need -


Print A (mine is green) -

                          2 - 3+1/4" squares, for the easy half square triangles - HST
                          1 - 2+7/8" square, for the centre

Print B (mine is orange) -

                          2 - 3+1/4" squares, for the easy half square triangles - HST
                          4 - 2+7/8" square, for the sides


Start with the easy half square triangles using the 3+1/4" squares (instructions found here).


Trim the four HST to 2+7/8".


The remaining squares and HST are arranged like the above photo, and sewn together like a regular nine-patch.


Sewing the units in to rows, and the rows together.


I pressed the seam allowances in opposite directions.


Trim the block to 7+1/2" square.


This block was made the same way.


For this one I made a Snowball variation, by switching the colours of the 2+7/8" squares.


 All three blocks together.

Thanks for sewing along and have a great day!

Sunday, November 4, 2012

Stitch Notebook

I bought another Craftsy class - this time Stupendous Stitching!


We started by making a "Stitch Bible" - a note book of all the stitches on our sewing machines, to use as a reference for creating Stupendous Stitching. The notebook is 8"x10".


Here are all my pages (143 stitches - I have a Husqvarna 870 Quilt sewing machine). Each stitch was stitched on the default setting, then with a change in the stitch length and then a change in stitch width.
I have had my sewing machine for a couple of years, and never even tried most of the stitches (I bought the machine for its great quilting features). It was fun to see how all the stitches came out and how they changed.

the inside of the note book

close up of the cover
The Craftsy class said that Stupendous Stitching involved couching (I have a couching foot for my sewing  machine, but you don't need one), fancy machine stitches (never used mine), hand stitching (embroidery - my first love), and quilting (my newest obsession) - I knew this would be the class for me! And I loved it! I am currently working on a bigger piece.

I noticed on Carol Ann Waugh's website (she is the class instructor) that there is a link for 50% off the class (and for her other Craftsy class too) - so the class is only $14.99 (the links can be found here) - I wish I had known that (although I did buy the class for 25% off).

The front and back covers of the notebook have Rattail Binding - here is a link to a Youtube video by Carol Ann Waugh for the binding.


We had a little visitor yesterday (along with the snow), he stared at us for a long time, maybe he was hoping to come in.

Have a great day and thanks for stopping by!
Related Posts Plugin for WordPress, Blogger...