

I made this 8.5" x 25.5" wall hanging using 4"- 6"lace doilies from my sister (they were just sitting in a drawer waiting to be turned into something else).
Because I took the Process Pledge here is how I created this piece -

I started by "glueing" the doilies to the piece of fabric - this was some thick, polished cotton I had laying around.

"Glueing" was done using a few small dots of Roxanne Glue Baste It - love this product, it dries very quickly and holds well, it also washes out. I use it for appliqué too.

I "auditioned thread" (that's from the class) to find the right colour. I ended up using all Wonderfil thread - 100Wt Invisafil for stitching the doilies down and for the free motion quilting and a metallic thread for some accents. The orange spool is Aurifil 50Wt and I used that in the bobbin.

From the class I learned that wool batting will split in half and can be used to make "designer batting" -

a layer of regular cotton batting (Hobbs Heirloom cotton in this case) and half a layer of wool batting (also Hobbs). This way it has the stability of cotton and the "puff" of wool (I find that wool batting alone is not always the best for wall hangings and little quilts - they don't lay flat, plus apparently wool migrates in wall hangings and shouldn't be used).

I stitched around all the doilies with a very tiny zig-zag and the walking foot.

I tried stitching down all the parts - this took a long time.
 |
| the back of the quilt after the doilies were stitched down |
Then the fun of the free motion quilting started!

I echo stitched around the doilies 3 times, the second time I used a darker 100WT thread.
 |
| I used this Clover iron out pen for my markings |
Once all the echoing was done, I thought the doilies looked like snow flakes and so I added some lines of metallic thread to imitate wind movement. This was also part of the "divide and conquer" from the class.
Cindy Needham recommends a "Frixion" pen for marking but I think they should be avoided in quilting - they were not designed for fabric, so who knows what will happen to the fabric in years to come, and they don't wash out - they even take the colour out of some fabrics (I speak from experience on that one!).

I had to use a walking foot for the metallic thread since my machine doesn't like to sew with metallic thread (I also added some metallic accents to some of the doilies.
I then added different background fillers in the different "swathes" that the lines created.
Here are some photos -

 |
| This one used "Scribbling" from the class. you can still see the nice puff from the wool batting |

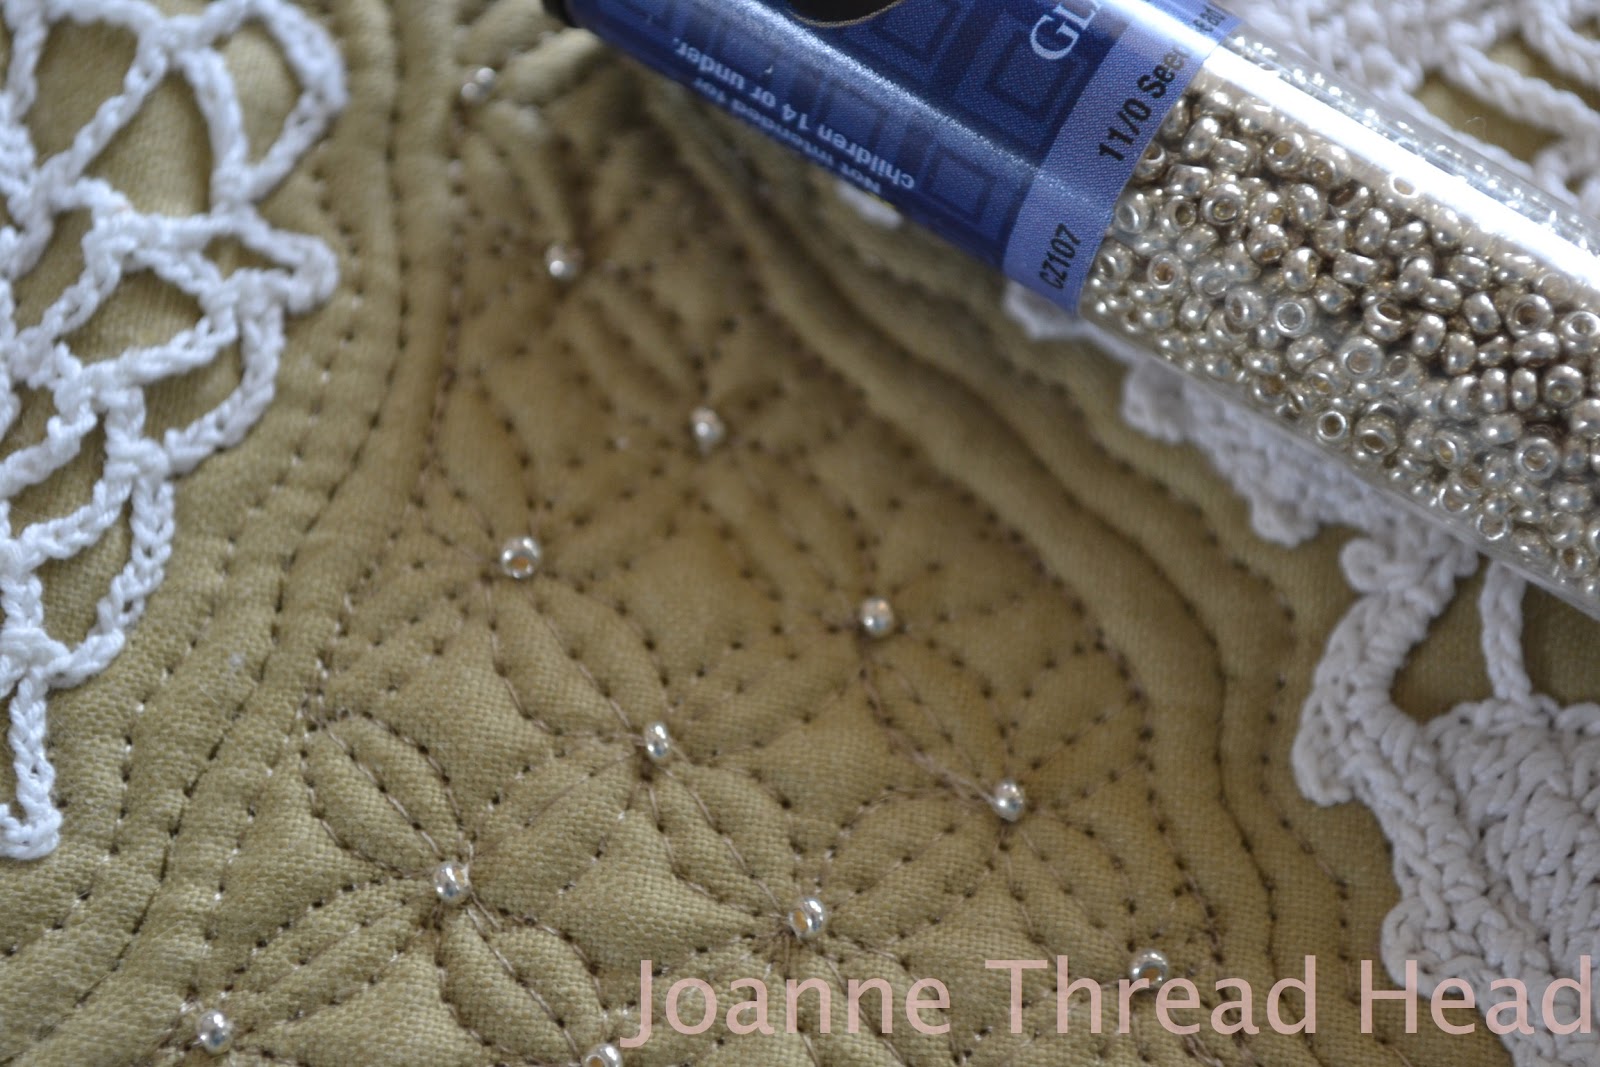
This design is "Cathedral Windows" (from the class), I added #11 beads by hand after all the quilting was finished.

I really liked this design - it is my own version of "S-curves" and pearls, I added some extra stitching to create depth/shadow. You can see that I also echoed the metallic lines in the above photo.
 |
| pebbles -which I love quilting |
 |
| I thought the design under the penny looked like wheat - appropriate since I live on the prairies |

The class was wonderful and my only complaint was that the Design Portion relied heavily on stencils (more on that later). I loved Cindy Needham's clamshells and once I realized that I didn't need a stencil, that they could be done with a grid, I had to add some (ignore the circle I had originally marked in the area).

I added detail to make them "Ginkgo Leaves". I steamed all those white lines out when I was finished quilting.
 |
| I tried to create "movement" with the stitching |

In the above photo you can see that I didn't stitch the doilies down too flat, I wanted them to still show their designs.
 |
| the back - lots of thread! |
More about the class -
I loved the class and it was perfect for me (I am an intermediate/experienced quilter, that teaches free motion quilting). I learned a lot of new things - about tension, stitching in the ditch (ESS), some new to me background designs, and the elements of a good design. You can see all of Cindy's samples on her blog, and in the class it was nice to have her explain them.
My only complaint is that there was an over emphasis on stencils. In one of the online class discussions someone said that the class should have been called "Design It with Stencils". We were told that we didn't need to have stencils, but no real options were given for designing without stencils. You can see Cindy's stencil collection here (scroll down - it is the unflattering picture), so I am not surprised that she uses stencils, I would too if I had that many.
Is the class for you? -
The class is recommended for every level of quilter, and the class does have elements for every level of quilter. Having taught free motion quilting to absolute beginners, I would have to say that it is too advanced for absolute beginners (Craftsy doesn't show all the reviews before you purchase a class, only a few "5-Star" reviews, which I think is misleading - there are a couple of bad reviews on the class - that it isn't for beginners, and that it doesn't actually show you how to quilt - Craftsy does offer a 100% satisfaction guarantee).
If you are pretty comfortable free motion quilting, love Cindy Needham's work, and want to expand your quilting into a more decorative/heirloom/artistic style - than this is a great class.
If your goal is to just be able to quilt serviceable/practical pieced quilts (bed quilts, lap quilts, etc) than I would chose a different class. The "what to quilt, where" design portion I was hoping for, is not there.
Have a great day and thanks for stopping by!❤