I finished piecing a Double Wedding Ring Quilt that I started last Wednesday.
It was much easier that I expected!
I am going to go into great detail on the making of it (you have been warned!) because I have plans (and more importantly - fabric) for a second one. I find these "tutorials" very handy for myself to refer to when I am making something for the second time. If some one else finds them useful, even better.
The quilt top is 62" x 73". I used 2.5 metres of beige fabric (I bought 3m and had leftover), plus lots of different fat quarters, some yardage and some scraps to make this quilt. I used about 15" of two different fabrics for the connecting corners or "B".
This Double Wedding Ring is made with the
GO! DWR die (I gain nothing from Accuquilt - just love the product). I found the instructions that came with the die very confusing, so this is what I did (I am no expert).
I cut the fabric in two sessions (it took a few hours each time).
I find a little 5" mat useful when cutting individual sections (the die runs through the rollers with out harm, and fabric is only cut under the mat).
The instructions call for different widths of fabric to be cut for the individual elements, but I always find that Accuquilt measurements waste fabric, so I cut them narrower, and very carefully place them on the die, making sure the blades are covered (you can feel the metal blade if you press down on the fabric, to make sure it is in the right spot to be cut).
These are the widths of fabric that I cut for the different elements -
A - 10"
B, E & D - 3"
C - 7"
(the letters refer to the package instructions). The fabric is cut across the width of the fabric, and the fabric is passed through the GO! cutter parallel with the selvage to minimize stretching.
I accordion fold the fabric.
I end up with little waste.
I made all the arcs first. They are made with 3 "D" elements (the ones with 4 notches), with an "E" at both ends (the ones with 1 notch).
I found that I used a true 1/4" seam throughout.
I chained pieced them 4 at a time.
I had piles of the two element beside me - it was fun picking different colours.
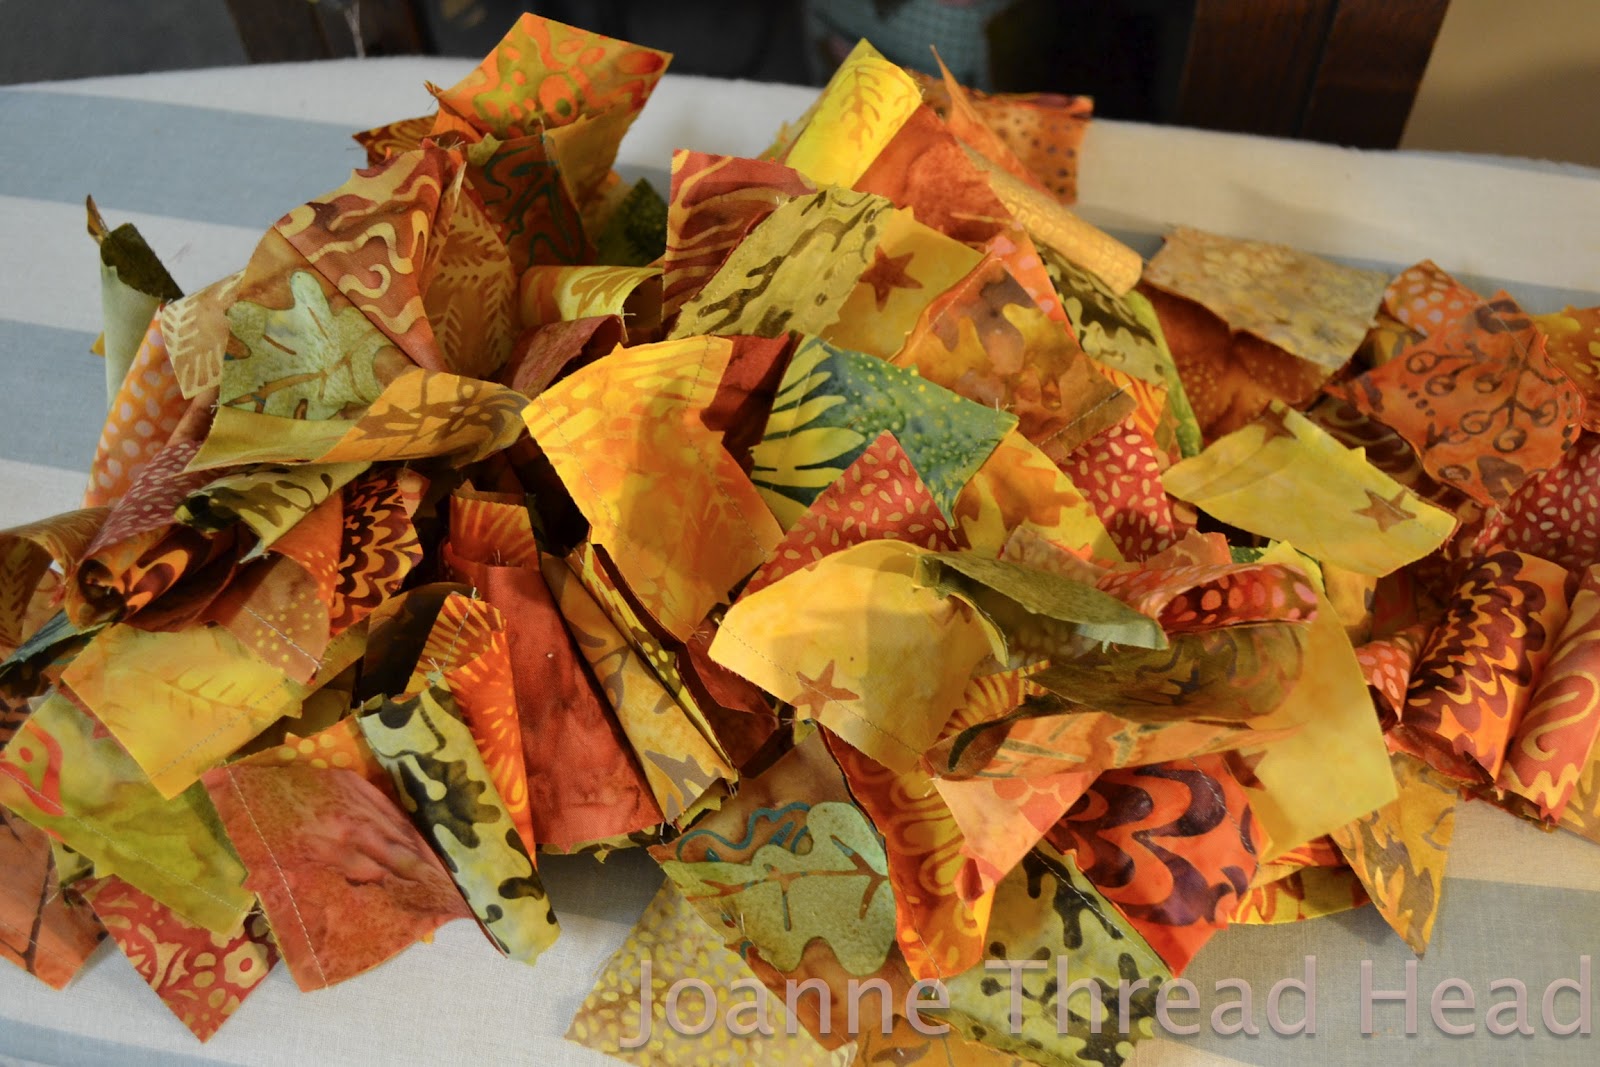
 |
| A pile of pieced arcs waiting to be pressed. |
I pressed all the seams in one direction, pulling the end slightly.
The instructions recommended cutting out an "F" in paper to make a template to see if the arcs are sewn correctly.
 |
| The finished arc. |
 |
| The elements for the "footballs" |
Next is sewing the "football" shapes.
I chain pieced these also. Starting with connecting corner ("B") at one end of the arc,
followed by attaching a "melon" ("C") to an arc, matching the notch first.
The sewing starts with a little bit of the melon sticking out beyond the end of the arc (I didn't use pins). The instructions call for marking 1/4" dots on every piece - just not something I am about to do.
The sewing is done with the arc on top (throughout the making of this quilt the concave pieces are on the top).
I only used a pin at the notch and found that every time a little bit of the melon stuck out past the end of the arc just like the beginning - they went together beautifully.
Next I added a connecting corner to the other end of the first arc (the same colour square at both ends of the arc).
I started the process again with the alternating colour of connecting square. This way I made sure that I had an even number of each colour.
Since I didn't use many pins I found these tweezers (they came with my serger) very useful.
Especially when holding the ends of the fabric.
 |
| More pieces ready for pressing. |
The seams of the arcs with connecting corners at the ends were pressed towards the squares, and for the arcs with the melons - the seams were pressed towards the melons.
I used EQ7 to figure out how many arcs I needed with each colour of connecting squares (35 and 36 respectively - the quilt is 6 rings x 6 rings).
Next was stitching the two sections together. I pinned and matched the centre notches again
Where the connecting corner met the other arc (the end of the melon), I made sure that the seams matched at the 1/4" point,
before adding a pin (at both ends of the melon). Also added a pin at each end of the connecting corner.
There are two different colours of connecting corners on the "footballs".
To make the rows I stitched the centres to the "footballs" (just 3 pins and the tweezers worked fine),
starting and stopping with the centre 1/4" beyond the arc. The centre is on top now (concave).
I kind of stitch closer to the edge of the piece at the start and when I reached the end of the arc, this was useful when attaching the other "footballs" to the centre (I made sure that I was at the 1/4" when crossing the connecting corner and arc seam).
In the above picture you can see the tapered seam allowance. I stitched right through the point where the two seams meet.
The Next Section is Very Important!!
When attaching other "footballs" to the centre it is important to not sew all the way through to the end of the connecting corners.
 |
| the connecting corners are left un-sewn |
I learned this the hard way (by sewing all the way to the ends, and attempting Y seams to join the rows). This was the only difficulty I had making this quilt, then I remembered that I inherited a book (with rotary cutting templates) that solved my problem!
 |
| The book that came to my rescue. |
For the outside edges, the connecting corners can be stitched,
 |
| An outside edge with stitching to the end |
I kept sewing "footballs" and centres together to make a row.
 |
| This row is ready to be attached. |
The first row had "footballs" on every side, but additional rows only had "footballs" on three sides
Here is where leaving the connecting corners un-stiched makes things easier.
Stitch the rows together, once again leaving the connecting corners un-stitched.
Once the row is sewn go back and stitch the connecting corners on opposite side from each other
 |
| This is what it should look like. |
Then stitch the seams in the other direction, locking the centre seam, so the corners meet.
This results in a nice join of the connecting corners.
I am so pleased with how it turned out. I kept waiting for it to get hard, and apart from the little Y seam incident, it was great to piece. I don't think I could have done it without the GO! though. I just need to get some flannel for the backing, I have the wool batting already, and it will be a lovely lap quilt. I'll show the quilting in a future post.
Thanks for stopping by and have a great day!
❤
Update -
Details for the quilting can be found here.
Check out the comment by
Ann Marie @ 16 Muddy Feet - she has a great tip for sewing the rows that I will try next.