Showing posts with label GO. Show all posts

Friday, May 13, 2016

Clamshell Table Mat Tutorial


Last week at the Morden Quilt Show I bought a 4" Clamshell die for the GO!.


I was undecided the first time I saw it because I was worried about how hard it would be to sew (especially after watching the Accuquilt promotional video for it - they made it seem so hard!). The second quilt show I saw the die at I bought it.
After making one project with it, this die is right up there as one of my favourites - right next to the little Tumbler die. I admit I am used to sewing curves - I am not a fan of Y-seams or paper piecing, but curves are fine.
At first I thought these would be small clamshells, but they are really quite big for clamshells - still a nice way to use smaller pieces of fabric though.
I am not affiliated with GO!, just love the products (I only buy dies for shapes that would be hard to cut by hand).


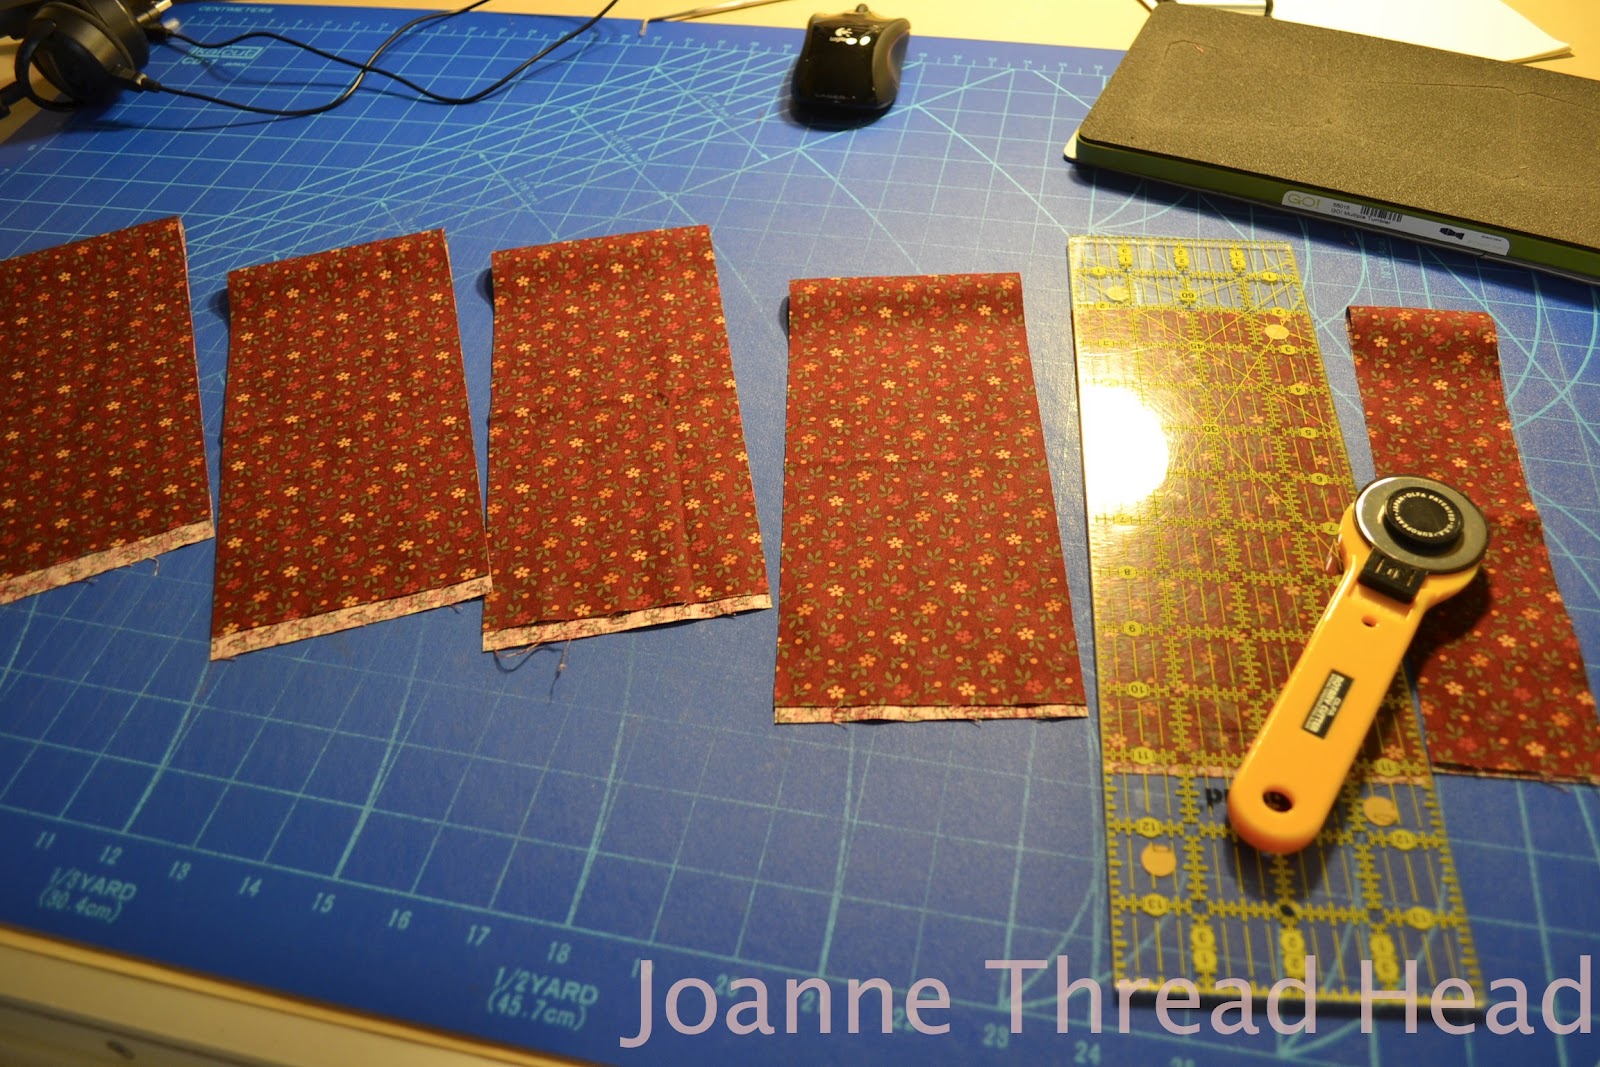
I precut my fabric to just over 4+3/4"squares, and cut the clamshells out. You can see in the above photo of the die that I marked little dots on the die with a silver Sharpie marker to make lining up the squares easier (I also added the lengthwise grain direction).
For this table mat I used 46 different fabrics and cut one clamshell out of each fabric.


The website recommends glue basting or using lots of pins, but I found that I only needed 5 pins for each clamshell (one at the beginning and end, and one on each matching notch),


and my handy-dandy serger tweezers (these always work great for tight curves).


I sewed the pieces together with the concave side on the top, and the new clamshell I was adding on the bottom (I tried the other way and it wouldn't work for me).


I repositioned between each pin and used the tweezers to pull the top fabric over as I sewed. I found the clamshells to be quite forgiving - they weren't all sewn perfectly, and they all still came out looking wonderful (spray starch helped for the final pressing).


I found that I really had to push the last couple of pins in far, otherwise they would fall out with all the repositioning needed. A tip is to take a small 'bite' with the pin at the stitching line when sewing curves - this is from a great Craftsy class on sewing curves.


The clamshells went together in rows, from the top down. The first row was stitched together for about 1" along the sides of the clamshells and the seams pressed open. The rest needed to be pressed after each additional clamshell was added, with the seams pointing towards the new clamshell.


 All the clamshells sewn together,


and trimmed ready for quilting.
I used two layers of batting since this will be a table mat for my coffee table.


Since this piece was a trial piece I decided to try out different free motion quilting designs in the clamshells (some of the designs became favourites, and some I didn't like, but I left them in - this will be helpful when I make a large quilt).


It works perfectly on the coffee table. The finished size it about 12"x24". It is quilted with 60Wt Bottom Line thread in the top and regular thread in the bobbin. I used 1+1/2" strips of fabric for a single binding. Normally I like a dark binding to frame the piece, but this time I used a fabric the same colour as the wood box, so it would blend in and make the clamshells pop out - it worked for me.

I realize that I share these tutorials on my blog for my own benefit - I can never remember how I made something! I have a few projects lined up before I will make a clamshell quilt, but I can't wait.

Have a great day and thanks for stopping by!

Wednesday, April 8, 2015

Stash Busting


For the past week I have been stash busting - whittling my 4 containers of fat quarters and smaller pieces down to 3 containers.

Since it is the same amount of work to cut out one quilt as three, that's what I did.


Pieces for a Flowering Snowball quilt cut with the GO! (the link for the die). I used some yardage for this one too. Here is a link for images of this quilt pattern.


12" blocks. The plan is for 42 blocks, with a 6x7 layout, the blocks alone will be 72"x84". I might add borders - big enough for a bed quilt.


Pieces for a Tumbler quilt (again cut with the GO! - 3" Tumbler die). I love this die and have used it many times, it is a really great way to use up the odd pieces leftover from cutting out other blocks.
There are just over 650 tumblers, and this quilt should be about 56"x78" (26 rows with 25 tumblers per row).


Pieces for a Courthouse Steps quilt. One of my favourite quilts is a Log Cabin quilt I made two years ago. I had a few leftover pieces, and I wanted to try something different. This style of quilt is a fabulous stash buster - 1+1/2" strips . I really enjoyed piecing the Log Cabin, so I am looking forward to this one.


9" blocks. The plan is for 54 blocks, with a 6x9 layout, resulting in a 54"x81" quilt.


With all the small leftover pieces I cut about a million (probably exaggerating, but there are a lot in that container!) Thimbles - these will be 1+1/4" when sewn. I like them as leaders/enders, and they will make pillow covers/table mats... without much thought.

Now comes the hard of deciding which one I will make first.

Have a great day and thanks for stopping by!

Saturday, August 4, 2012

Striped Tumbler Quilt

I recently finished a striped tumbler quilt for a family friend, and wanted to share my pattern.


The lap quilt is 53" x 67". The fabric is by Kansas Troubles.
It is made with tumblers cut with the GO! 3+1/2" Tumbler die.

I used -

11 fat quarters, and
2 meters (79", but 2 yards would work) of fabric for the stripes and binding


I cut the fat quarters into five 4" strips parallel to the selvage (this minimizes stretching when cutting with the GO!).


I like to lay the strips together and press them, it kind of makes them "stick" together.


I cut the five layers together, the full three tumblers the first pass,


and two with the rest of the strip.


It is actually more than 3, and 2 tumblers since there are 5 layers, but you get the idea. I cut 25 tumblers out of 1 fat quarter (I had both metric and imperial fat quarters, and cut 25 tumblers from both kinds of FQ's) with very little waste.

275 tumblers from the 11 FQ's
I pieced 30 tumblers per row, and joined 3 rows together. I made 3 of these tumbler rows. They are about 9" wide.


I pressed the seams in opposite directions, and spiralled the seams to reduce the bulk at the intersections.


I trimmed the ends of the tumbler rows,

the finished layout of tumblers and stripes
and joined the rows with alternating stripes of fabric, cut 7+1/2" wide, cut parallel with the selvage (so there are no joins in the stripes). I had four 7+1/2" pieces of fabric.  I also cut out the 2+1/2" strips for the binding, parallel with the selvage (I cut 4 strips for the binding, but you might need 5 depending on the amount of fabric you have).


I wanted to make a quilt with lots of room for machine quilting. I quilted large feathers down the stripes and meandered over the tumblers. I think it would have looked better with straight lines over the tumblers to contrast with the feathers - maybe next time. I marked the centre of the feathers with the Hera marker, and quilted it first.

I used wool batting and flannel backing for this quilt.

Have a great day and thanks for stopping by!

Thursday, July 26, 2012

RPTPP Baby Quilt

I recently made a baby quilt for a work colleague of my husband, and thought that I would share my pattern. The quilt is 35" x 49".


I made it with the Rob Peter to Pay Paul GO! die (one of my favourite GO! dies, it is so versatile). The blocks are 7".

I used -

1.5 m (~60") fabric for the centres of the block
1m (~40") each of two different fabrics for the outside pieces of the block, plus I used another 0.5m (~20") of one of the fabrics for the binding
1.5 m (~60") flannel for the backing
batting (I used cotton - tried Hobbs Heirloom Bleached for the first time, it is lovely and soft. Thanks for the tip Corina.)


I made 35 blocks, with a 5 x 7 block layout. This way the colours balanced.


The above photo shows how I pressed the seams. I don't use pins when I make this block, but use this method (if the link doesn't work, it is how to piece curves with a regular pressor foot and lifting the top piece up), with the centre piece on the bottom, and starting with the outer piece laying about 1/4" beyond the tip of the centre piece.


I quilted it on my DSM.

This seems to be my favourite design to quilt on RPTPP quilts, as I use it every time!
I used an open heart feather design in the oval shapes, and continuous squiggly loops for the centres.


You can kind of see the quilting on the back.
I used Aurifil #50 thread for the quilting (and piecing) - variegated pale yellow for the centres and variegated pale green for the oval shapes (I had the same thread top and bottom), with a #80 Titanium needle (just seems to be the needle that is constantly in my machine at the moment - it is lasting a long time).

Have a great day and thanks for stopping by!

Saturday, December 24, 2011

Stash Busting

For the past 3 days I have been cutting up fabric, trying to deplete my scraps.


I used the Rob Peter to Pay Paul die and the 3+1/2" Tumbler die for the GO!.


This is the RPTPP quilt kit. There are 128 centres (I inherited the off-white yardage, and also most of the scraps) and over 500 "melons". It should be a 70" x 84" quilt, although I might add a border.


This is the tumbler quilt kit. I am hoping that it will be a lap quilt. I will use it as another "leader & ender" project, alternating the off-white with the scrap tumblers.


I cut all the leftover pieces into 2" - 3/4" strips to make a string quilt.

My goal for next year is to use up lots of the fabric I have in my stash, having quilt kits all ready to go seemed like a good start.

Thanks for stopping by and have a great day!

Monday, December 19, 2011

Tumbler Quilt

I finished a Tumbler quilt.


This is my first "leader & ender" quilt (thanks to Bonnie Hunter!). It was a quilt that got pieced without much thought - great way to make a quilt. It is 50" x 60".
I cut all the tumblers last March with the 3+1/2" GO! die and leftover fabric from the Thread Head Quilt Along quilt. I pieced 23 tumblers in a row, and this weekend I was surprised that I had sewn all the tumblers - 20 rows.


I pressed the seams in opposite directions (I have made a mug rug with tumblers and pressed the seams in one direction - ended up with intersections that were too bulky).


After I sewed the rows together I opened up the intersections and press the seams in opposite directions also,


resulting in nice flat seams.


I decided to use a meander quilt design (quilted on my domestic sewing machine).  When I quilt this design I imagine sewing around pennies.

Free Motion Quilting on your DSM Tip -
If you are frustrated with attempting free motion quilting, and are using the plexiglass surround for your sewing machine, consider changing it to a larger surround (here is mine). Last week I quilted a wall hanging and thought it would be fine to just use the normal plexiglass surround. How frustrating!! The small quilt kept getting caught on the edges of the plexiglass. I realized that if I only had the plexiglass surround I would have given up on free motion quilting long ago.


I used a leftover piece of cotton batting, and had just enough of this beautiful fabric from my inherited stash for the backing. The quilt is all washed and crinkled now!
Time to cut up some more stash fabric for another leader & ender project.


Thirteen partridges under a maple tree - not a Christmas song but lots of fun to watch.

Have a great day and thanks for stopping by!

Monday, December 12, 2011

Rag Quilt

 I set aside last weekend to finish up the Granny's Hankie quilt top, the last instructions for the BOM were supposed to come out on Saturday and I am waiting to use the leftover fabric for some Christmas presents. Saturday morning I was disappointed to learn that the instructions are being postponed. 

So I got out my GO! and the 8.5" square rag die,


and the flannel that I received from Marcus fabrics (fabric I was given because of some fat quarters that I purchased were too small), 


and in no time at all I had cut all the fabric up. 
I used a rotary cutter to cut the wool batting into 6.5" squares.

I had about 9 yards (I am guessing - I should have measured it before cutting) of 11 different fabrics from the Woodwinds line of fabric and the wool batting was leftover pieces.


I sewed two squares with the batting together by stitching an "X" through all the layers. I used a wavy embroidery stitch on my sewing machine to do this. All the stitching was done with a walking foot.


When I stitched the rows together I opened up the seams and moved the fringe out of the way the best that I could. I thought that sewing the blocks would be difficult with the pre-cut fringe but it all went together very well, just a few times the fringe was caught in the seam allowance. 


 This is when I had finished sewing the blocks together before washing.


 After washing and drying the fringe has "bloomed". I had to empty the lint filter on the dryer quite often (I am surprised that there is a quilt left). It is 63" x 43".

This sure was a fast quilt to make and so easy (not one pin was needed!). I would definitely make a smaller version when I need to make a baby quilt. I have never made a rag quilt before, but I hear that cutting the fringe is the hardest part - the GO! sure made it all a snap!
It was very messy to sew - very linty (hard on the allergies), so I had a good reason to give my sewing room a good cleaning today.

Have a great day and thanks for stopping by!
Related Posts Plugin for WordPress, Blogger...