Showing posts with label pattern. Show all posts

Saturday, August 4, 2012

Striped Tumbler Quilt

I recently finished a striped tumbler quilt for a family friend, and wanted to share my pattern.


The lap quilt is 53" x 67". The fabric is by Kansas Troubles.
It is made with tumblers cut with the GO! 3+1/2" Tumbler die.

I used -

11 fat quarters, and
2 meters (79", but 2 yards would work) of fabric for the stripes and binding
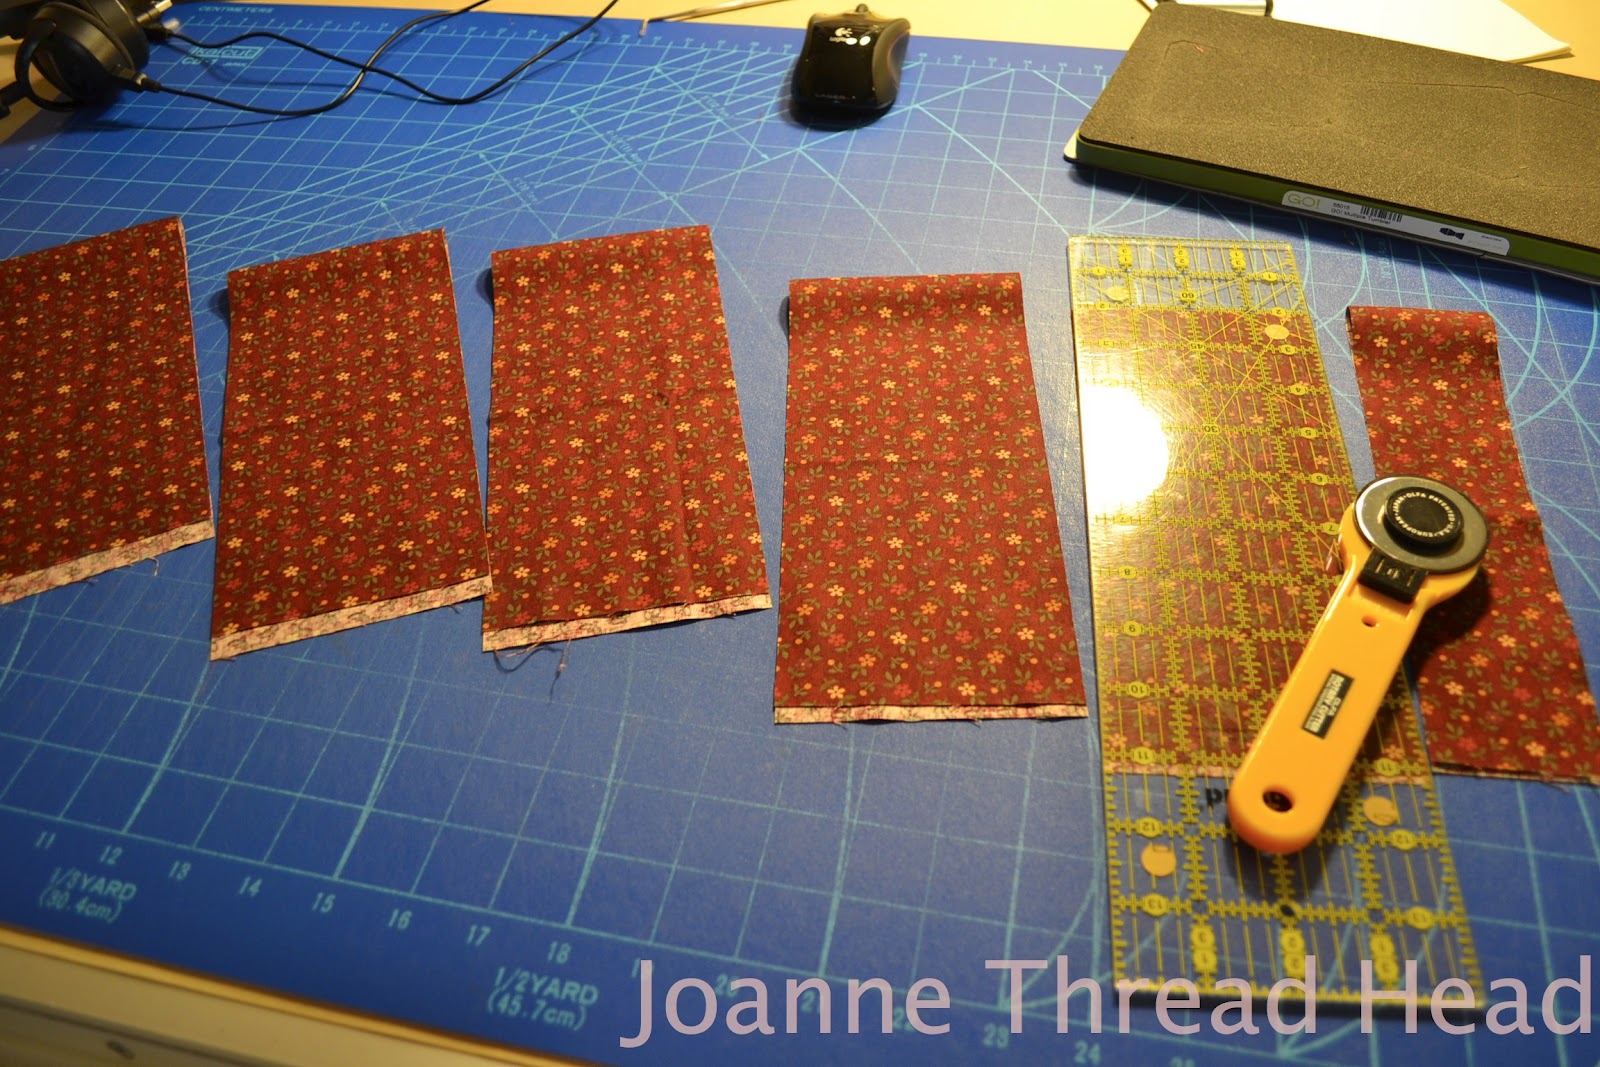

I cut the fat quarters into five 4" strips parallel to the selvage (this minimizes stretching when cutting with the GO!).


I like to lay the strips together and press them, it kind of makes them "stick" together.


I cut the five layers together, the full three tumblers the first pass,


and two with the rest of the strip.


It is actually more than 3, and 2 tumblers since there are 5 layers, but you get the idea. I cut 25 tumblers out of 1 fat quarter (I had both metric and imperial fat quarters, and cut 25 tumblers from both kinds of FQ's) with very little waste.

275 tumblers from the 11 FQ's
I pieced 30 tumblers per row, and joined 3 rows together. I made 3 of these tumbler rows. They are about 9" wide.


I pressed the seams in opposite directions, and spiralled the seams to reduce the bulk at the intersections.


I trimmed the ends of the tumbler rows,

the finished layout of tumblers and stripes
and joined the rows with alternating stripes of fabric, cut 7+1/2" wide, cut parallel with the selvage (so there are no joins in the stripes). I had four 7+1/2" pieces of fabric.  I also cut out the 2+1/2" strips for the binding, parallel with the selvage (I cut 4 strips for the binding, but you might need 5 depending on the amount of fabric you have).


I wanted to make a quilt with lots of room for machine quilting. I quilted large feathers down the stripes and meandered over the tumblers. I think it would have looked better with straight lines over the tumblers to contrast with the feathers - maybe next time. I marked the centre of the feathers with the Hera marker, and quilted it first.

I used wool batting and flannel backing for this quilt.

Have a great day and thanks for stopping by!❤

Thursday, July 26, 2012

RPTPP Baby Quilt

I recently made a baby quilt for a work colleague of my husband, and thought that I would share my pattern. The quilt is 35" x 49".


I made it with the Rob Peter to Pay Paul GO! die (one of my favourite GO! dies, it is so versatile). The blocks are 7".

I used -

1.5 m (~60") fabric for the centres of the block
1m (~40") each of two different fabrics for the outside pieces of the block, plus I used another 0.5m (~20") of one of the fabrics for the binding
1.5 m (~60") flannel for the backing
batting (I used cotton - tried Hobbs Heirloom Bleached for the first time, it is lovely and soft. Thanks for the tip Corina.)


I made 35 blocks, with a 5 x 7 block layout. This way the colours balanced.


The above photo shows how I pressed the seams. I don't use pins when I make this block, but use this method (if the link doesn't work, it is how to piece curves with a regular pressor foot and lifting the top piece up), with the centre piece on the bottom, and starting with the outer piece laying about 1/4" beyond the tip of the centre piece.


I quilted it on my DSM.

This seems to be my favourite design to quilt on RPTPP quilts, as I use it every time!
I used an open heart feather design in the oval shapes, and continuous squiggly loops for the centres.


You can kind of see the quilting on the back.
I used Aurifil #50 thread for the quilting (and piecing) - variegated pale yellow for the centres and variegated pale green for the oval shapes (I had the same thread top and bottom), with a #80 Titanium needle (just seems to be the needle that is constantly in my machine at the moment - it is lasting a long time).

Have a great day and thanks for stopping by!❤

Tuesday, January 17, 2012

Apple Core and Roses Table Runner

I finished the apple core table runner (the binding took a long time to stitch down).


It is 52" x 16". It took a 20" square of fabric for the bias binding. I am so glad that I had posted a tutorial for Apple Cores, because I sure needed it for this project. You may think my tutorials are for you, but they are really for me to refer to!


Close up of the quilting - it was inspired by one of the fabrics Cotton batting, and Invisafil thread on top, Aurifil in the bobbin, with a #70 Microtex needle.


The appliqué is an original design.  I do have a PDF for the appliqué pattern. If you would like a copy, you can email me (link here) and I will forward it to you. I am still working out how to post PDF's.


I used 33 Apple Cores cut with the GO!, but the appliqué design would work on anything.

I really like appliqué on a "monochromatic" pieced background. Here is another example of one I made-


This stool cover is made using a Tri-Recs ruler (there are more details here), and the quilting design is based on a design from Ivory Spring (Bird Feather Quilting Motif).

Have a great day and thanks for stopping by!♥

Friday, December 16, 2011

Pattern and Copyright

I finished knitting another hat.


I used 2 strands of wool for this hat (and for the first time ever made up my own knitting pattern -  to get the right size for my large head!)
If you would like the pattern I have posted it on Ravelry and (fingers crossed!) here is a link to a PDF for the pattern -

I really made the hat to go with this beautiful button I bought at the Victoria Beach Quilt Show last summer. It is made by a local, talented artist - Pat (blog - fishwifetales) in polymer clay.


Even the back of the button is beautiful.

The following is a short rant (I could, and have had lots to say on the subject)!
I planned that this would be my first pattern on Ravelry, but someone took that privilege from me and put one of my other patterns on Ravelry, and even lifted a picture from my blog without my permission (something not usually approved on Ravelry). I had to write in and have my pattern linked to me on Ravelry. I don't have a problem with my patterns or pictures being used elsewhere, they are, but people have always asked permission. We all work hard and take great pride in what we create - common courtesy goes a long way!
Whew! That feels good to get it off my chest! Thanks for listening!

Thanks for stopping by and have a great day!♥
Related Posts Plugin for WordPress, Blogger...