I had so much fun with my last quilt along that I am pleased to announce another quilt along!
Like the last quilt along I haven't made the quilt yet, and will be working along with you.
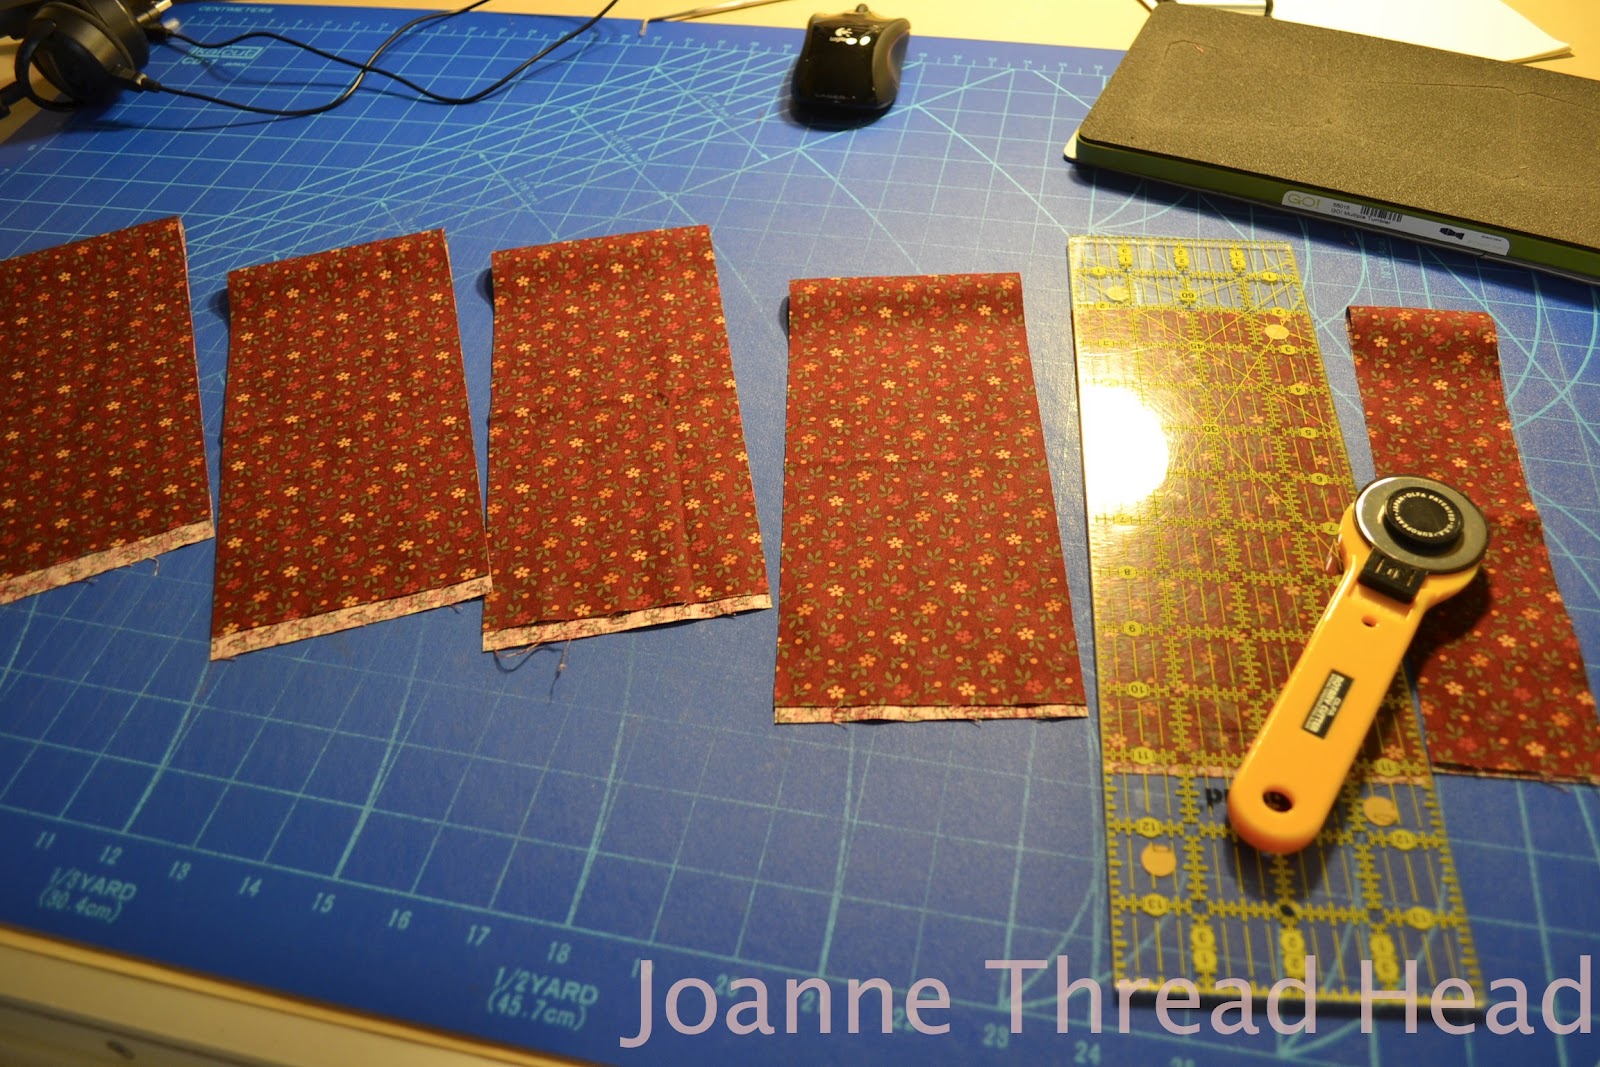
I bought this beautiful Jo Morton (Embers Red and Evergreen) fabric a few months ago, and thought that it would make a great lap quilt.
I have a fat quarter bundle of 16 different fabrics, and 2 metre cuts (about 2 yards) of three different coordinating fabrics.
This would be a great scrap quilt too.
I will run this quilt along as a block of the week, over about 15 weeks. Starting on the 18th of September, 2012. It should be finished in time for Christmas - although it is not a Christmas quilt. I will also have some machine quilting ideas at the end.
I plan on making thirty three 7" blocks, plus 4 half blocks. There will be eleven different full size blocks, and I will be making three of each pattern. The blocks will be simple and designed for every level. Like my last quilt along, there will be lots of photos and step by step instructions each week.
I am not a professional quilt designer, I just find that it is more fun to have others join along when I make something.
Also like my last quilt along there are other options (the blocks shown are just for demonstration purposes, and might not be the blocks I will be making) -
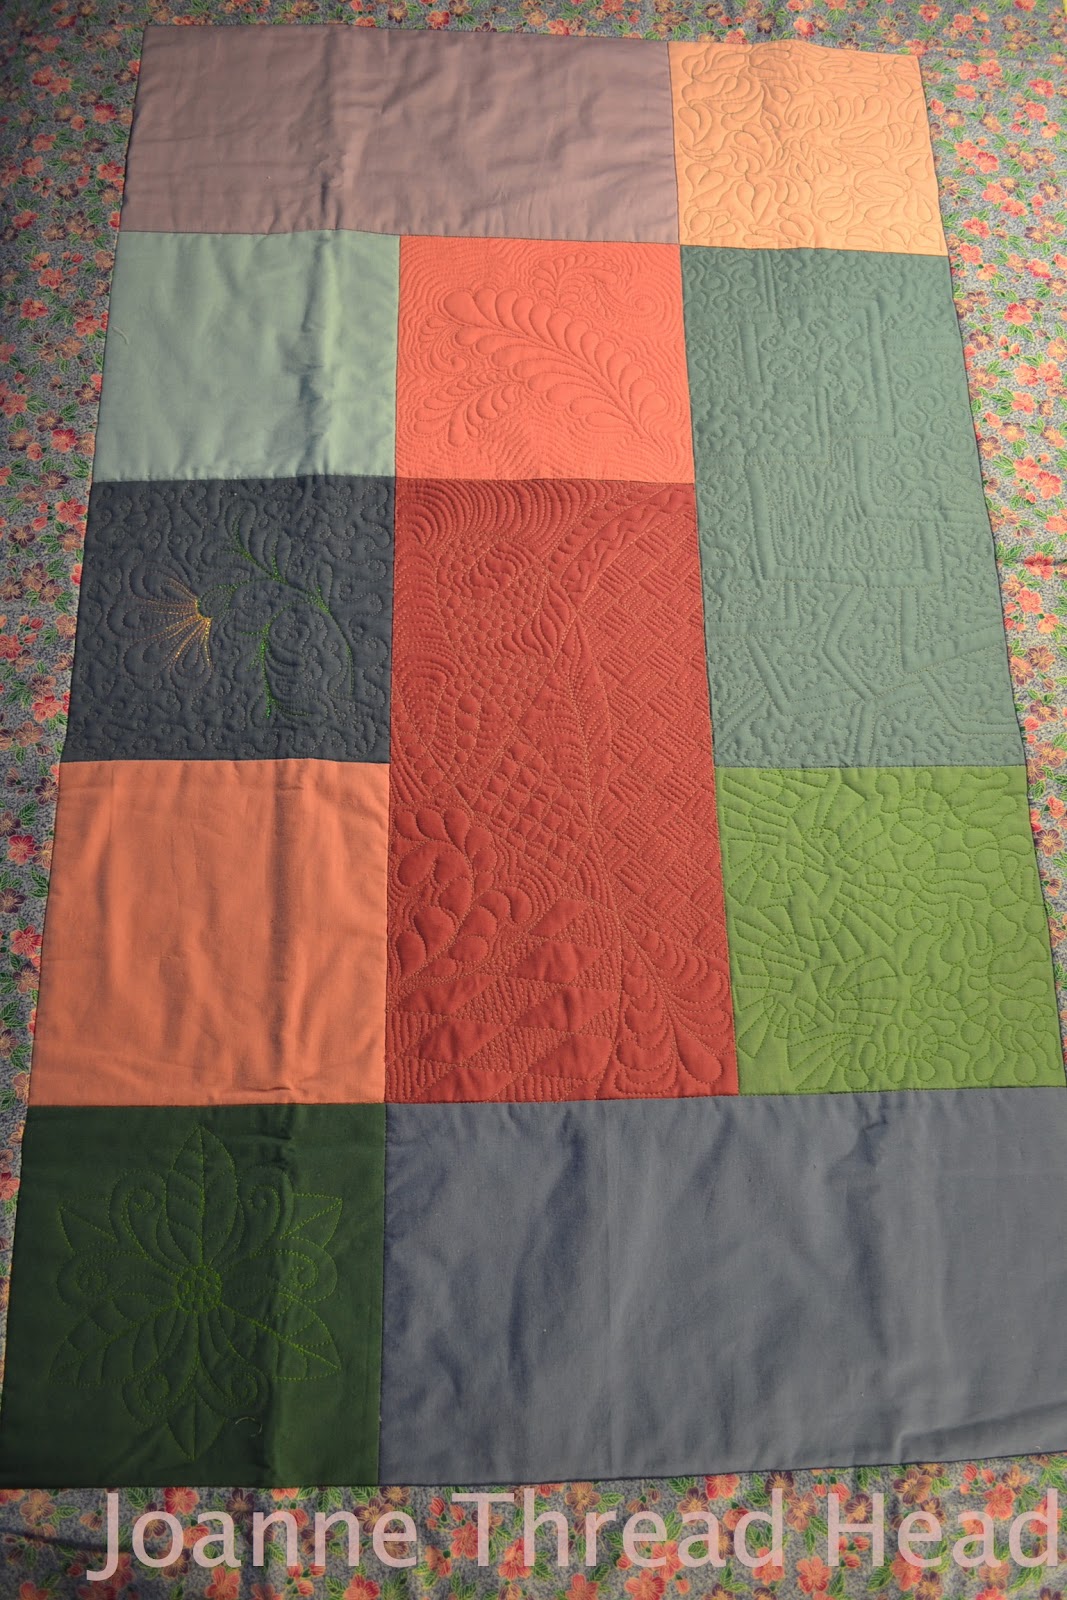
This is the version I want to make (although I haven't decided if I will add borders, or if I will have two different colours for the zig-zag setting stripes - I am sure that this layout has a proper name, but I don't know it).
The quilt is 50"x70". The photo is just to show the layout (this is the best that I could do with EQ), the finished quilt will look different.
Here it is with 5" borders, making the quilt 60"x80". The above two quilts will work with the fabric I have.
This one is from EQ quilt settings and called Vertical Strip Quilt - only using 18 blocks and 6 half blocks. It is 71"x96". EQ calls for 4 yards of red fabric and 2+3/4 yards of green fabric for this one (although EQ always seems very generous with its yardage). Plus more fabric for the binding.
This is an 83" square quilt that needs 49 blocks (4 or 5 of each block pattern) and setting squares, with 7" borders. EQ calls for 2+1/2 yards of fabric for the borders and 2+1/2 yards for the setting squares. Plus more fabric for the binding.
Here is a little wallhanging using 9 blocks with setting squares, and 4" borders. It is 38" square.
I designed the quilts with room for free motion machine quilting (probably feathers!).
I hope you will consider sewing along. The fun starts on Tuesday September 18th, 2012, and the plan is to have a new block every Tuesday until December.
If you have any questions don't hesitate to email me.
Thanks for stopping by and have a great day!❤
Thanks to my children for helping me with the logo and the HTML code for the button!
Thursday, August 23, 2012
Monday, August 13, 2012
Small Quilts of the Month
This past week has been the week of little quilts.
I belong to a Yahoo Small Quilt Talk group, and this year we are making a small quilt of the month. The patterns are all from Kathleen Tracy's books.
This is the August small quilt - Charming Coins from the book "Remembering Adelia". There are 72 different fabric "coins" on the quilt. I used Hobbs Heirloom bleached cotton batting - it is nicely crinkled after washing. It is about 18" x 23".
I am trying to "step out of my box" with these little quilts, and for this one I used fabrics which I normally find difficult to use - ones with stripes, odd patterns, etc.
I also tried free motion quilting with 35 weight thread for the first time. I have never had much luck with FMQ using heavy threads, but the single hole throat plate for my machine really made a difference. I also lowered the top tension (the tension number is increased for my Husqvarna machine), and used a #90 Titanium needle.
I used this beautiful Valdani hand quilting thread.
The design was made with a stencil, and iron off quilt pounce.
I also caught up on the other small quilts of the month -
This is my version of the February one. It is Broken Dishes from "Prairie Children & Their Quilts". I used Hobbs silk batting (nicely crinkled too). It is 16" square.
This one is my version of Indigo Blue and White quilt from "American Doll Quilts". I wasn't going to make a blue and white quilt, but I had a FQ of the border fabric that I didn't know what to do with; it turned out to be one of my favourite little quilts. It is about 20" x 26".
Here are the 8 quilts of the month so far. My plan is to put them all together on a wall in my sewing room at the end of the year.
The group is lots of fun - thanks to Kathy and the other members of the group for making it so enjoyable and informative.
Thanks for stopping by and have a great day! ❤
I belong to a Yahoo Small Quilt Talk group, and this year we are making a small quilt of the month. The patterns are all from Kathleen Tracy's books.
| August Small Quilt of the Month |
I am trying to "step out of my box" with these little quilts, and for this one I used fabrics which I normally find difficult to use - ones with stripes, odd patterns, etc.
I also tried free motion quilting with 35 weight thread for the first time. I have never had much luck with FMQ using heavy threads, but the single hole throat plate for my machine really made a difference. I also lowered the top tension (the tension number is increased for my Husqvarna machine), and used a #90 Titanium needle.
I used this beautiful Valdani hand quilting thread.
The design was made with a stencil, and iron off quilt pounce.
I also caught up on the other small quilts of the month -
| February Small Quilt of the Month |
![]() |
| July Small Quilt of the Month |
Here are the 8 quilts of the month so far. My plan is to put them all together on a wall in my sewing room at the end of the year.
The group is lots of fun - thanks to Kathy and the other members of the group for making it so enjoyable and informative.
Thanks for stopping by and have a great day! ❤
Wednesday, August 8, 2012
August's FMQ Challenge and a Finish
| The design on my sample quilt |
This month's challenge is called "Jester's Hat". I really liked the design, from the talented Wendy Shepard - Ivory Spring - she does amazing quilting on her DSM. It was harder than I first thought it would be, but I love the look.
The challenge came at a good time, because I was looking for a design for my Hop To It quilt. I used the design in the background of the appliqué blocks.
Here is the quilt all finished. It is 65" x 80". I used silk batting, and flannel backing. The silk batting (Hobbs Tuscany) is so soft and pliable, it makes such a lovely light quilt. It is only a bit more expensive than their wool batting. Because it is so soft and light, it is very easy to quilt with a domestic sewing machine, it bunches so easily to fit under the machine - I highly recommend it.
I quilted it with #50 Aurifil Thread and a #80 Titanium needle. With the single hole throat plate in my machine I had no tension issues.
I did some other quilting designs that I thought complemented the "Jester's Hat".
This is the quilting from the back of the quilt.
I quilted hooked feathers in the outer border, because I thought they were like the points on the "Jester's Hat" design, and a loop and swirl design for the inner border.
Thanks to Sew Cal Gal and Wendy Shepard for this month's challenge!
One thing I did learn is that I shouldn't have added such large borders to the quilt, because I am using it as a lap quilt on the back of the couch, and only a bit of the blocks are showing. The quilt is big enough for a single bed, but neither of my two young men wanted a quilt with flowers and a bunny in their rooms - can't imagine why!
This was such a lovely quilt to make - it was made as a block of the month with a few friends - thanks Joan, Raewyn and Wendy!
![]() |
| Gazanias blooming in the garden |
Have a great day and thanks for stopping by!❤
Saturday, August 4, 2012
Striped Tumbler Quilt
I recently finished a striped tumbler quilt for a family friend, and wanted to share my pattern.
The lap quilt is 53" x 67". The fabric is by Kansas Troubles.
It is made with tumblers cut with the GO! 3+1/2" Tumbler die.
I used -
11 fat quarters, and
2 meters (79", but 2 yards would work) of fabric for the stripes and binding
I cut the fat quarters into five 4" strips parallel to the selvage (this minimizes stretching when cutting with the GO!).
I like to lay the strips together and press them, it kind of makes them "stick" together.
I cut the five layers together, the full three tumblers the first pass,
and two with the rest of the strip.
It is actually more than 3, and 2 tumblers since there are 5 layers, but you get the idea. I cut 25 tumblers out of 1 fat quarter (I had both metric and imperial fat quarters, and cut 25 tumblers from both kinds of FQ's) with very little waste.
I pieced 30 tumblers per row, and joined 3 rows together. I made 3 of these tumbler rows. They are about 9" wide.
I pressed the seams in opposite directions, and spiralled the seams to reduce the bulk at the intersections.
I trimmed the ends of the tumbler rows,
and joined the rows with alternating stripes of fabric, cut 7+1/2" wide, cut parallel with the selvage (so there are no joins in the stripes). I had four 7+1/2" pieces of fabric. I also cut out the 2+1/2" strips for the binding, parallel with the selvage (I cut 4 strips for the binding, but you might need 5 depending on the amount of fabric you have).
I wanted to make a quilt with lots of room for machine quilting. I quilted large feathers down the stripes and meandered over the tumblers. I think it would have looked better with straight lines over the tumblers to contrast with the feathers - maybe next time. I marked the centre of the feathers with the Hera marker, and quilted it first.
I used wool batting and flannel backing for this quilt.
Have a great day and thanks for stopping by!❤
The lap quilt is 53" x 67". The fabric is by Kansas Troubles.
It is made with tumblers cut with the GO! 3+1/2" Tumbler die.
I used -
11 fat quarters, and
2 meters (79", but 2 yards would work) of fabric for the stripes and binding
I cut the fat quarters into five 4" strips parallel to the selvage (this minimizes stretching when cutting with the GO!).
I like to lay the strips together and press them, it kind of makes them "stick" together.
I cut the five layers together, the full three tumblers the first pass,
and two with the rest of the strip.
It is actually more than 3, and 2 tumblers since there are 5 layers, but you get the idea. I cut 25 tumblers out of 1 fat quarter (I had both metric and imperial fat quarters, and cut 25 tumblers from both kinds of FQ's) with very little waste.
| 275 tumblers from the 11 FQ's |
I pressed the seams in opposite directions, and spiralled the seams to reduce the bulk at the intersections.
I trimmed the ends of the tumbler rows,
| the finished layout of tumblers and stripes |
I wanted to make a quilt with lots of room for machine quilting. I quilted large feathers down the stripes and meandered over the tumblers. I think it would have looked better with straight lines over the tumblers to contrast with the feathers - maybe next time. I marked the centre of the feathers with the Hera marker, and quilted it first.
I used wool batting and flannel backing for this quilt.
Have a great day and thanks for stopping by!❤
Tuesday, July 31, 2012
July's FMQ Challenge
I finally got around to this month's Free Motion Quilting Challenge (nothing like waiting until the last moment - I did finish it yesterday though!).
I really liked this month's design from Angela Walters.
Half of the 8" x 16" block on my sampler quilt I filled the tiles with different fillers,
the other half I tried irregular tiles and the same fillers.
This is my sampler quilt to far. Hard to believe that there are only 5 more areas to quilt. It has been a fabulous challenge - thanks SewCalGal!!
I have always had bobbin tension problems when quilting - when the bobbin starts to get low on thread, and I quilt too fast. It was recommended that I try a "Single Hole Throat Plate" on my sewing machine. I can't believe the difference it has made. I have quilted a few quilts recently with no tension problems. I have been using it for piecing too, with success. I highly recommend it, if you can get one for your machine.
Thanks for stopping by and have a great day!❤
Thursday, July 26, 2012
RPTPP Baby Quilt
I recently made a baby quilt for a work colleague of my husband, and thought that I would share my pattern. The quilt is 35" x 49".
I made it with the Rob Peter to Pay Paul GO! die (one of my favourite GO! dies, it is so versatile). The blocks are 7".
I used -
1.5 m (~60") fabric for the centres of the block
1m (~40") each of two different fabrics for the outside pieces of the block, plus I used another 0.5m (~20") of one of the fabrics for the binding
1.5 m (~60") flannel for the backing
batting (I used cotton - tried Hobbs Heirloom Bleached for the first time, it is lovely and soft. Thanks for the tip Corina.)
I made 35 blocks, with a 5 x 7 block layout. This way the colours balanced.
The above photo shows how I pressed the seams. I don't use pins when I make this block, but use this method (if the link doesn't work, it is how to piece curves with a regular pressor foot and lifting the top piece up), with the centre piece on the bottom, and starting with the outer piece laying about 1/4" beyond the tip of the centre piece.
I quilted it on my DSM.
This seems to be my favourite design to quilt on RPTPP quilts, as I use it every time!
I used an open heart feather design in the oval shapes, and continuous squiggly loops for the centres.
You can kind of see the quilting on the back.
I used Aurifil #50 thread for the quilting (and piecing) - variegated pale yellow for the centres and variegated pale green for the oval shapes (I had the same thread top and bottom), with a #80 Titanium needle (just seems to be the needle that is constantly in my machine at the moment - it is lasting a long time).
Have a great day and thanks for stopping by!❤
I made it with the Rob Peter to Pay Paul GO! die (one of my favourite GO! dies, it is so versatile). The blocks are 7".
I used -
1.5 m (~60") fabric for the centres of the block
1m (~40") each of two different fabrics for the outside pieces of the block, plus I used another 0.5m (~20") of one of the fabrics for the binding
1.5 m (~60") flannel for the backing
batting (I used cotton - tried Hobbs Heirloom Bleached for the first time, it is lovely and soft. Thanks for the tip Corina.)
I made 35 blocks, with a 5 x 7 block layout. This way the colours balanced.
The above photo shows how I pressed the seams. I don't use pins when I make this block, but use this method (if the link doesn't work, it is how to piece curves with a regular pressor foot and lifting the top piece up), with the centre piece on the bottom, and starting with the outer piece laying about 1/4" beyond the tip of the centre piece.
I quilted it on my DSM.
This seems to be my favourite design to quilt on RPTPP quilts, as I use it every time!
I used an open heart feather design in the oval shapes, and continuous squiggly loops for the centres.
You can kind of see the quilting on the back.
I used Aurifil #50 thread for the quilting (and piecing) - variegated pale yellow for the centres and variegated pale green for the oval shapes (I had the same thread top and bottom), with a #80 Titanium needle (just seems to be the needle that is constantly in my machine at the moment - it is lasting a long time).
Have a great day and thanks for stopping by!❤
Saturday, July 21, 2012
72 Shades of Red
I had been wanting to try some English paper piecing - I thought it would be nice to have a hand sewing project. I helped my mother and sister make a grandmother's flower garden quilt many years ago.
I ordered the GO! Hexagon die. I thought I could use it for cutting out fabric to machine piece, or to cut out paper for hand piecing.
The same day the die arrived, I received this English Paper Piecing kit from Sew What, a new local business (I had answered a survey and this was my free gift - thank-you so much Heather and Preston! And good luck with your business).
So I tried both the card stock hexagons and small paper hexagons (1" sides) that I cut with the GO! to make the hexagons.
I decided to just make a small mug rug to see how it works. I thought I would cut out one hexagon from all the red fabrics I have - I was surprised that I had 72! Some of them were just little scraps. The mug rug ended up being 14.5" x 25".
I used a small zig-zag stitch and 100 weight fine thread to appliqué the pieced hexagons to a larger piece of fabric. I used two layers of cotton batting (because I didn't have the heat resistant, foil batting). I added the binding before quilting the feather border, so that the quilting would be even on the edge. I don't cut the extra batting and backing off before I bind a quilt, so I still have some place to hold when I am quilting.
I quilted a small meander over the hexagons, and "bump-bump" feathers in the border. The quilting is with the same 100 weight thread, and a #80 Titanium needle.
It came out to a nice size for my coffee table trunk.
It was lovely to hand sew the hexagons and I see more hexagons in my future.
Recently I was contacted by Jessi (Joy Unspeakable) because she was making my clothes pin bag pattern, and had some question. Well, she finished the bag, all stitched by hand, and did such a lovely job - she shows it here. Be sure to check out her blog - she lives in Kenya as a missionary, and has a very interesting life.
Ruth (Country Log Cabin) also sent me some pictures of her Thread Head Quilt Along quilt, her 50th Anniversary quilt shown here. She did a great job too!
It is so nice for me to see the projects that people have made with my patterns. Thanks!!
Thanks for stopping by and have a great day!
I ordered the GO! Hexagon die. I thought I could use it for cutting out fabric to machine piece, or to cut out paper for hand piecing.
The same day the die arrived, I received this English Paper Piecing kit from Sew What, a new local business (I had answered a survey and this was my free gift - thank-you so much Heather and Preston! And good luck with your business).
So I tried both the card stock hexagons and small paper hexagons (1" sides) that I cut with the GO! to make the hexagons.
I decided to just make a small mug rug to see how it works. I thought I would cut out one hexagon from all the red fabrics I have - I was surprised that I had 72! Some of them were just little scraps. The mug rug ended up being 14.5" x 25".
I used a small zig-zag stitch and 100 weight fine thread to appliqué the pieced hexagons to a larger piece of fabric. I used two layers of cotton batting (because I didn't have the heat resistant, foil batting). I added the binding before quilting the feather border, so that the quilting would be even on the edge. I don't cut the extra batting and backing off before I bind a quilt, so I still have some place to hold when I am quilting.
I quilted a small meander over the hexagons, and "bump-bump" feathers in the border. The quilting is with the same 100 weight thread, and a #80 Titanium needle.
It came out to a nice size for my coffee table trunk.
It was lovely to hand sew the hexagons and I see more hexagons in my future.
Recently I was contacted by Jessi (Joy Unspeakable) because she was making my clothes pin bag pattern, and had some question. Well, she finished the bag, all stitched by hand, and did such a lovely job - she shows it here. Be sure to check out her blog - she lives in Kenya as a missionary, and has a very interesting life.
Ruth (Country Log Cabin) also sent me some pictures of her Thread Head Quilt Along quilt, her 50th Anniversary quilt shown here. She did a great job too!
It is so nice for me to see the projects that people have made with my patterns. Thanks!!
Thanks for stopping by and have a great day!
Subscribe to:
Posts (Atom)