Showing posts with label Tips. Show all posts

Monday, April 9, 2018

Handwoven Tunic

This week I finished sewing a tunic with a piece of fabric that I wove a few weeks ago -


The warp is all yarn that I had spun and the weft is mainly commercial yarn with some handspun, woven in a Soari style.


It is a very simple pattern,


from a Japanese sewing magazine (Amazon link). The tunic is so nice to wear! Sewing something with handspun, handwoven fabric is very rewarding.

~1967 England
I had a similar outfit when I was little (red shoes too),


so did my twin brother (our Mother made these - how she found the time to sew with 5 young children I have no idea!).


I made a couple of coasters with some leftover fabric.

A tip that I have about sewing thick fabric is to use a piece of wood when pressing the seams to really flatten them.


I know that there are fancy tailors clappers, but I just use a piece of 2x4 with a steam iron. After a burst of steam the piece of wood is pressed on the seam for a few seconds.


I also use a piece of 2x4 in front of the pedal for my sewing machine. I find it easier to control the speed of the machine when just my toes are on the pedal (really important when free motion machine quilting).


This is last weeks 1880 Sampler Sew Along block from the Temecula Quilt Co.


My Granny Stripes Blanket has reached the half way point! Just over 36" and about 650g of yarn used, so I should have plenty of yarn.

All the best!♥︎

Friday, December 7, 2012

'Sew' Much Fun

I made this piece of crazy quilting a few years ago and thought that is was about time I made some thing with it (I originally had other plans for it and never got around to making it).


The crazy quilting measures about 6" square.
The tatting patterns are from the book "Tatted Fashion" by Teiko Fujito - which is a wonderful book and great for all levels of tatters.
Since I have been doing lots of free motion quilting recently, and I purchased some different plain Kona cotton to practice on, I decided to incorporate the CQ into a whole cloth quilt.

Here are the steps I took -


After adding large borders to the square of CQ, I layered it with backing fabric (from an old white cotton sheet), and two layers of batting - the bottom one is cotton and the top is half a layer of wool batting (both by Hobbs - just what I had). Stitched all the seams in the ditch. I did mark the spines of the feathers with a white Clover iron out pen and stitched those first. More about the design inspiration later.


After all the feathers were stitched, I knew I wanted to have a large section of a palm leaf design in the corner (Cindy Needham calls it "gingko", and uses a stencil, but I quilt a different ginkgo design already and think this one looks more like a palm leaf - so to avoid confusion I am calling it a palm leaf design).


I marked two semi circles with a Hera marker on a piece of string, that I held at the corner.


There is pebbling quilted in the narrow band,


and "scribbling" in the section around the CQ. Scribbling is as fun to quilt as it sounds!


I marked a 1/2" grid with a Hera marker for the palm leaf design (you can see how well the lines show up - the Hera marker just flattens the fibres. To remove any lines that were still visible after quilting, I sprayed a tiny bit of water on the fabric to swell the fibres back up - my fabric is cotton).


This area (about 11" radius) took almost 4 hours to quilt!! The whole FMQ took about 9-10 hours.


But it was worth it in the end - I love the movement this particular design creates.


When I started this piece I knew that I wanted the quilting to move around the CQ, from the bottom left corner (the lone button), around, and "out" the upper right corner. I added diagonal straight lines around the rest of the feathers to create more of that movement. There is also a section of binding that is different in the upper corner (it is the same Liberty cotton that is in the CQ), and the CQ is purposely not centred in the piece.

this photo shows all the different designs

I added beads to the palm leaf design, in different colours and sizes (11 and 15) to create more movement.
All the quilting is done with a matching dark beige Invisafil 100Wt thread. The feathers are bump-bump feathers, and I used a #80 Titanium needle (still the same one that has been on my machine for ever it seems, well worth the extra money).

Before I started the piece I knew that I wanted to practice a few design elements - the palm leaves and feathers with triangular elements.


The above photo shows the triangular elements in the feathers and how they mimic the triangle shapes of the CQ. There are more triangles in the piece created with other designs and beads.
The semi circle in the upper corner and the pebbling mimic the buttons and beads in the CQ.

the finished piece is 19"x20"
I can't tell you how many times I took the above photo and there were always blurry sections - the joys of a point and shoot camera, but at least I am still blogging for free!

The Cindy Needham Craftsy online class that I took really helped show the importance of backgrounds, and it has been fun trying out different ones. Thanks so much to Cindy Needham!!
More of my opinion of the class here.

Practice, practice, practice - the only way to get better at free motion quilting! My Mother asked me what I was making this for - once it was finished it served its purpose - it was to practice. I don't know why, but you do a better job practicing on something that is worth while, than just an old scrap of fabric.


I just wanted to mention that I quilted it the ditch first with a walking foot, in all the seams. After the piece was quilted I found that I didn't like the areas of the feathers that were stitched down and I removed some stitching. In the above photo you can see the feather on the right side of the spine (the large lobe) has had the stitches in the ditch removed, and the ones on the left haven't.

I hope this inspires you to practice!

Have a great day and thanks for stopping by!❤

Tuesday, July 31, 2012

July's FMQ Challenge


I finally got around to this month's Free Motion Quilting Challenge (nothing like waiting until the last moment - I did finish it yesterday though!).


I really liked this month's design from Angela Walters.


Half of the 8" x 16" block on my sampler quilt I filled the tiles with different fillers,


the other half I tried irregular tiles and the same fillers.


This is my sampler quilt to far. Hard to believe that there are only 5 more areas to quilt. It has been a fabulous challenge - thanks SewCalGal!!


I have always had bobbin tension problems when quilting - when the bobbin starts to get low on thread, and I quilt too fast. It was recommended that I try a "Single Hole Throat Plate" on my sewing machine. I can't believe the difference it has made. I have quilted a few quilts recently with no tension problems. I have been using it for piecing too, with success. I highly recommend it, if you can get one for your machine.

Thanks for stopping by and have a great day!❤

Friday, May 25, 2012

Sewing Room Clean Up

I am so pleased to have finished quilting the Double Wedding Ring quilt.


It came out better than I expected and I just have to finish hand sewing the binding to the back (I will show the finished results when it is all finished).

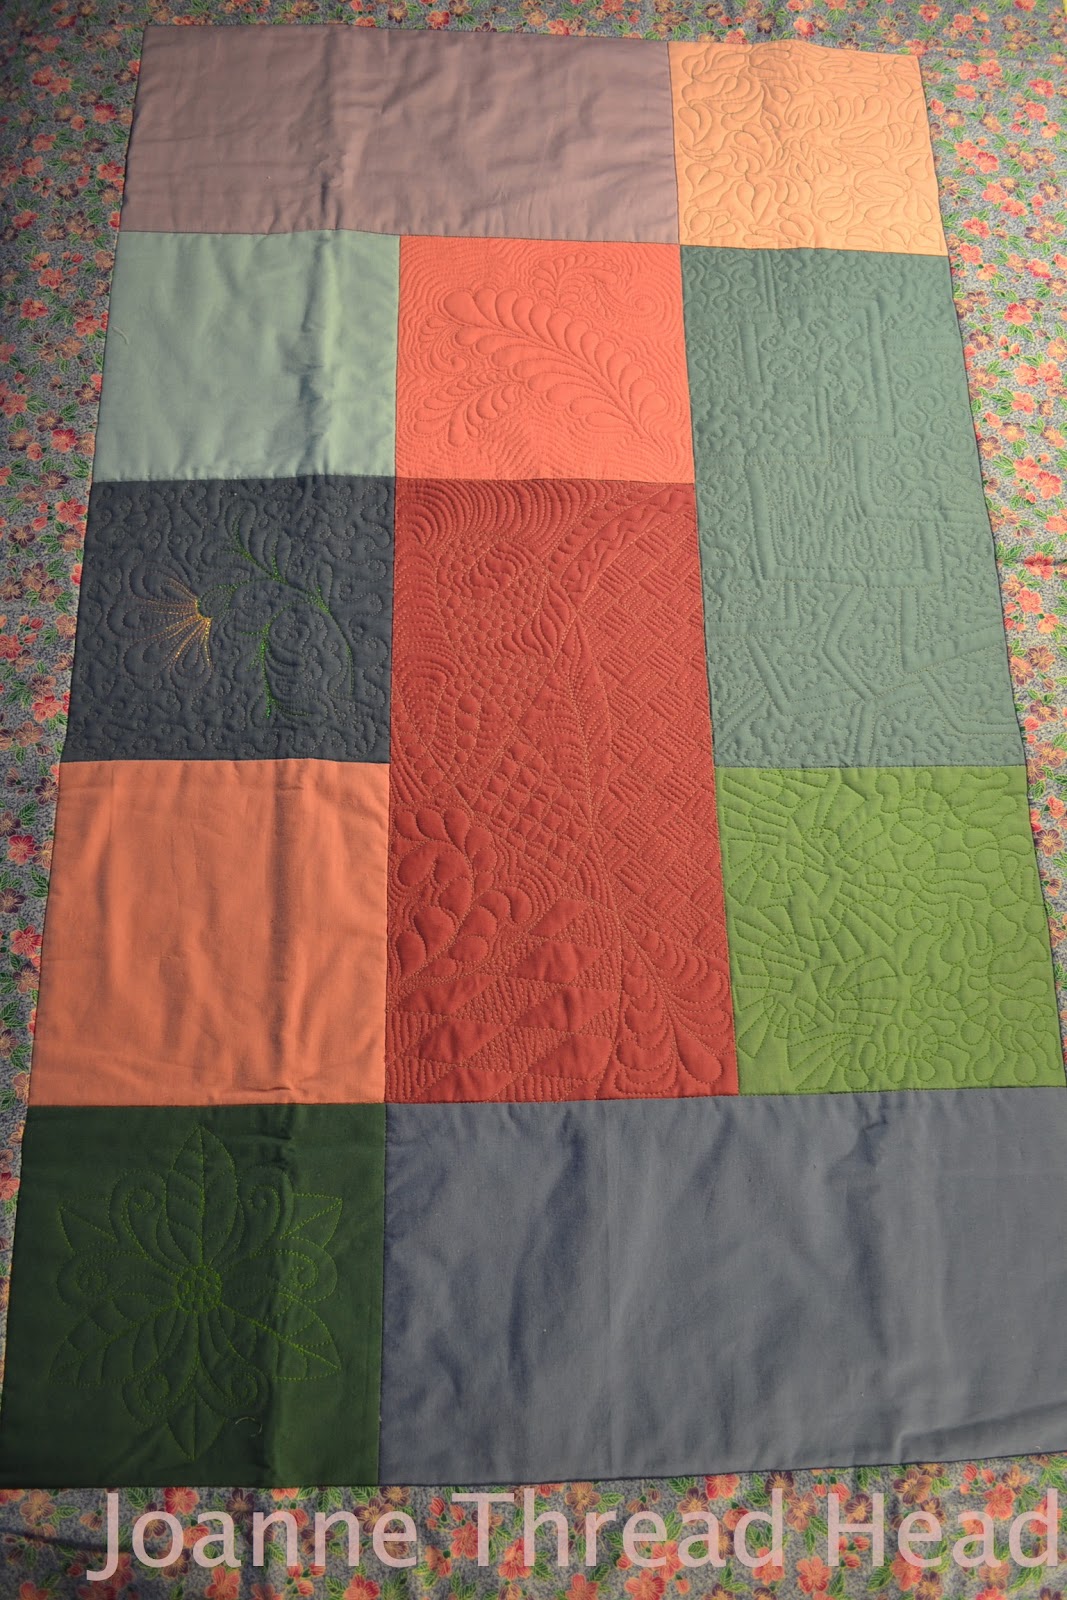
I machine quilted 3 quilts in the past two weeks and so today was the day to clean and put my sewing room back in order (I have a set up that involves an old countertop cut to fit my machine for quilting large quilts).
I waited for a sale of free shipping to buy batting, but didn't enjoy having quilt tops waiting for quilting and then quilting three at once (Hamels is having another free shipping week - until May 30th for Canadian and US orders, so I will order some batting in advance for some projects I have lined up).


I cleaned my sewing machine and wanted to pass on a wonderful tip I recently read about on the internet (sorry can't remember where) - they suggested using a pipe cleaner for the hard to reach areas of the sewing machine. It works wonderfully and got into all kinds of spots I have never been able to clean.

Some one recently asked to see some close up pictures of my sewing area (click on the pictures to make them bigger), so here goes -


I have lots of old kitchen things on the wall. The collection started with a few things that we found in the first house we bought and then people started giving me things. Most of them come from my aunt (from my grandmother's house - my mother remembers using the cake tins on the left, the rolling pin was also my grandmother's). The printers drawers on the right hold thread (my degree hangs under them  - it was either here or the laundry room!). I am lucky to have a big, old (heavy) drafting table as my cutting table.


This sampler (about 10" x 15") was made by my grandmother (Gracia Bergeron 1893-1976) when she was young, in boarding school (St Grégoire, Quebec), around 1910.


Incredibly tiny quilting stitches, buttonholes,


mending stitches,


and patching along with the embroidery.


This picture is of my grandmother on the left when she was a teenager, along with her sister and their mother (also about 1910).


The clothes on the wall are also from my grandmother.


The christening gown and cape are on the right.


The gown is so tiny. I don't know how old it is, but my grandmother's first child was born in 1918. The silk ribbon is all fractured on the gown.


My aunt gave me this mohair coat and hat to make teddy bears, but I couldn't cut it up.


This picture shows my grandmother holding one of my aunts wearing the coat and hat, about 1929, along with my grandfather and some of my mother's oldest siblings, plus a cousin. My mother is the youngest of 11 (9 survived to adulthood), her father died a few months before she was born.

Tomorrow I am volunteering at a quilt show - always very enjoyable!

Have a great day and thanks for stopping by!❤

Monday, February 13, 2012

Mixed Media Art Quilts

This weekend I made a couple of art quilts.


I tried using different types of fabrics and more embellishments for these. They are both around 9"x6".


The background is linen/cotton mix, and the appliqué and binding are raw silk.


I stamped the leaves using So-Soft fabric paint.
I did some free motion machine embroidery on the leaves before applying the appliqué, and added a couple more leaves with stitching.


I used fusible web to add the flower and then stitched all around close to the edge to secure it (free motion using Aurifil #50 thread),


I then added some more free form decorative stitching.


I added some accents with metallic thread (I had to switch to regular sewing because my machine doesn't like free motion sewing with metallic thread - I tried adjusting the tension and changing to different types of needles with no luck)


I added two circles of raw silk for the centre, with the grain of the fabric at 45 degrees to each other,


so that the fringe would be full when I removed the outer fabric threads. I also added a few beads and a button (stitched on by hand).

I quilted around the design and added some leaves using Aurifil #50 thread to match the background.


This one is made with the same background fabric, and similar stamped and machine embroidered leaves.


I also added a picture made from a scan of an old book (Flower Fairies of the Autumn) that I printed directly onto a piece of fabric (using a piece of muslin ironed onto a piece of freezer paper and a regular inkjet printer - photo quality setting).


I added a piece of wool crepe and some decorative stitching with metallic thread,


plus a piece of lace, mother-of-pearl buttons, and some beads.


I always use a stabilizer on the back when I am doing decorative stitching and I tried some "Burn Away" stabilizer for this one. I cut away the excess and then ironed the back until the stabilizer turned brown. It then just brushed off.
I used a thin piece of batting as a stabilizer for the quilt with the yellow flower.

I always start projects like this thinking that they will end up more free-form, organic and "messy", but all my work seems to end up neat and organized! I guess I just have to resign myself to that.

Have a great day and thanks for stopping by!♥
Related Posts Plugin for WordPress, Blogger...