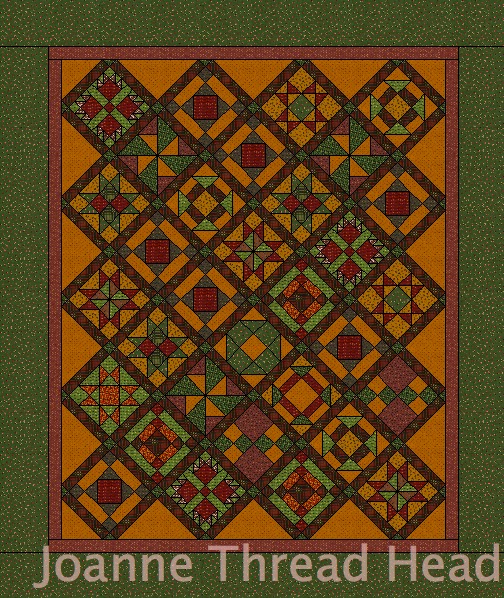
Famous last words in quilt patterns are "quilt as desired"! Deciding what to quilt can be such a hard part of quilting, so I wanted to leave you with some suggestions. It is just "my thing" to encourage people to quilt their own quilts - so I hope you will quilt it yourself. It is very "do-able" on a domestic sewing machine (DSM).
Tips -
When you are quilting your quilts there are some things that will make it easier -
- The type of batting you use. If your batting is stiff it will be more difficult to quilt, even if you have the best set up. Silk is the best to quilt on a DSM, but if you can't find that, wool or a very good quality cotton or cotton/polyester will be fine. I like Hobbs, but that is because that is the brand that is sold locally. Remember "Warm and Natural/White" was not developed for quilts, but for window coverings, and it is hard to quilt on a DSM - it's too stiff.
- Having a good set up for quilting. The little plexiglass surround that so many of us have will not work for quilting a large quilt - it catches and the quilt does not move easily - extremely frustrating.

This is my old set up when I quilted large quilts. It is an old piece of countertop with a notch cut out for my sewing machine (the notch is the same as on the plexiglass surround). The legs are just pieces of 2x4's. The whole thing is on my dining room table. I have seen people make something similar with layers of the blue styrofoam insulation.

Because I sew so much I decided to invest in a cabinet this year. This one has an extension leaf at the back and a table top that can be added on the front/side (it is a Koala Cabinet).
The important thing is that the weight of the quilt is supported.
- The right height chair will make it easier on your body.

I also place a piece of 2x4 in front of my sewing machine foot pedal to rest my heel on.

I like to pin my quilt layers together - I admit I don't use too many pins, probably every 8". I tape the backing down - don't over stretch the backing, otherwise it will bounce back and cause puckers when the tape is removed. I used flannel backing for this quilt, since it is a lap quilt. The batting is wool.
I start by Stitching In The Ditch. This is really important to secure all the layers, it will make quilting each block easier.

I only stitched in the ditch along the zig-zag rows around the blocks, and not every single seam (the above picture is the back showing the stitching in the ditch).

I use my quilting gloves to stitch in the ditch, and gently pull the seams so that the stitching will lay right along the seam line.

If you have pressed the seam allowances to one side, stitch on the side without the seam allowance underneath. I used 100Wt Invisafil thread, in a coordinating colour, for stitching in the ditch on this quilt.

This is the walking foot for my machine (I also wound a few bobbins before starting). It is important to use because it moves all the layers evenly.

I bunch the quilt around the sewing machine, making sure that the area that I am working on moves freely. There is a lot of repositioning when quilting on a DSM. Try not to let the weight of the quilt lay on top of the area you want to move - it is too heavy
Also make sure that you know what a single layer of the quilt feels like under your hands, so that you will know if an edge of the quilt is accidentally caught underneath.
On to the quilting!
Since this is a sampler quilt, I quilted quite a few different designs, hopefully you will get a few ideas.

I quilted parallel lines in some of the zig-zags using the walking foot. I moved the needle over and used the edge of the foot as a guide. All the quilting is done with 50Wt cotton thread. I used a #80 Titanium needle.

I marked the turning point for the lines before starting.

The finished zig-zags.

I quilted feathers in the alternating zig-zags. Starting with the centre spine.

Adding feathers/lobes along one side,

then the other side.

The following pictures are close ups of some of the blocks for ideas -


 |
| the half blocks are all quilted the same |
The next three are all the same blocks with different versions of continuous curves.

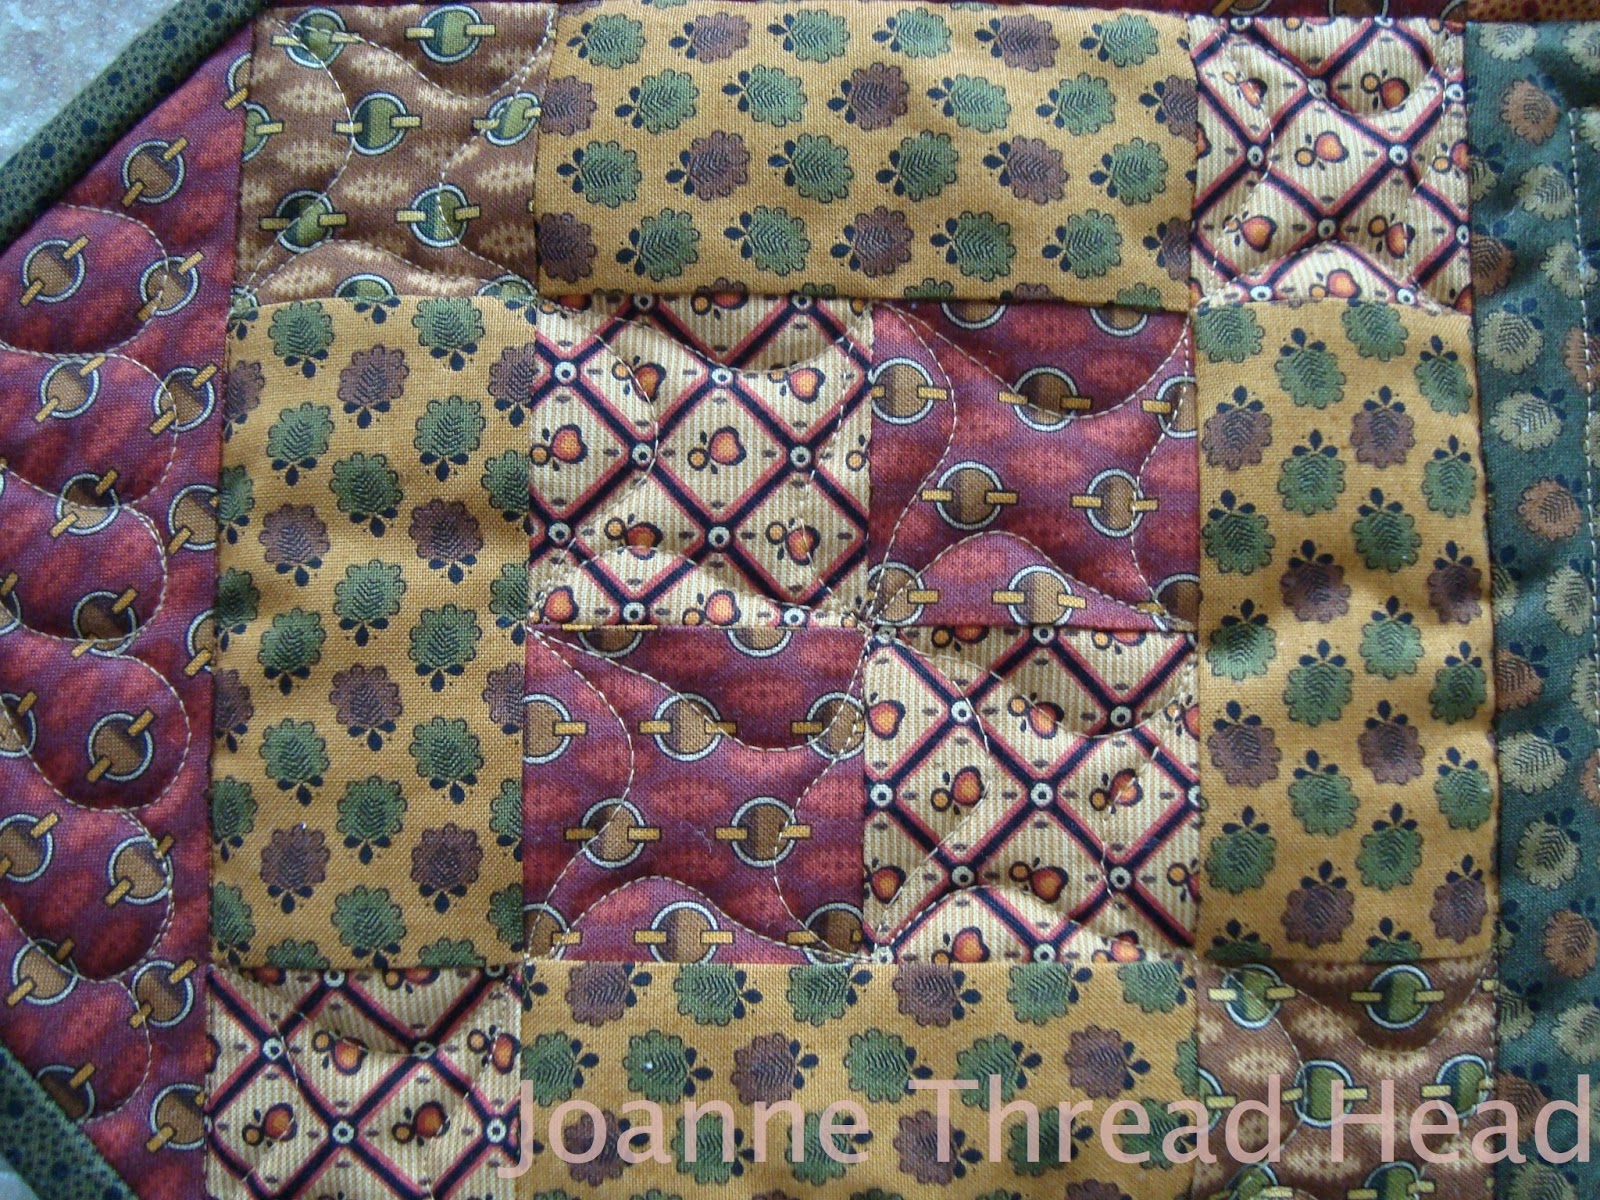

Stencils work for the blocks too -


Here are some of my tutorials for free motion quilting -
Friendship Mini Quilt FMQ ideas
Easy Machine Quilting
Free Motion Feathers Part 1 (with video)
Feathers Part 2
Bump-Bump Feathers (with video)
I tried many different designs on this quilt, because I wanted to give you ideas, but I did repeat design elements throughout the quilt.
Quilting turns fabric into a quilt, it is your way to express your creativity - I hope you will give it a try and have fun!
If you are new to free motion quilting I recommend Continuous Curves for quilting the blocks.
 |
| the back of the quilt |

For my 50" x 70" quilt I needed six 2+1/2" strips of fabric. When I am cutting multiples of the same width of fabric I place a few layers of masking tape under my ruler at the width I need (each little strip of tape is made up of 3 or 4 layers of tape).

When I add the binding to a large quilt I don't trim it first (I always seem to catch the backing underneath when I trim first),

but I do trim the corner where I add the label. It is made from a 4" square of fabric, folded on the diagonal. I then slip stitch the fold down by hand when I stitch down the binding. I find this the easiest way to label a quilt, otherwise I never seem to get around to adding a label to a quilt.

I just use a fine Sharpie marker to label the quilt - it does last through washes.
This quilt was a joy to make, thank- you for quilting along, and thank-you to everyone for their words of encouragement! I look forward to seeing your finished quilts! ❤