Showing posts with label Mini Quilt. Show all posts

Sunday, November 10, 2024

Week 45 of 2024

I finished a couple of projects this week -

An elongated Courthouse Steps mini quilt inspired by one on the Temecula Quilt Co blog. I used strips cut at 1+1/4", starting with a 5+1/2" long one for the centre. The quilt is about 12" x16".
Free motion quilted with an oak leaf and swirl design.
I had a little blank spot on the wall of mini quilts in my sewing room (I can see a few more blank spots!).
Also the hat I started last week (Lucy Hat by Carina Spencer).
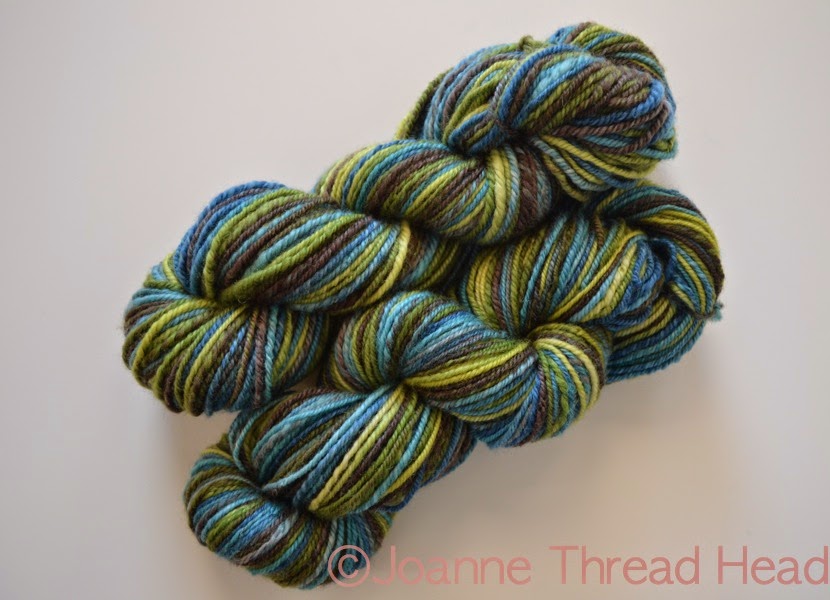
It was a joy to knit, and I love how the colours came out (I spun a three ply yarn to blend the colours, it also made for a nice, round yarn).
One warm day this week that finished off another ball of yarn.

Photos from Around -

The hens are so friendly - Becka trying to get a closer look at the camera.
These two girls were keeping a close eye on me as I worked.
Playing their favourite game. GingerSnap will lay down on his back when he sees Molly half way across the yard - how does he know she isn't a predator!
Frosty morning walk.
Turkey tail mushrooms on a stump.
The sky full of geese.

All the best!♥︎

Friday, December 20, 2019

A Pair of Mini Quilts

I enjoyed making the Tiny Tree quilt so much, that I couldn't resist the Temecula Quilt Company's Thanksgiving quilt too.


I loved the colours of the original one, that I made mine the same. After I was finished I realized that since my house is decorated for Christmas, one in Christmas colours would be nice.


So I made a second one. 


Both are quilted simply with a walking foot and 100 weight thread. They are about 8"x11", made with 1+1/2" squares and strips - a perfect way to use up the little bits of fabric from my scrap bin (I love coming across fabric that I haven't seen in a while).

Photos from around -

 
We recently had some high winds which left interesting patterns of dirt from the fields on the snow.
The puppy found something new to chew on.
In the above photo you can see that the pond/skating rink is the same level as the surrounding ground. The skating rink is huge, but it didn't freeze well. Hopefully with a bit of work and cooperating weather we will be able to skate soon.
It has been two weeks since the puppy came to stay, and the cat hasn't gotten used to her yet. She is incredibly quiet (she used to have lots of say and be so loud), plus she doesn't play much now. She does come for walks with us - if it isn't too cold. I hope one day they will be friends - the puppy really wants to get closer. In the above photo Maggie is in a spot that she spends a lot of time - waiting for food.

All the best!♥︎

Tuesday, November 5, 2019

Shoo Fly Mini Quilt Tutorial

I recently made a new mini quilt and wanted to show how I did it.


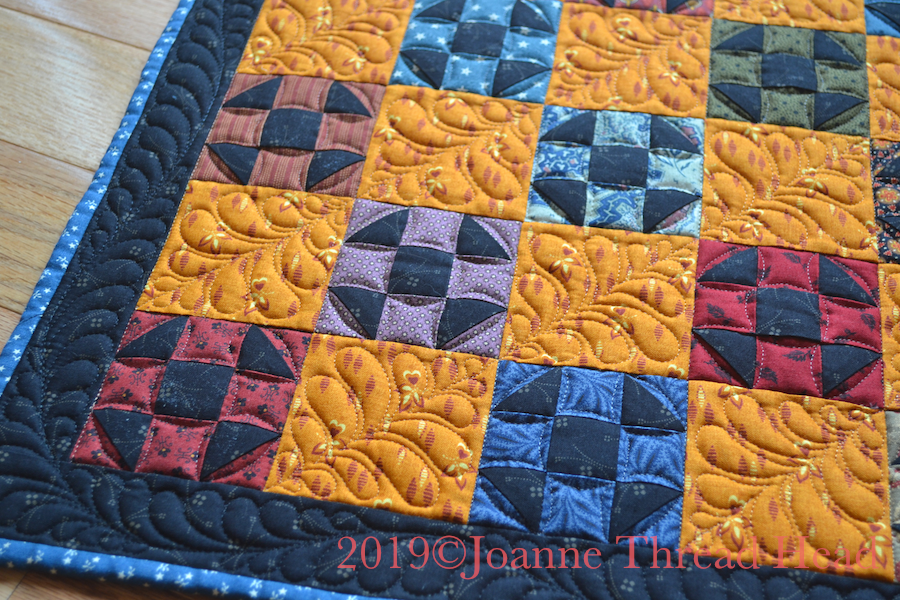
This is a Shoo Fly mini quilt with 3" blocks. It is 18"x24". It is a 5 by 7 block layout.
I chose a Shoo Fly block because it is a simple block that I think works well for such a small block.

For each 3" Shoo Fly block you need -

Print A -1 - 1+1/2" square (centre of the block)
               2 - 2" squares (for the half square triangles)

Print B - 4 - 1+1/2" squares
                2 - 2" squares (for the half square triangles)

For this quilt you need 18 Shoo Fly blocks.


I used all the same black fabric for Print A, and 18 different fabrics for Print B. This is a great way to use up scraps of fabric. It is also fat-quarter friendly - I used the same black fat-quarter for the centre of the blocks and the border (my fat quarter was a metric one though, so a bit larger than one based on a yard).

I sewed all the half square triangles at once using this method - link.


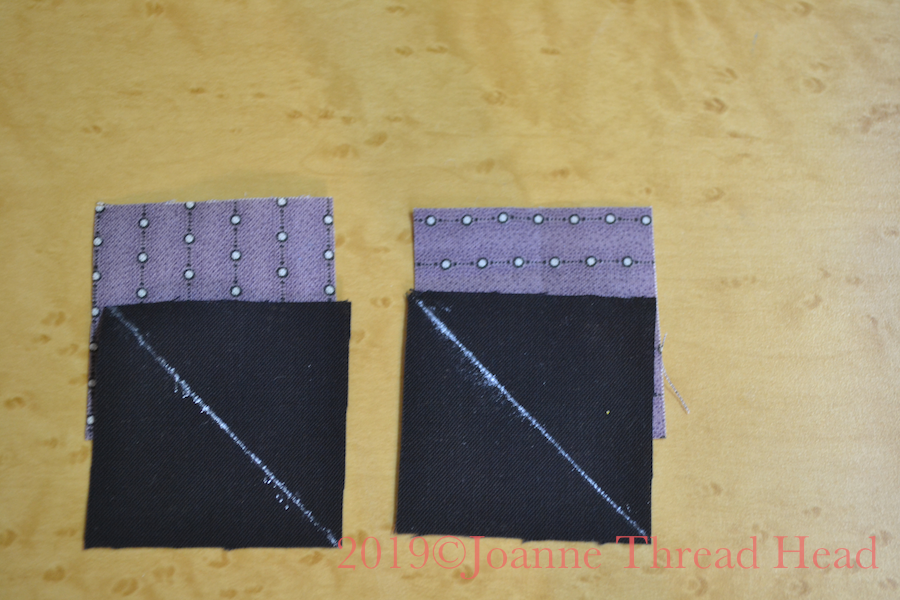
For directional fabric I stitch the diagonal line with each square of the directional fabric at right angles to each other as shown in the above photo, this way the directional fabric all lines up in the finished block.
Trim all the half square triangles to 1+1/2".

The layout for each block-

directional fabric for this block

Sew the blocks together (I press the seams away from the half square triangles), and trim to 3+1/2".


For the layout you need 17 - 3+1/2" squares for the alternating blocks, and 2" strips for the border (I had 4 across the width of the fat quarter, but had to piece the ones for the long sides of the quilt top with the leftover pieces from the short sides).

layout


To keep the points on the blocks stitch a couple of fabric threads away for the stitching lines on the points (this can only be done when the blocks are facing up).


I press the seams away from the blocks.


After piecing the top I layered it with a backing and two layers of batting - one thermofoil and one cotton  - to make a table mat that was a bit heat resistant to protect the table, and one that would absorb a spilt drink (bound to happen).


I stitched in the ditch with a walking foot on the sewing machine around all the blocks and around the border. I also added the binding at this stage (before taking off the walking foot).


For the free motion quilting I used a Hera marker to mark a diagonal line across the alternating squares.


I stitched an Open Heart design in the alternating blocks.


It is one of the simplest designs to stitch, and I think it works perfectly as a continuous design in shapes that connect to each other like these alternating blocks. The centre line acts as a guide.


I used a white marking pen (that is later steamed away) to mark the centre spine of the feather for the border.


Stitching the binding on before quilting the border is the best way to be able to fill in the whole border area with quilting on such a small border (in this case 1+1/2"). Not cutting the extra backing and batting means that there is an area for my hand to make free motion quilting easier too.

back of the quilt

For the border I did a Bump-Bump Feather on a spine that meanders from one edge of the border to the other. I stitched the border in three passes  - the spine first and then the lobes on one side and then the other.

I stitched on the Shoo Fly blocks with a simple corner to corner design in the background.

For the quilting I used a 100 wt thread - Invisafil by Wonderfil, in the top, and Bottom Line in the bobbin for most of the quilting, and 50 wt Aurifil in the bobbin for the border.


Made for this table! The table is made from the drawers of a 1914 cash register that was in the garage of our second house (an old neighbour help make it into a table).

I designed this quilt on EQ7, so I played around with other option too -

Scrappy like mine -


Three fabrics -


 Two fabrics -


Christmas fabrics -


A 3 by 5 layout would be 12"x18" -


If you make a Shoo Fly Mini quilt send me a picture so I can add it here.

All the best!♥︎

Sunday, April 13, 2014

Quilting Weekend

My online quilting group had our first cyber retreat weekend! We spent the weekend together, thanks to Skype, and three of us made the same little quilt.

outside on the snow for Raewyn
The pattern is Square Dance from the book 'Fat Quarter Quilting' by Lori Smith (if you click on the book picture in the link, you can see all the quilts in the book). The book is one of my favourites - I have made 5 of the quilts, the most patterns I have used from a book.


I made a few modifications - I used a different bird pattern from the book and I changed the 'X' flowers to circles; I also have the appliqué going over the blocks. The appliqué is 'Invisible Machine Appliqué'.


I used a layer of cotton batting, with half a layer of wool batting on the top for the batting - this works great for wall hangings (it has a good weight and lays flat) and it shows the quilting off nicely. All the quilting was stitched with 100Wt thread and a #80 Microtex needle. The quilt is 16" x 20".

Thanks for the wonderful weekend Joan, Raewyn and Wendy!

This next spinning project is from March, I just forgot to show it -


100% super wash BFL fibre - the March Fibre from SweetGeorgia Yarns.


This is the first time I have spun complete skeins of Chain Plied yarn - this makes a three ply yarn the keeps the colours from getting mixed up.


More details can be found on my Ravelry page.

Thanks for stopping by and have a great day!

Wednesday, June 6, 2012

Delectable Mountain Mini Quilt

I finished a mini quilt wall hanging.


The pattern is Delectable Mountains from the book "Fat Quarter Quilting" by Lori Smith (click on the link to see all the patterns in the book, it is one of my favourite books).


Once all the pieces were cut (and labeled), it was such an lovely quilt to put together.


The only problem that I had was there are mistakes in the book, and I should have checked the corrections  page before I started (it is the second quilt that I have made from the book with mistakes - so I should have known better).


I decided to use a leftover piece of silk batting. I joined two pieces with the three-step zig-zag stitch on my machine.


I wanted to see how silk batting washed (before I wash my string quilt). Before washing the quilt was 20.5" x 16.5",


after it was 20" x 16". It shrunk about 2.5% (the package states that silk batting shrinks about 5%). I hand washed it in cool water and after spinning in the washing machine, I hung it outside on the clothesline.


Silk batting is lovely to quilt, and I like how it looks after washing.
I did continuous line quilting, feathers, and some straight line quilting (with the walking foot) for contrast. I used 100 WT thread (silk and Invisafil), because the pieces are so small I didn't want a heavy thread.

Have a great day and thanks for stopping by!
Related Posts Plugin for WordPress, Blogger...